Welcome to the moment that shapes your hive’s future. One week or so into life in the box, a careful check tells you if the colony has what it needs to grow. This visit is a milestone for the queen, brood, and stores.
Good conditions now reduce problems later. Look for steady activity at the hive entrance, pollen on workers, and comb being built. Keep the visit calm and quick to limit stress.
Use a simple toolset and clear steps to see bees on frames, confirm eggs, and note any dead bees or signs of robbing. A structured approach helps you close the hive cleanly and monitor resources through the coming weeks and months. For a practical checklist and timing guidance, consult this guide on inspecting newly installed colonies.
Key Takeaways
- Plan a short, one-week check to assess colony health and activity.
- Focus on the queen, brood pattern, comb progress, and stores.
- Watch the hive entrance for normal traffic and few dead bees.
- Keep inspections calm, use a hive tool, and close boxes quickly.
- Monitor feeders and reduce robbing risk when resources are low.
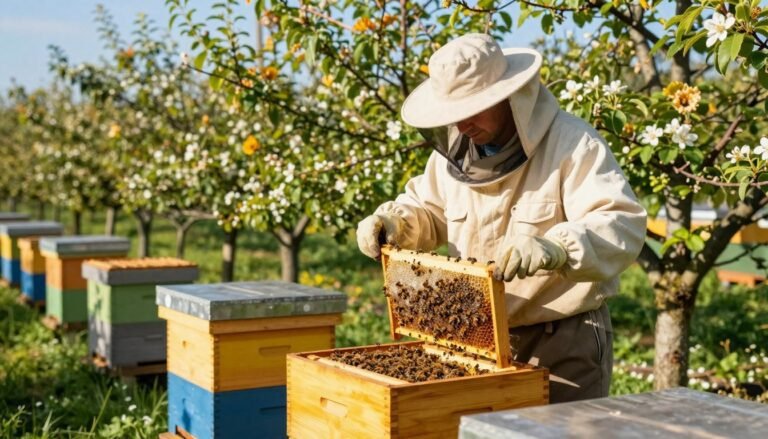
Essential Preparation for Your First Hive Inspection
Make sure your gear and plan are ready before you approach the hive. Assemble a smoker, a reliable hive tool, and clean protective gear. Keep a small list to guide what you will check so the visit stays focused and brief.
Necessary Tools and Equipment
Have frames spaced and a spare empty frame ready to hold comb if needed. Carry a simple feeder, gloves, and a small notebook for notes.
Keep tools within reach so you can work quickly and reduce stress on the colony. Check that your veil and suit are intact to prevent stings while you work.
Approaching the Hive Safely
Approach from the side and watch activity at the hive entrance for a few minutes before you open any boxes. Slow, deliberate movements keep workers calm and protect the queen.
“Observe first, move slowly, and be organized — those steps make a big difference for hive health.”
When you are ready to open the new colony, limit time with frames exposed and close the hive promptly. For more detailed beehive setup guidance, see beehive installation.
Determining the Optimal Timing for Your First Inspection After Installing Package Bees
Wait about 5–7 days before you open the hive. This window gives the queen time to leave her cage and the colony time to settle on frames and build comb.
Pick a warm, sunny day so brood and eggs stay safe while you work. Calm weather helps workers fly and reduces stress on the new colony.
Avoid frequent openings. Repeated disturbance can delay comb building and slow acceptance of the queen. Check the hive entrance from a distance to watch activity first.

If weather turns cold or rainy, postpone the visit until conditions allow normal flight. Minimize your time with the boxes open and use a hive tool only when needed.
“Timing matters: a measured visit in the right conditions sets the colony up to thrive.”
| Timing | Why it matters | What to look for |
|---|---|---|
| 5–7 days | Queen released; workers start comb | Comb build, workers flying, few dead bees |
| Warm, sunny day | Keeps brood warm; allows for safe flight | Active entrance, pollen on workers |
| Delay in poor weather | Prevents chilled brood and stress | Wait until bees can fly safely |
For timing of day and more detailed tips on evaluating entrance activity, see this guide on best time of day to inspect a.
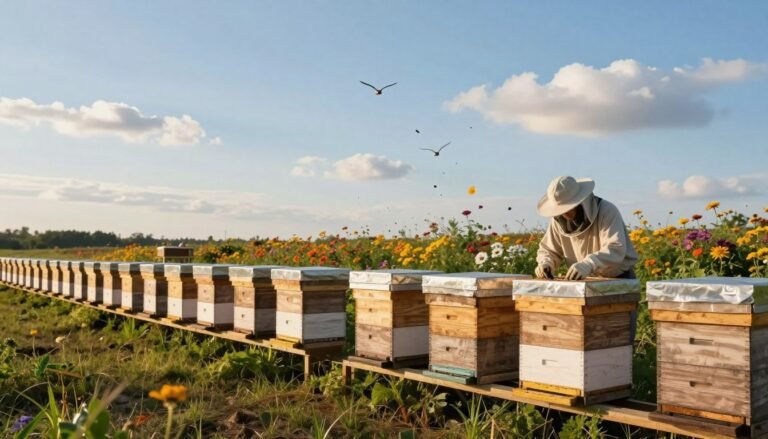
Assessing Hive Entrance Activity and External Health
A careful look at activity at the entrance gives a fast read on colony health and threats. Stand back for several minutes and note how workers fly, how many carry pollen, and whether traffic matches the weather and time of day.
Observing the doorway is the safest, least disruptive start to your first hive inspection. If you spot 50 or more dead bees at the entrance, treat that as a warning sign. Such a count often means the colony is struggling or facing robbing.
Identifying Signs of Robbing
- Robber bees often cluster at seams, around the lid, or near spilled syrup. Seal leaks and fix spills quickly.
- Look for fighting or bees wrestling at the entrance — that behavior signals an active attack.
- Reduce the entrance size to help the colony defend the hive during this vulnerable week.
- Seal cracks or crevices and keep entrances clear so the queen and workers control access.
“A steady entrance with workers carrying pollen is a good sign; chaos or many dead bees demands rapid action.”
For more step-by-step guidance on monitoring external signs and defending a new colony, see this resource on hive inspections.
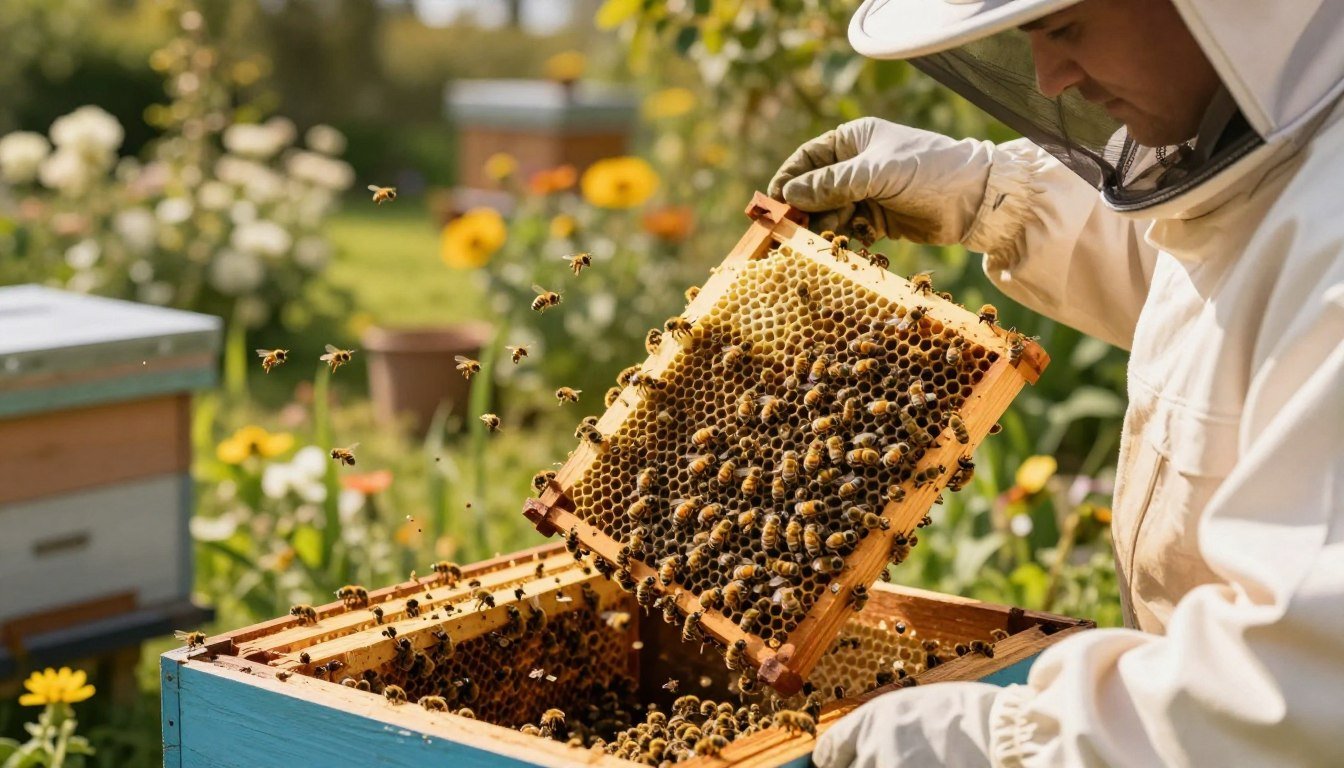
Conducting the First Inspection After Installing Package Bees
Prepare to move quickly and gently when you open the hive. Start with a calm visual check at the entrance, then lift frames slowly to avoid crushing the queen or workers.

Handling Frames Gently
Lift each frame with a steady grip. Keep motions smooth and deliberate to prevent jolting the brood nest.
Always return frames in the same order and orientation. That preserves the colony’s organization and helps the queen find her place.
Monitoring Feed Levels
Package colonies often need supplemental sugar water while they build comb and raise eggs. Check external feeders and top-up as needed.
Track feed often in the first week so workers have the energy to draw comb and care for brood.
Minimizing Hive Exposure Time
Spend no more than 15 minutes with the top off a new hive. A bee’s “room temperature” is about 92°F, so limit cold air on the brood.
When you close up, be swift and tidy. A short visit reduces stress and helps honey production in the coming weeks.
“Be brief and gentle — the colony will thank you with steady comb build and healthy activity.”
For a detailed step guide on handling frames and timing, see how to inspect a beehive step-by-step.
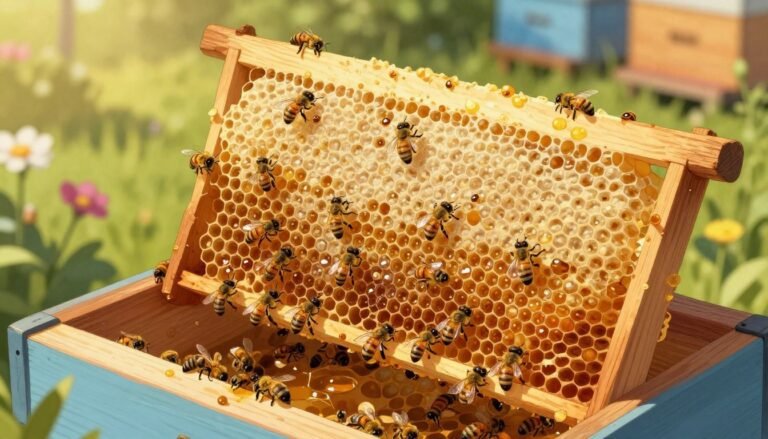
Evaluating Queen Status and Brood Development
A quick check should establish whether the queen has begun laying and the brood nest is forming.
Start by looking for eggs or tiny larvae on the central frames. You do not need to find the queen to confirm she is working. Eggs or young larvae are clear proof that she was released and is laying.
Assess the brood pattern on each frame. A compact pattern of mixed stages—eggs, open larvae, and sealed pupae—signals a healthy queen and steady colony growth.
If you see no eggs or larvae, wait another 5–6 days before reopening the hive. The queen may need more time to begin laying full-time.
- Watch for drawn comb on frames; it shows the workers are expanding the nest.
- Keep frames tight together to preserve brood warmth and encourage development.
- Remember a new colony can show fewer workers at this stage; that can be normal.
“Finding eggs or young larvae is the best sign the queen is active and the colony is on track.”
| What to check | What it means | Action |
|---|---|---|
| Eggs or tiny larvae | Queen is laying | Leave frames undisturbed; monitor next week |
| Compact brood pattern | Healthy queen and good laying rate | Ensure space and feed if needed |
| No brood after 6 days | Possible queen failure or delayed start | Re-check; consider re-queening if still absent |
| Comb being drawn | Colony expanding and needs room | Add an extra frame or shallow comb support |
For a printable checklist on early hive tasks and timing, see this spring beekeeping checklist. For brood charts and queen management guidance, consult this detailed resource.
Managing Potential Pests and Colony Stressors
A rapid sweep of the brood area will reveal most pest activity and any stressed behavior in the colony.
Check frames briefly for small hive beetles, wax moth webbing, or discolored brood. A few pests are normal; a heavy infestation needs immediate action to protect the queen and the eggs.

Keep the screened bottom closed for the first week so the colony can hold heat and develop comb without drafts. Maintain honey and pollen stores, topping feeders if foraging has been poor.
- Watch for brown or twisted larvae — such signs can point to serious disease and demand a prompt response.
- If you spot queen cells or odd behavior, contact a local mentor before making major changes.
- Strong, well-fed colonies resist pests best; focus on food, space, and calm handling.
“Early vigilance makes a small problem easy to manage and keeps the colony productive over time.”
For a practical disease reference, see this disease management guide, and review common errors in common beekeeping mistakes to reduce stress on your hive.
Conclusion
,Closing your visit with clear notes and small actions sets the colony up to thrive.
Conducting a calm hive inspection is rewarding and teaches you what your new colony needs. Keep visits brief, record what you see, and act on any urgent items such as low stores or pests.
Beekeeping mixes art and science. Learn from each check, and lean on local mentors when uncertain. For practical timing and tips, review these new hive tips and this getting started guide.
With patience and careful observation you will grow confident in managing your hive inspection routines and enjoy watching the colony thrive through the seasons.
FAQ
When should I perform my first inspection after installing a package?
Aim to open the hive about 7–10 days after installation. This gives the queen time to begin laying and workers time to orient to the new location. Check weather: choose a warm, calm day with foraging activity so most workers are out of the hive and the colony is calmer.
What essential tools and equipment should I bring for the first hive check?
Bring a hive tool, smoker with fuel, a veil or suit, gloves if you prefer them, and a brush. Carry a feeder with sugar syrup, spare frames or foundation, and a notebook or phone to record observations. A soft hive tool and steady hands reduce damage to comb and brood.
How should I approach the hive to keep bees calm and safe?
Move slowly and deliberately. Light a few puffs of smoke at the entrance and under the lid to mask alarm pheromones. Avoid sudden movements and loud noises. Work in short sessions and close the hive promptly to minimize disturbance.
How can I tell if the queen has been accepted and is laying eggs?
Look for eggs in cells and a pattern of brood in various stages: eggs, larvae, and capped brood. You may not see the queen on the first visit; finding eggs is strong evidence she is present and accepted. Mark when you first observe brood to track progress.
What signs at the hive entrance indicate colony health or problems?
Healthy entrances show steady worker traffic bringing pollen and nectar with minimal debris. Fewer foragers, a lot of dead bees, or violent behavior at the entrance can signal stress, disease, or queen issues. Note pollen types and how frequently bees return.
What are early signs of robbing and how do I prevent it?
Robbing shows as frantic fighting, bees crawling on the landing board, and persistent guards at the entrance. Reduce entrance size, feed inside with an entrance feeder, and avoid spilling syrup. Wait to feed heavily outdoors when nectar flow is minimal to lower robbing risk.
How should I handle frames during the initial inspection?
Lift frames slowly and support them near the top to avoid breaking comb. Inspect center frames first where brood and food concentrate, then work outward. Replace frames in the same order to maintain hive organization and reduce disturbance time.
How do I monitor feed levels and when should I refill feeders?
Check any hive-top or entrance feeders during your inspection. New colonies usually need supplemental sugar syrup for several weeks until foraging ramps up. Refill when the feeder is low, but avoid heavy feeding on hot days or during high robbing risk.
How long should I keep the hive open during this visit?
Keep the inspection as brief as feasible—generally 10–20 minutes—especially for a new colony. Focus on key checks: brood presence, queen status signs, food stores, and pest symptoms. Close the hive promptly to conserve warmth and protect the colony.
What should I expect in brood development during the first few weeks?
Expect to see eggs within a week of a laying queen, tiny larvae by day 3–4 after eggs appear, and capped brood about 9–12 days later. Brood should form cohesive patches; spotty or missing brood patterns may indicate queen problems or disease.
Which pests and stressors should I watch for early on?
Monitor for varroa mites, wax moth signs, small hive beetles, and symptoms of disease like foul brood. Stressors include poor weather, insufficient food, or exposure to pesticides. Treat or manage issues promptly and use integrated pest management strategies.
How often should I inspect the colony in the first few months?
Inspect every 7–14 days initially to confirm queen activity, brood progression, and feed needs. Once the colony is established and growing well, move to less frequent checks—about every 2–3 weeks—unless you spot problems that require attention.
What should I record during the visit to track colony progress?
Note the date, weather, presence of eggs/larvae/capped brood, estimated nectar and pollen stores, queen sightings or evidence of laying, number of frames covered by bees, and any pests or abnormal signs. Small, consistent notes help detect trends and issues.