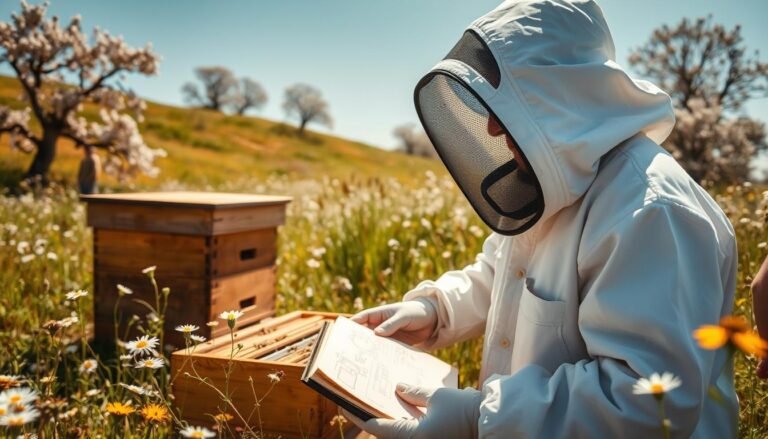
Professional beekeepers must keep equipment clean to protect colony health and harvest quality. A tidy hive reduces the risk of pathogens that can harm honey, pollen, and the queen’s brood.
When you inspect frames, you will see bees sealing gaps with propolis; that behavior highlights why regular maintenance matters. Proper care of each propolis trap and pollen collection device helps ensure the final product stays safe for storage and sale.
This short guide walks beekeepers through practical steps to clean, sanitize, and manage trap components so each collection cycle stays sanitary and efficient. For detailed processing tips, see a full walk-through on propolis handling and options for hive gear at hive accessories.
Key Takeaways
- Keep gear clean: routine care protects colony health.
- Protect harvests: sanitation preserves honey and pollen quality.
- Watch the hive: the queen’s colony behavior shows where to focus maintenance.
- Use proven methods: simple washing and cooling prevent contaminants.
- Plan each season: consistent checks make collection cycles efficient.
The Importance of Maintaining Clean Hive Equipment
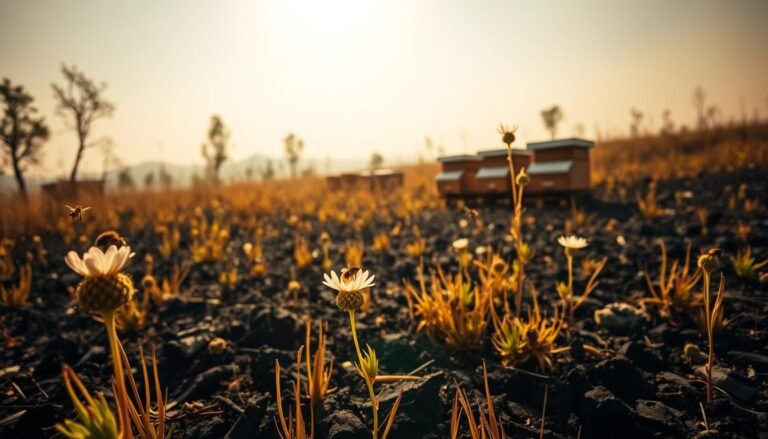
Neglecting hive gear invites pests, weakens woodenware, and stresses your bees. Routine care keeps colonies productive and preserves harvested honey and pollen quality.
Scientific research shows that propolis has strong antibacterial, antimicrobial, and antifungal properties. Bees use these natural compounds to seal cells where the queen lays eggs, helping to protect brood health.
As a keeper, you must remove debris and old honey from frames and hives to prevent mold and pest buildup. Managing a propolis hive is like harvesting a natural medicine produced by the honey bee colony.
“Keeping equipment clean reduces colony stress and lets bees focus on forage,” recent research notes.
- Protect harvests: clean gear keeps honey safe for storage.
- Support colonies: tidy hives lower disease pressure.
- Preserve wood: regular maintenance extends the life of frames.
| Issue | Cause | Action |
|---|---|---|
| Mold growth | Old honey and debris | Remove and dry frames |
| Pest attraction | Sticky residues | Clean entrances and boxes |
| Colony stress | Dirty environment | Schedule regular checks |
For detailed handling and research-backed methods, consult the beekeeper manual and a guide on boosting production: beekeeper research manual and how to increase propolis production.
Essential Tools for Disinfecting Pollen Traps and Propolis Traps
Start with a simple kit of supplies to keep your collection equipment in peak condition. A small, reliable set of tools speeds cleaning and protects harvest quality.

Cleaning Agents
Choose gentle, food-safe cleaners. Use warm water, a sturdy bucket, and a mild detergent to lift sticky residue from plastic or wood pieces.
For stubborn buildup, a little food-grade oil can loosen residue before washing. After harvest, place hardened material in the freezer to make separation easier.
- Buy quality propolis gear from Dadant, Betterbee, or Weller Bee Supply — most plastic propolis traps cost under $10.
- Make sure you have enough water and a solid bucket for rinsing parts.
Protective Gear
Protect yourself and your suit. Wear gloves, eye protection, and a work apron to avoid staining from sticky material.
Modify a queen excluder into a simple collection screen by adding a taped mesh with holes smaller than 3/8 inch. Keep all supplies in one place so you can work efficiently.
For tool ideas and accessories, see a concise beekeepers tool box and a practical bee removal guide.
Preparing Your Traps for the Sanitization Process
Place the trap on the top box, level with the frames. Set the plate or panel directly beneath the lid so bees can reach the holes and start working them.
Prop up the cover slightly with a small stick or shim to let light in. This light exposure differs from a standard inner cover and encourages filling more quickly.
If you use a queen excluder as a base, secure the assembly so the honey bee colony cannot bypass the collection area. Check that the trap sits flat against the top of the frames for even results.
- Start the season by placing the trap on the uppermost box.
- Allow two weeks of collection time before removal.
- After pulling the panel, put material in a sealed bag and store it in the freezer until cleaning.
Practical tip: keep a consistent routine. Proper placement and the small shim make the difference between a successful harvest and wasted effort.
For wider seasonal prep and hive handling tips, see this short guide for beekeepers: preparing traps.
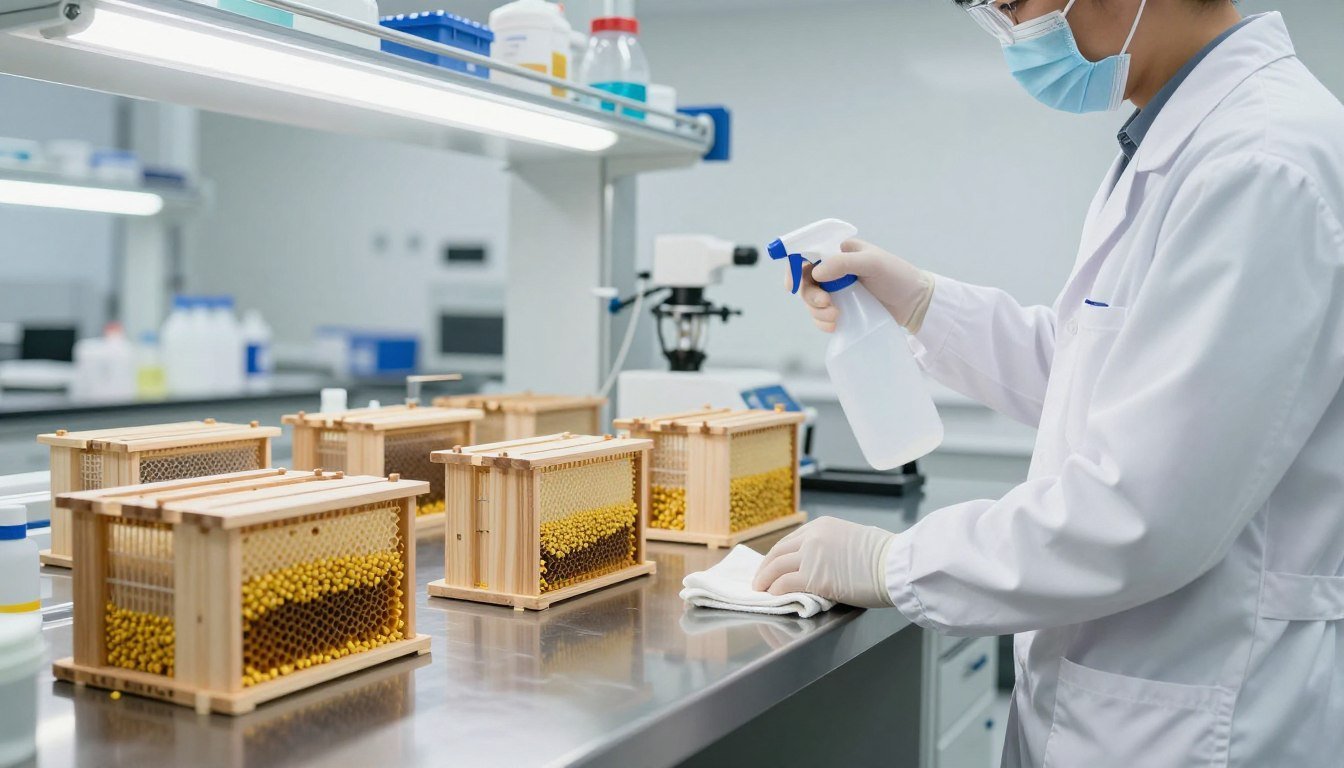
Effective Methods for Cleaning and Sanitizing
Begin cleanup with mechanical removal: freeze the resin from the panel for several hours until it is hard. Break it into small pieces to avoid smearing on wood or plastic parts.

Removing Debris
Work outside or over a screen so loose beeswax, paint chips, and wood shavings fall away. Check frames and the queen excluder at the same time to prevent residue buildup.
Washing Techniques
Use a large bucket of cold water and swish the bits vigorously. Repeat washes until the water runs clear. Skim floating debris with a fine screen between rinses.
Drying Procedures
Spread cleaned pieces on a screen in a cool, shaded place for at least one day. Keep them out of direct sun to avoid softening the honey and wax.
| Issue | Action | Suggested Time |
|---|---|---|
| Sticky residue on parts | Freeze, smash, wash in bucket | Several hours + 1 day drying |
| Cloudy rinse water | Repeat swishing and skimming | Until water is clear |
| Residue on frames/excluder | Clean simultaneously with panel | Same cleaning session |
Note: If you plan a 10% solution tincture, use food-grade methods and sanitized tools. For repairs to woodenware, see repair damaged hive boxes.
Best Practices for Storing Your Equipment
D. “Organizing cleaned parts now prevents problems when the hive comes back to life in spring.” This practical habit saves time and preserves harvest value.
Prevent recontamination by storing cleaned parts in a cool, dry place. Keep dust, paint chips, and loose wood away from surfaces to protect honey and pollen quality.
Preventing Recontamination
Keep plastic items and wooden components in separate sealed containers. Check boxes several times during the off-season for pests or stray beeswax bits.
- Label freezer bags with weight and contact info; BEEpothecary pays $30 a pound for clean propolis.
- Call Laurie at 614-450-2339 or email BEEpothecary@gmail.com before sending material.
- Store final product in sealed bags inside the freezer to preserve value.
“Even small bits of beeswax or wood can lower the value of a harvest; careful storage keeps quality high.”
| Item | Storage | Check Interval |
|---|---|---|
| Plastic panels | Separate sealed bin | Monthly |
| Wood frames & cover | Dry, ventilated box | Every 2–4 weeks |
| Final harvest (sealed) | Freezer with label | Before shipping |
For detailed maintenance routines and tool care, consult a concise guide on beekeeping tool maintenance at tool and equipment maintenance and a practical resource on long-term gear care at beekeeping tools maintenance.
Final Thoughts on Hive Hygiene
Good hive hygiene keeps colonies strong and protects the value of your harvests. Use a strong.
Maintaining strict care helps preserve honey and pollen quality. Small rituals — a basic solution, a rinse with clean water, a short freeze in the freezer — pay off.
Recent research highlights the role of propolis in colony health. Follow simple steps and you reduce contamination risks while boosting product purity.
Check your email for buyer notes, and consult local beekeepers or suppliers when unsure. For extra guidance, see this note on natural supplements for bee health.