Deciding when to bring a new colony home shapes its success. A standard package contains about 10,000 workers and weighs roughly 3 lbs. Order early, often as soon as January, to secure stock for spring.
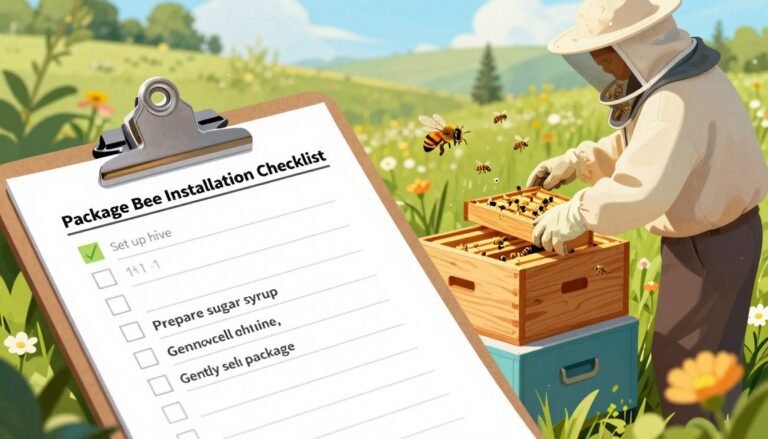
Preparing gear and a calm plan helps you avoid common mistakes. A typical box holds the mesh sides, a feeder can, and a queen cage. Ready frames, a cover, and a clean bottom board give the colony immediate shelter.
On the chosen day, stage the shipment in a cool, shaded spot and offer a light syrup feed. For transfer tips and step checks, see installing a package of bees. For detailed placement and follow-up steps consult beehive installation.
Key Takeaways
- Order early (January) to ensure availability for spring.
- Prepare hive gear—box, frames, feeder, and cover—before arrival.
- Stage the package in shade and offer light syrup if rest is needed.
- Handle the queen cage gently and plan follow-up checks in the first days.
- Match installation to local weather and give the colony a secure home immediately.
Understanding the Best Time to Install Package Bees
Choose a mild, predictable period for bringing a new colony home. Late spring or early summer usually offers steady nectar flows and warmer nights. Weather should be stable so the hive can organize comb and begin foraging without repeated stress.
Never install an incoming package if nighttime temperatures are expected below 35–40°F for an extended stretch. Low nights chill the cluster and raise mortality risk. If immediate installation isn’t possible, keep the sealed box in a cool, dark spot such as a garage or basement between 50°F and 70°F.
Seasonal and Temperature Considerations
- Most experts advise installing in late afternoon or early evening so the bees settle overnight.
- If nights dip under 40°F, wait for warmer conditions to avoid stressing the colony.
- Confirm the queen has been with the workers at least three days to help acceptance.
- Have the hive body, frames, feeder can, and cover ready before the arrival.
- Check the queen cage plug type—candy, marshmallow, or cork—to plan release steps.
“A calm introduction and proper temperature control are the simplest ways to protect your new colony.”
For buying and scheduling tips, see buying packaged bees and nucs in the. Proper prep makes the installation method smoother and improves queen acceptance rates.
Essential Equipment for a Successful Start
Gathering the right tools before the new colony arrives makes the first hours easier. Pack a reliable hive tool for prying the box and handling frames. A smoker calms the workers while you move comb and check the queen cage.
Protective clothing keeps you steady and reduces rush that can alarm the colony. Wear a veil, gloves, and a jacket so you can work calmly and methodically. Keep an entrance reducer on hand to limit exposure during early days.
Bring a misting bottle filled with 1:1 sugar syrup. Light sprays help keep the cluster together and provide quick energy during the initial establishment phase.

- Hive tool — for frames and box adjustments.
- Smoker — to soothe the colony during handling.
- Protective clothing — stay calm and focused.
- Misting bottle with 1:1 sugar syrup — feed while they settle.
- Entrance reducer — protect a small colony from robbing.
“Prepared gear makes the first day safer and improves queen acceptance.”
For a concise checklist before delivery, see new beekeeper checklist. For seasonal guidance on when to start hives consult this seasonal start guide.
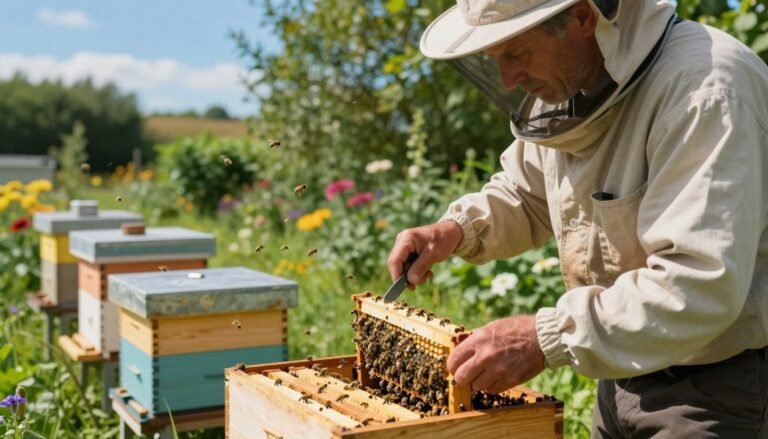
Preparing Your Hive for New Arrivals
Select a sheltered, level spot that gets morning sun and afternoon shade. This balance helps the colony warm up early while avoiding midday heat. Make sure the location is safe from flooding and strong gusts.
Assemble and paint the hive before the delivery day. A finished box limits delays and reduces stress on the colony when they are moved in.
Positioning the Hive
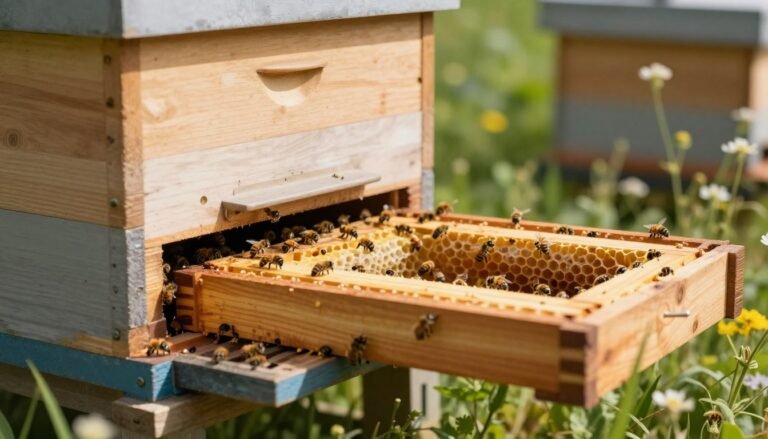
Remove three or four frames from the center of the hive body. This creates space to pour the workers into the box and to hang the queen cage without crushing comb.
Keep the inner cover and outer cover nearby so you can quickly close the hive after placement. Install an entrance reducer to help the colony defend the opening against intruders.
Have a feeder filled with sugar syrup and a spare top cover ready. Immediate access to syrup gives the new colony energy while they settle and build comb.
- Make sure the hive sits on a sturdy base with a small southern exposure.
- Check that frames are straight and spaced before the bees arrive.
- Confirm the queen cage fit and feeder location in advance.
“A tidy, well-placed hive reduces handling and improves early acceptance.”
For guidance on ideal daily checks and inspections after settlement, see best time of day to inspect a.
Managing Bees Before the Installation Process
Before moving a new colony into a hive, secure a quiet, cool spot for the sealed box.
If you cannot complete the installation the same day, keep the package bees in a dark, low-noise area between 50°F and 70°F.
Mist the package screen gently with 1:1 sugar syrup two or three times daily. This keeps the workers hydrated and calms activity while they wait.
Avoid covering the box with heavy blankets or wraps. Overheating is a fast, invisible risk that can kill an entire colony.
Take clear photos of the sealed package before you begin the transfer if you must file a claim for shipped stock. Keep records of delivery, weather, and handling as well.

- Keep the area quiet and out of direct sunlight.
- Check the box twice daily for signs of distress.
- Keep syrup and feeding gear ready near the frames and hive.
| Item | Action | Reason |
|---|---|---|
| Box | Store in cool, dark place (50–70°F) | Prevents chilling or overheating |
| Screen | Mist with 1:1 sugar syrup | Hydrates and calms the bees |
| Documentation | Photograph sealed package | Needed for any shipping claim |
“A calm holding period before installation reduces stress and improves acceptance.”
Step by Step Guide to Installing Your Colony
Begin the installation with protective gear fastened and your hive body set on a level base. Gather your hive tool, smoker, and a filled feeder before you open the box. Keep work calm and methodical.
Removing the Feeder Can
First, remove the feeder can carefully. Use your hive tool to pry up the wooden frame holding the screen if you plan to shake the workers out. Pull the feeder can straight up and set it aside to create room for the queen cage and frames.
Releasing the Queen
Suspend the queen cage between the middle two frames, with the screened side facing the hive entrance for ventilation. Leave the candy plug in place so the workers can eat through it and free the queen over a few days. This natural release reduces fighting and improves acceptance.
Introducing the Bees
To introduce the workers, rock the box gently while tapping the sides to dump them into the gap you made. Place the near-empty box at the hive entrance so any stragglers can walk in on their own.
Final checks: Replace the inner cover and outer cover, install an entrance reducer if colony size warrants it, and leave a feeder available with light sugar syrup. For a step-by-step installation method and shipment handling guidance see detailed transfer steps and seasonal tasks at seasonal beekeeping tasks.
“A calm, stepwise introduction gives the colony the best chance to build comb and accept the queen.”
Monitoring Queen Acceptance and Hive Health
After installation, check the queen cage within 3–5 days. This confirms the workers have eaten the candy plug and freed the queen. If she remains enclosed by day five, use a hive tool to carefully remove the tab and release her.
Revisit the hive 10–14 days after the initial check. Look for eggs and larvae in the frames. Finding brood proves the queen is laying and the colony is growing.

Make sure you mark the queen with a safe queen marker once located. A marked queen is easier to spot during future inspections and reduces disruption to the colony.
- Check the queen cage at 3–5 days for release.
- If not free by day five, gently open the cage.
- Confirm eggs or larvae at 10–14 days; absence means contact your supplier for support or guarantee.
| Step | When | Why |
|---|---|---|
| Queen cage inspection | 3–5 days | Verify queen release and early acceptance |
| Brood check | 10–14 days | Confirm laying activity—eggs and larvae |
| Mark queen | After found | Easier future checks and less disturbance |
“Early, focused inspections protect the queen and speed colony establishment.”
For a recommended checklist and follow-up schedule, see the queen acceptance timeline. For seasonal calendar cues on when to inspect, consult this seasonal beekeeping calendar.
Conclusion
In conclusion, guiding a young colony into its hive begins a season of hands-on learning and care.
Installing your first colony is a milestone that marks your move into active beekeeping. Follow each step for timing and handling so the queen and workers get a strong start.
Watch hive activity closely in the first weeks, track brood and food stores, and seek help if you spot disease or weakness. For growth advice as you expand your apiary, consult this beekeeping expansion guide.
With patience and steady checks, your new colony can thrive and teach you more each season.