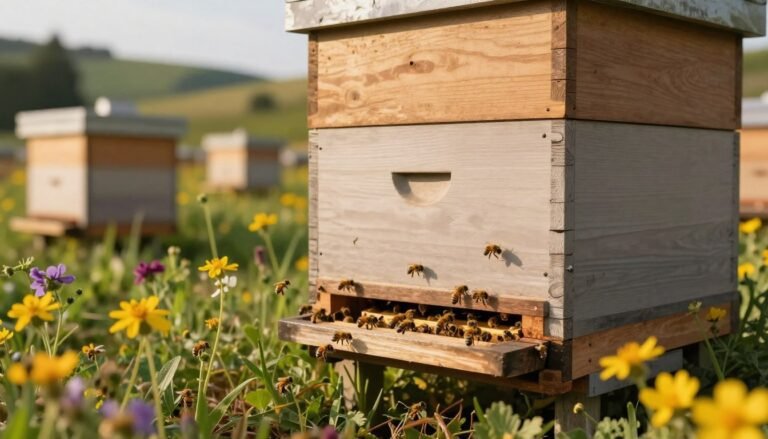
Starting a backyard colony is an exciting entry into beekeeping in the United States. This brief guide outlines the essentials for a smooth installation and a healthy first week.
A standard package contains roughly 10,000 bees held in a wooden box with two screened sides. The top of the box has a small metal tab that suspends the queen cage and keeps the colony stable during transit.
Before opening the hive, make sure the site is ready, shaded, and above 65°F. Timing matters: avoid exposure to heat or cold and plan checks at day five and day ten. For detailed handling steps, consult detailed installation notes which cover queen cage handling and feeder transfer.
Stage the box at the hive entrance, gently transfer frames, and feed sugar solution as the colony settles. For setup recommendations and yard layout, see the hive setup guide.
Key Takeaways
- Standard shipments hold about 10,000 bees in a screened wooden box.
- Queen safety is vital; the cage is suspended at the top for protection.
- Prepare the hive site and monitor temperatures during transfer.
- Use gentle transfer methods and provide immediate feeding.
- Schedule follow-up checks around day five and day ten for queen release and eggs.
Essential Equipment for Beekeeping Success
Proper tools and protection are the foundation of successful beekeeping work. Gather gear before the arrival day so every step runs smoothly and safely.
Protective Gear for the Apiary
Personal protection prevents stings and lets you focus on the colony. Use a full veil, jacket, and gloves that block crawling insects and keep pant legs sealed.
Necessary Tools for Installation
Keep a sturdy hive tool nearby to pry open boxes and lift frames. A smoker helps calm the colony by mimicking a natural threat.
- Prepare a feeder loaded with sugar syrup or honey while the bees settle.
- Mix sugar and warm water in a 1:1 ratio until dissolved for the syrup recommended by NC State.
- Fill a spray bottle with sugar water to mist the bees gently and keep them occupied during transfer.
- Confirm the queen’s cage is secure and ready for placement between frames.
These simple items cut handling time and help the colony accept its new home. Keep everything within reach and organized for a calm, efficient start.
Preparing Your Hive for New Arrivals
Assemble and position the hive stand and body well before the delivery day. This reduces the time the bees spend inside the transport box and lowers colony stress.
Make sure you remove three or four frames from the center of the brood chamber, following David R. Tarpy’s recommendation. That cleared space gives the incoming queen room to move and start laying.
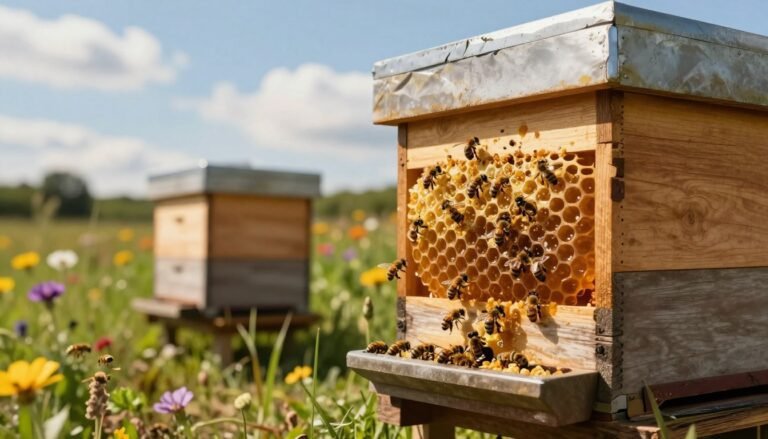
Place at least one or two frames with drawn comb in the center. Drawn comb gives a head start for honey storage and comb building, which speeds establishment.
Install the feeder and fill it with a 1:1 sugar syrup so the colony can feed and the workers can secrete wax for new comb. For syrup mixing details, see NC State guidance on syrup.
- Assemble hive parts and level the stand.
- Create space by removing center frames.
- Add drawn comb frames for faster growth.
- Set up the feeder with sugar syrup for immediate feeding.

| Preparation Step | Why It Matters | Quick Tip |
|---|---|---|
| Assemble hive stand & body | Reduces handling time and stabilizes the hive. | Place facing morning sun and wind shelter. |
| Remove 3–4 center frames | Creates space for the queen and brood expansion. | Follow center removal before arrival. |
| Insert drawn comb frames | Speeds honey storage and comb building. | Use frames from an established source if available. |
| Install feeder with syrup | Supports feeding and wax secretion for comb. | Keep feeder accessible but secure from robbing. |
Organize tools and spare frames nearby so you can work efficiently. For guidance on quarantining new stock before adding them, review this quarantine guide.
How to Install Package Bees Safely
Begin the transfer by calming the colony with a fine mist of sugar water through the box screen. A focused spray keeps workers busy cleaning and lowers sting risk.
Next, remove the feeder can and queen cage quickly but carefully. Use a hive tool to lift the wooden panel and slide out the feeder. Extract the queen cage from the top and set it aside for frame placement.
Misting the Colony
Spray sugar water through the screened side so many workers lick the sugar and stay calm. A spray bottle works well for this step.
Removing the Feeder Can and Queen
Remove the feeder can, then take the queen cage from the top of the box. Keep the cage level and avoid sudden jolts.
Shaking the Box
Tap the package on the ground to bring bees to the bottom. Invert and shake the box gently into the hive space so most workers fall onto the frames.
- Prop the empty box near the entrance so stragglers can crawl inside.
- Secure the queen cage between center frames with the screen facing outward so workers can access pheromones and the candy acts as a release delay.
- Set the entrance reducer to the smallest opening for the first few days to protect the new colony.
| Step | Action | Reason |
|---|---|---|
| Mist through screen | Spray sugar water | Calms workers and reduces stings |
| Remove feeder can | Use hive tool and lift panel | Prepares box for shaking and queen removal |
| Shake into hive | Tap then invert box | Moves most workers onto frames quickly |
| Place queen cage | Secure between center frames | Ensures safe, timed release and acceptance |
For a recommended queen cage choice, see this guide on best queen cages for introduction.
Managing the Queen Cage Introduction
Introduce the queen cage slowly and deliberately so workers can accept her scent and avoid conflict. The cage has a small cork at one end that covers the sugar candy. Remove that cork carefully at the proper moment so workers can begin eating the candy and release her naturally.
Secure the queen cage between the two center frames with the screen facing outward. This orientation lets worker bees smell the queen pheromone through the screen and become familiar with her. Make sure the cage sits firmly so it will not fall to the bottom of the box or hive.

Watch for release timing. If the queen is not freed after a few days, you may need to gently remove the tab to remove queen and let her out. Keeping her caged during this window prevents aggression while the colony adjusts.
- Place the cage between center frames, screen facing the bees.
- Remove the candy-end cork so workers can eat and release her.
- Check after several days and only open the top if release fails.
For more detailed queen introduction steps, see queen introduction steps and follow best practices at the top of the first week in the hive.
Caring for Your Colony After Installation
The first days in a new hive are critical; light checks and steady feeding pay off. A brief inspection window helps confirm the queen is settling and that workers are building comb.
Ensuring Queen Acceptance
Check the colony after 3–5 days and again on day five to verify the queen has been released and begun laying. Look for tiny white eggs in the center of brood cells; they resemble grains of rice.
If you still see the queen in her cage, leave the box near the bottom board for 24 hours and recheck. Keep disturbances minimal while workers adjust to her scent.
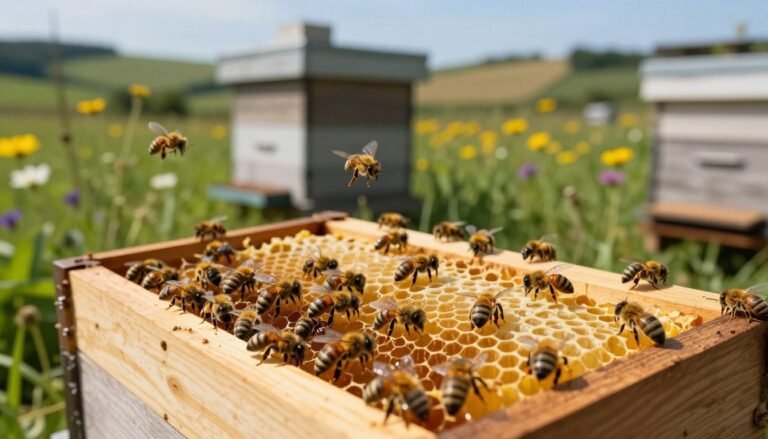
Encouraging Proper Comb Building
Feed heavily with 1:1 sugar syrup for the first three weeks using an in-hive feeder. Strong feeding supplies energy for wax secretion and speeds comb construction on frames.
- Provide steady sugar water; increase if comb growth lags.
- Keep the entrance reduced for protection during the first hours and days.
- Expect a few workers to remain in the transport box; allow them time to join the hive.
Good care in these weeks sets the colony up for honey production and long-term health. For step-by-step guidance on installing bees, see this resource: installing bees.
Troubleshooting Common Installation Issues
Minor issues after transfer usually stem from queen stress, space limits, or nutrition gaps. Catching these early keeps the colony healthy and productive. Inspect gently and use clear steps when a problem appears.

Ensuring Queen Acceptance
Check the queen cage first. Confirm the cork was removed from the candy end and that the cage sits between center frames. If the queen is dead or missing, prepare a replacement promptly.
- If the queen only lays drone brood, replace her immediately; drone-laying indicates failure.
- Use a hive tool to inspect brood for protruding cells that signal drone-only laying.
- To unite a queenless colony, place a sheet of newspaper with small holes between hive bodies and wait for a slow merge.
Encouraging Proper Comb Building
When comb growth stalls, boost feeding with 1:1 sugar syrup so workers make wax. Provide enough space and framed drawn comb to guide building.
If bees are leaving the hive, confirm the queen is present and that frames and space are arranged for expansion. For disease checks and further inspection steps, see inspect purchased nucs.
Best Practices for Seasonal Success
Choose a calm, mild day for your final installation steps; weather sets the odds for early success.
Always pick a day above 65°F to protect the queen’s stored sperm and promote worker activity.
Never cover the transport box with blankets or winter wraps—overheating is a common, preventable risk. If a delay occurs, keep the package in a cool, dark spot between 50°F and 70°F.
“Successful colonies begin with careful timing, steady feeding, and regular inspections.”
- Provide steady sugar syrup during the first weeks so workers can build comb and store honey.
- Check the hive every few days for queen release and steady egg laying.
- Allow time for the colony to adjust; each installation is a learning moment.
| Focus | Action | Reason |
|---|---|---|
| Timing | Choose warm, calm days | Prevents chilling and improves acceptance |
| Temperature control | Keep between 50–70°F if delayed | Avoid overheating or chilling |
| Nutrition | Offer 1:1 syrup and water | Supports wax production and brood growth |
Seasonal checks and tasks help you schedule feedings and inspections throughout the season for a thriving colony.
Final Thoughts on Your Beekeeping Journey
Bringing a new colony into your yard gives a rare window into honey bee life. This experience ranks among the most rewarding parts of beekeeping and offers steady, tangible progress.
Each day spent with the hive teaches practical lessons. Stay patient, watch for small changes, and keep records of inspections. Those notes help you learn faster and act with confidence when challenges appear.
Gentle handling and steady feeding matter most in the first weeks. For a calm, low‑stress approach, consider the gentler method linked here: gentler method.
With consistent care and the right gear, your colony will grow and reward your efforts for years. Use this guide as a starting point and enjoy the journey.
FAQ
What protective gear is essential when bringing new bees into the hive?
Wear a certified beekeeping suit, veil, and gloves. Use sturdy footwear and keep a smoker nearby from brands like VIVO or Master Gardener to calm bees. Light-colored clothing reduces agitation. Ensure veil zippers and glove cuffs are secure before opening the box.
Which tools should I have on hand for the transfer process?
Keep a hive tool, bee brush, and a clean sharp knife at the apiary. A queen cage key or small flat screwdriver helps with candy plugs. Use a feeder such as a Boardman or top feeder and a flat metal spatula to gently lift frames if needed.
How should the hive be prepared before arrivals?
Arrange the brood box with drawn frames or clean foundation spaced correctly, plus an empty medium or deep for expansion. Make sure the bottom board is stable and the entrance reducer is fitted for early colony strength control.
What is the recommended misting technique for calming bees during transfer?
Lightly mist sugar syrup (1:1) from a spray bottle over the cluster inside the box. Avoid soaking the bees; a fine mist soothes without chilling. Keep misting brief and move slowly to minimize disturbance.
When should the feeder can be removed from the package?
Remove the can after most workers have settled into the hive—typically within 24 hours. Open the entrance slightly and watch activity; if many workers still feed, wait another day. Remove the can gently to avoid crushing bees.
Is shaking the colony into the hive the best transfer method?
Shaking is fast and effective for packages. Hold the package over the center frames and gently shake so bees fall onto combs. Do this late afternoon or early evening to reduce drift and let foragers return to the new location.
How should the queen cage be introduced to ensure acceptance?
Place the queen cage between two frames near the brood nest or hang it in the center using a cork or wire. Leave the candy end exposed. Ensure workers can tend the queen through the cage bars and maintain calm conditions for several days.
What steps help when releasing the queen from her cage?
Remove the cork or cut the candy plug after five to seven days, unless aggression is observed. Use a flat tool to pry the cage open slowly. Monitor for immediate acceptance; increased calm feeding and attendance indicate success.
How do I support the colony in the first week after transfer?
Provide a 1:1 sugar syrup feeder near the brood nest for additional food and encourage comb building with empty frames or foundation. Check for queen laying in seven to ten days and maintain a reduced entrance to limit robbing.
What promotes proper comb construction and brood development?
Keep consistent syrup feeding and ensure adequate space by adding frames as the population grows. Use brood frames in the center and empty frames at the sides. Warmth and steady ventilation from screened bottoms help wax secretion and comb formation.
What signs indicate the queen was not accepted?
Look for chewed cage bars, dead queen, or aggressive worker behavior toward the cage. Lack of brood after two weeks is a strong indicator. If rejection occurs, prepare a replacement queen and consider requeening methods like introducing in a new, calm hive.
What common problems occur during transfer and how can I fix them?
Issues include chilled bees, poor queen acceptance, and robbing. Move bees gently, use a queen cage for slow introduction, and fit entrance reducers. Feed sugar patties or syrup and install mesh or robbing screens if necessary.
When is the best time of day for moving a package into the hive?
Late afternoon or early evening minimizes forager loss and reduces activity during transfer. Cooler temperatures help bees settle. Avoid midday heat or windy conditions that increase stress and dispersal risk.
How long should I wait before inspecting the new colony?
Wait five to seven days for the colony to settle before the first brief check. Look for queen presence and laying after ten days. Keep inspections short and hands-off during the initial buildup to avoid disruption.
What seasonal practices improve long-term survival after setup?
In spring, ensure ample nectar flow or supplemental feeding. In hot months, provide shade and ventilation. Enter fall with adequate honey stores and reduce entrances. Schedule mite treatments like oxalic or formic protocols based on monitoring results.