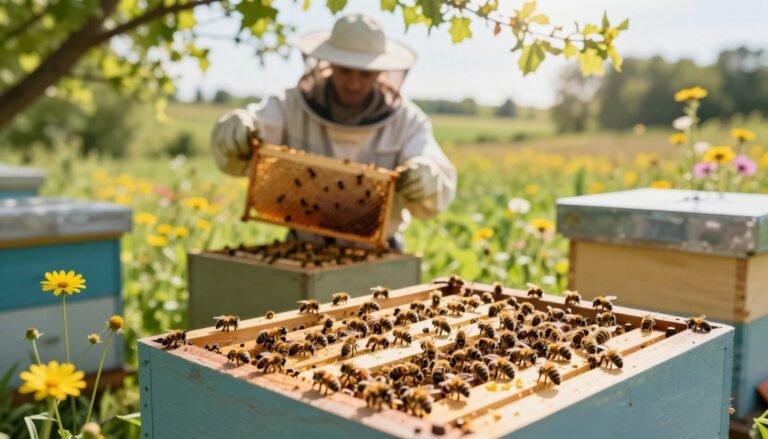
Good hive management starts with regular checks. Short, steady inspections help you spot pests, disease, and crowding before issues become severe. New beekeepers gain the most experience by keeping a steady schedule, especially in spring when nectar flow and colony growth peak.
Watch the hive entrance and brood box for unusual signs. Sunken cappings, discolored larvae, or sudden losses often mean you need expert evaluation. If disease is suspected, stop the inspection, close the box, and seek help right away.
Keep clear records of inspections, frames removed, and queen status. That data guides management choices about space, swarm prevention, and winter preparation. For step-by-step inspection tips or state inspection rules, see this inspection guide and the state inspection FAQ.
Key Takeaways
- Regular hive inspections build beekeeper experience and protect colony health.
- Monitor the hive entrance, brood, and queen for signs of stress or disease.
- Stop and seek expert help if you see sunken cappings or discolored larvae.
- Keep records of frames, tools used, and dates to guide future checks.
- Adjust inspections during nectar flow, spring growth, and before winter packing.
The Role of Routine Hive Inspections
Consistent inspections give beekeepers a clear view of hive health and growth.
Routine hive inspections confirm the queen is laying, frames are developing comb correctly, and the colony is collecting nectar. An experienced operator can do a commercial inspection in about 4 minutes, while a thorough check may take 12–15 minutes for a beginner.
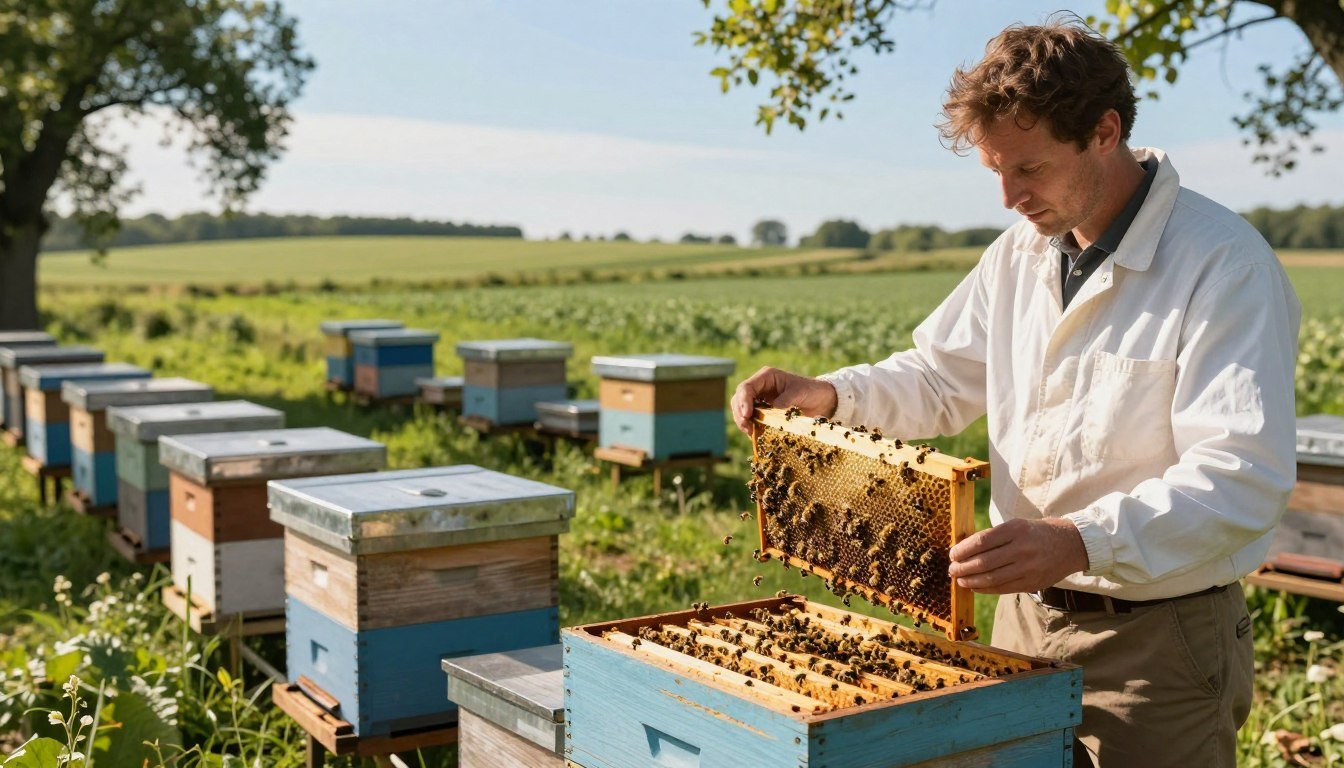
Proper equipment matters. A reliable hive tool and a few spare frames make inspections faster and less disruptive. Regular checks help prevent swarm preparations and allow you to spot brace comb or crowded boxes in spring.
“Consistent monitoring of brood and overall colony health is the hallmark of a successful beekeeper.”
If growth stalls, increase inspection frequency and note changes at the entrance and in the brood box. For guidance on inspection timing and frequency, see this inspection frequency guide and advice on the best time of day for checks at best inspection times.
| Inspection Type | Typical Time | Main Focus |
|---|---|---|
| Commercial | ~4 minutes | Quick queen check, entrance activity, honey stores |
| Thorough | 12–15 minutes | Frame-by-frame brood, comb, equipment condition |
| Follow-up | Days to weeks | Monitor recovery, space needs, swarm signs |
Determining When to Call an Apiary Inspector
Recognizing clear thresholds for expert review protects hives before small problems become losses.
Professional Assessment Criteria
Use Ted Hooper’s guidance in Guide to Bees and Honey as a baseline for major decisions. If routine hive inspections show persistent queenlessness, heavy mite loads, or strange brood patterns, seek a professional assessment right away.
Longstanding beekeepers know that spotting disease early saves colonies and honey stores. If standard treatments fail, or multiple hives show the same signs across a yard, professional help is a critical part of good management.

Identifying Complex Disease Outbreaks
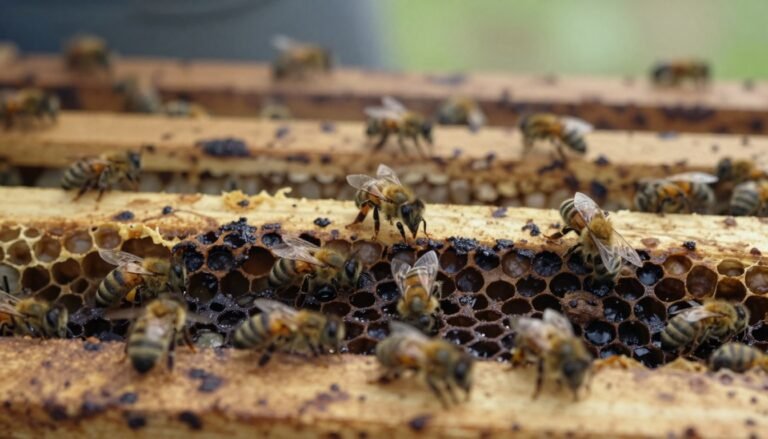
Watch the frames in spring and winter for sunken cappings, discolored brood, or excessive comb debris. These often signal problems beyond normal care.
“Early detection and expert diagnosis stop spread and protect nearby colonies.”
- Signs: persistent dead brood, many deformed bees, or sudden loss of workers.
- Timing: if issues persist for days or weeks despite treatment, escalate the inspection level.
- Equipment: poor tool hygiene can spread disease—review equipment and protocols.
| Trigger | What to look for | Action |
|---|---|---|
| Queen failure | No eggs or spotty brood | Confirm with frame-by-frame inspection; seek expert advice if unclear |
| Varroa/mites | Deformed wing bees, mite counts high | Treat and consult a pro if mites persist after protocols |
| Unexplained losses | Multiple hives failing, reduced nectar stores | Isolate hives and request professional assessment |
Ideal Weather and Timing for Colony Checks
Choose sunny, calm conditions for checks. Aim for temperatures near 57°F (mid-teens Celsius) so brood stays warm and bees remain less defensive.
Most beekeepers schedule inspections between 11:00 and 2:00. This is prime time because many foragers are out gathering nectar. A quiet hive makes frame handling easier and cuts stress on the colony.
On the East coast of Scotland the first thorough inspection often falls on April 19th because cooler spring weather delays activity. Keep that in mind when you set your yearly schedule.
New beekeepers should avoid opening a hive on cloudy or rainy days. Windy conditions make handling frames and equipment awkward and risk chilling the brood.
“Maintain a steady inspection schedule in spring—rapid colony expansion needs regular space checks.”
- Check queen activity and comb build each inspection.
- Confirm weather is calm before using specialized equipment.
- Keep notes on entrance activity and stores to guide future inspections.
For more on inspection timing and seasonal planning, see a practical inspection timing guide and this seasonal calendar.
Recognizing Signs of Hive Distress
Small changes in daily bee traffic can signal a serious problem inside the colony. Monitor the hive entrance each day and note sudden drops in foragers or piles of dead bees. These are primary alerts that a hive may be failing.

Unusual Hive Entrance Activity
Look for slow or frantic coming-and-going at the entrance. Guard bee swarms or defensive flights often mean stress from predators, pests, or poor weather.
Record entrance patterns on each inspection so you spot trends across days and weeks.
Queenlessness and Brood Issues
Spotty brood, no eggs, or irregular comb pattern usually points at a failing queen. A healthy queen shows steady brood across frames.
If you suspect queen loss, act quickly to requeen or support the colony with emergency measures.
Varroa Mite Infestation Indicators
Varroa shows as deformed wing bees, high mite counts, or mites on uncapped brood. Use your hive tool and a mite test on a frame sample during spring and late summer.
- Check comb and frame debris for mites.
- Isolate affected hives and follow a treatment plan.
Good management means daily checks and clear records. For a practical hygiene guide use this hive hygiene checklist.
Managing Colony Growth and Space
Eight weeks of strong forage in Fife demand active space management and frequent checks. Peak nectar flow means rapid brood expansion and fast honey build-up. Add room early so the hive has enough space and the colony stays calm.
Preventing Swarm Preparations
Be proactive. Add supers before crowding appears and inspect frames every 7–10 days. Regular inspections help you spot queen cells and block swarm plans early.
- During the 8 week peak, add supers for honey storage and extra box space.
- Use a hive tool to lift frames and check brood pattern, queen presence, and room.
- Keep a steady inspection schedule every 7–10 days while flow is active; note changes each day.
- If the bee yard fills up, add equipment or redistribute loads to avoid lost colonies and lower honey yield.
- For practical methods on routine checks and adding capacity, see a hive inspections guide and expansion tips at expansion tips.
“Proactive space management saves colonies and secures next season’s stores.”
Best Practices for Gentle Hive Handling
Slow, steady actions around the hive keep the colony calm and reduce defensive behavior.
Observe the hive entrance and the weather before you open the top. A quiet hive and warm day make inspections easier and safer for bees and beekeepers.
Use minimal smoke and move deliberately when lifting frames. New beekeepers should practice frame handling on a dummy hive until movements feel natural.
Keep your hive tool clean and within reach. A tidy toolset reduces fumbling and limits stress on the brood and the queen during inspection.
“Gentle handling preserves colony temperament and protects honey flow.”
- Check hive entrance mood for a calm start.
- Open the top slowly and lift frames straight up with a steady hand.
- Limit exposure time; finish the inspection in a planned sequence.

| Practice Area | Best Action | Benefit |
|---|---|---|
| Frame handling | Lift slowly, avoid jarring | Protects brood and queen |
| Smoke use | Apply light puffs at top only | Calms bees without over-smoking |
| Tool hygiene | Clean between hives | Reduces disease spread |
For guided training and ways to mentor new beekeepers, see mentor new beekeepers. Consistent, calm inspections build experience and protect your hives year after year.
Conclusion
Solid inspection habits help beekeepers spot small problems before they grow. Regular hive inspections are the cornerstone of healthy yards and steady honey yields.
Watch brood and frames closely. Early action saves colonies and sharpens your skill as a bee manager. Good notes make future checks easier for beekeepers and neighbors.
If complex or widespread issues appear, seek professional help and consult an official inspection protocol for guidance. Remember the 1954 film lesson: vigilance matters.
Thank you for reading. Keep learning today, protect your hive, and support healthy bees for seasons ahead.
FAQ
When should I reach out for a professional hive assessment?
Contact a qualified inspector if you spot rapid population collapse, heavy dead bees at the entrance, foul odors, sudden loss of brood, or signs of severe pest pressure like many mites. If your experience is limited or a colony’s behavior changes dramatically in days or weeks, seek help for accurate diagnosis and swift treatment.
What does a routine hive inspection cover?
A thorough check evaluates queen presence and laying pattern, brood health, food stores, frame condition, and signs of brood disease or pests. Inspectors also assess space needs during nectar flow, comb integrity, and equipment wear. Routine visits keep colonies productive and reduce emergency interventions.
What professional assessment criteria are used?
Experts look for consistent brood pattern, queen cells or supercedure activity, mite levels from sugar roll or alcohol wash, brood diseases such as American foulbrood, and adequate honey and pollen. They note colony temperament, hive ventilation, and nearby forage conditions to recommend management steps.
How do I identify complex disease outbreaks?
Complex outbreaks show multiple signs: spotty brood, sunken or perforated cappings, unusual odors, and heavy adult mortality. These patterns often require lab tests or experienced diagnosis. If multiple colonies show similar severe symptoms, arrange for a professional examination promptly.
What are the best days and weather for colony checks?
Choose warm, calm afternoons when most foragers are out. Avoid cold, windy, or rainy periods. Good inspections happen when temperatures let bees fly, which reduces crowding at the entrance and lowers stress on the colony during handling.
What hive entrance activity should raise concern?
Watch for many bees piling at the entrance, constant drift of unfamiliar bees, or sluggish guard behavior. Excessive robbing, large numbers of dead bees, or frantic traffic can signal disease, queen loss, or inadequate space. These warrant closer inspection or expert help.
How can I detect queenlessness or brood problems?
Look for spotty brood, many emergency queen cells, or a decline in worker numbers caring for young. Lack of eggs after a full inspection indicates queen loss. Timely identification prevents population decline and helps determine if requeening or colony merging is needed.
What indicates a Varroa mite problem?
High mite loads show in sticky or damaged brood, deformed winged bees, and poor winter survival. Regular sugar rolls or alcohol washes quantify mite levels; thresholds depend on season and colony strength. If counts exceed recommended limits, apply integrated mite management promptly.
How do I manage colony growth and provide enough space?
Add supers or brood boxes ahead of expected nectar flow to prevent crowding and swarm impulses. Monitor frame utilization and honey storage; if stores fill available frames quickly, expand space. Good timing keeps colonies productive and lowers swarm risk.
What steps prevent swarm preparations?
To deter swarming, maintain open brood space, remove or manage queen cells, provide sufficient supers, and perform regular splits when colonies get dense. Early spring checks and attention during peak nectar flow reduce the chance colonies will attempt to swarm.
What are best practices for gentle hive handling?
Work calmly, use a smoker lightly to avoid overuse, and move frames slowly. Keep inspections brief, avoid crushing bees, and return frames in the same order. Gentle technique reduces bee stress, prevents defensive behavior, and supports colony health.
How often should new beekeepers inspect hives?
Beginners should inspect every seven to ten days in spring and early summer to track queen status, space needs, and disease signs. During stable periods or winter, reduce checks but monitor food stores and ventilation. Adjust frequency based on colony condition and nectar flow.
What tools and equipment are essential for safe inspections?
Carry a hive tool, smoker, protective veil or suit, gloves, and a brush. Bring a frame grip and containers for samples if diagnosing disease. Clean and maintain equipment to avoid spreading pathogens between colonies.
When is a swarm beyond my management skills?
If a swarm settles in a high or inaccessible location, or you lack ladder and safety gear, contact a professional removal service. Removing large or clustered swarms can be hazardous; experts use proper equipment and techniques to recover bees safely.