Reusing queen cages can save money and cut waste, but it must be done with care. Proper cleaning keeps disease from spreading and helps ensure every safe queen bee introduction goes smoothly.
A clear protocol protects your apiary and your equipment used for queen bee transport. Start by removing wax, propolis, and adhesive residues. Soaking and a thorough rinse reduce lingering pheromones that can affect acceptance.
HONESTBEE advises that reuse is responsible only when hygiene is strict and consistent. A simple, repeatable routine extends gear life and lowers replacement costs while supporting colony health.
For a step-by-step guide and practical tips, see this helpful FAQ on safe equipment handling: can queen cages be reused.
Key Takeaways
- Reusing equipment is sustainable when cleaning is thorough and regular.
- Remove debris first, then treat surfaces to reduce pathogens and scents.
- Proper protocol improves success of every safe queen bee introduction.
- Routine maintenance lowers costs and limits plastic or metal waste.
- Commit to hygiene to protect colonies from disease transmission.
The Importance of Sanitizing Queen Cages Before Reuse
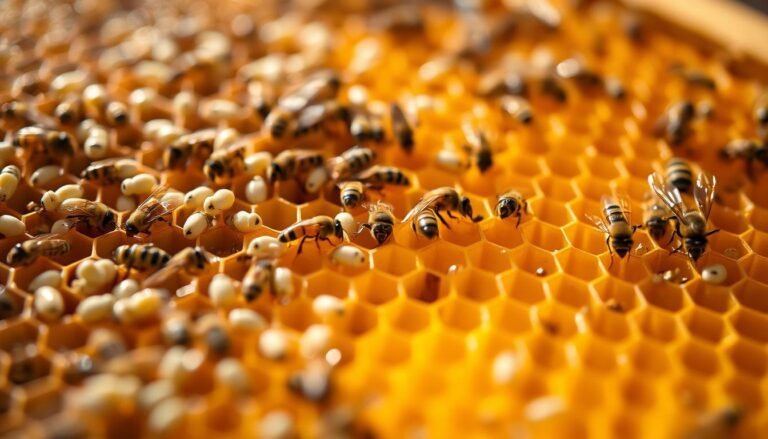
Reusing a queen bee cage saves money and reduces waste, but it demands strict hygiene. A single contaminated tool can spread pathogens across hives and undo months of work.
Professional queen cage users follow clear cleaning steps to remove wax, propolis, and scent traces. These steps reduce risk and help new introductions go smoothly.
- Every professional queen cage needs a full treatment to prevent microscopic transfer of disease agents.
- Many queen cage beekeepers put disease prevention above quick turnarounds.
- Skipping this work can introduce foreign pheromones or bacteria that harm colonies.
“High standards of hygiene keep equipment a tool for health, not a vector for illness.”
Maintain a disciplined protocol and record treatments. This protects future queens and keeps an apiary productive and resilient.
Economic and Environmental Benefits of Reusing Equipment
Cutting equipment costs and waste helps large apiaries stay profitable and sustainable.

Cost Savings for Commercial Apiaries
Large operations see real savings when routine items last longer. Reusing a plastic queen cage and related parts lowers annual buying costs.
Queen cage beekeepers often pair cages with a plastic queen excluder to speed management. That combo reduces labor and replacement spend.
Reducing Plastic Waste in Beekeeping
Minimizing single-use parts shrinks landfill contributions and supports sustainable certification goals.
Queen excluder beekeeping strategies that favor durable parts cut seasonal plastic waste and improve long-term margins.
- Durable tools reduce recurring purchases and save funds.
- Using a plastic queen excluder wisely streamlines hive flow.
- Adopting a reusable design commercial approach lowers environmental impact.
| Metric | Single-Use Parts | Durable Parts | Recommendation |
|---|---|---|---|
| Annual Cost | High | Low | Invest in a quality plastic queen cage |
| Plastic Waste | Large | Minimal | Use plastic queen excluder with care |
| Operational Fit | Convenient | Scalable | Choose design commercial beekeeping products |
| Longevity | 1 season | Multiple seasons | Prefer reusable design commercial gear |
“Durable equipment lowers costs and environmental harm while keeping production steady.”
Understanding the Risks of Disease Transmission
Microscopic agents hitchhiking on equipment pose serious risks to colonies. Even small spores or viral particles transferred on a tool can start a chain of infection that is hard to stop.
Pathogen Vectors in Used Equipment
American Foulbrood (AFB) is the primary danger. AFB spores are resilient and can remain viable on surfaces for years.
When equipment moves from hive to hive, it may carry spores or viruses that infect healthy colonies. A single contaminated piece can trigger widespread losses.
- The biggest risk is AFB, a disease that can devastate an apiary.
- Pathogens can survive on the surface for long periods, turning a tool into a vector.
- Equipment from a hive that died unexpectedly should be treated as high risk or discarded.
Understanding these biological threats is vital. The health of the mated female you introduce affects brood production and colony resilience.
“Proper cleaning and treatment form the barrier that neutralizes microscopic threats and protects your investment.”
Preparing Your Queen Cages for Deep Cleaning
Start physical cleaning with steady, careful removal of all wax, propolis, and candy residues. Use a small hive tool or a sharp blade to scrape hardened material from slots and edges.
Pay special attention to mesh and tiny openings. Organic matter can hide in crevices and protect pathogens from later treatment.
Soak parts in hot water when candy plugs or wax are stubborn. Warm water softens residues and reduces the risk of damaging plastic or metal frames while you work.
A visually clean queen bee cage is mandatory for any effective chemical step. Remove all visible debris so sprays or dips can reach every surface.
- Clear hardened propolis and wax with a scraper.
- Target mesh areas where contaminants collect.
- Soak to loosen compacted candy or feed plugs.

“Meticulous physical cleaning sets the stage for effective sterilization and protects colony health.”
For practical FAQs on handling this equipment and related guidance, see this resource: are queen cages reusable.
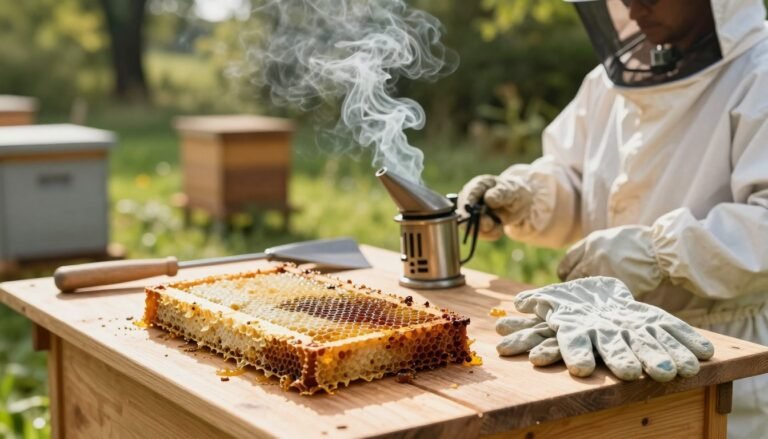
Essential Tools for Effective Cage Maintenance
A compact toolkit and a clean bench shorten turnaround time and reduce risk. Gather tools that match the materials you handle and give each part space to dry.
Utilizing Hive Tools for Debris Removal
Use a small hive tool or a sharp blade to scrape wax, propolis and candy plugs. Work gently around mesh and slots to protect the cage sliding lid and any fine metal tines.
Tip: A roller cage catcher helps capture loose debris when you clear a round push-in queen model.
Selecting Appropriate Sanitizing Agents
Soak compatible parts in a 1:10 bleach-to-water solution for 20 minutes, then rinse thoroughly. Confirm materials—like durable galvanized steel or essential yellow plastic—are safe for this treatment.
HONESTBEE stocks durable galvanized steel spring items and premium wood options for professional multi-functional queen setups. Review specifications to view specs professional users rely on.
Setting Up Proper Drying Racks
Arrange a dedicated drying rack with good airflow. Multi-compartment queen cage designs and professional bamboo queen pieces need full drying to avoid moisture buildup.
- Designate a clean area for tools and parts.
- Allow full air drying before assembly for cage safe transport.
- Inspect sliding gate feeder and queen cage metal parts for trapped residue.
“Right tools and a dry, clean space keep handling efficient and lower contamination risk.”
For detailed reuse guidance, see this FAQ on multiple use handling: can a queen cage be reused multiple.
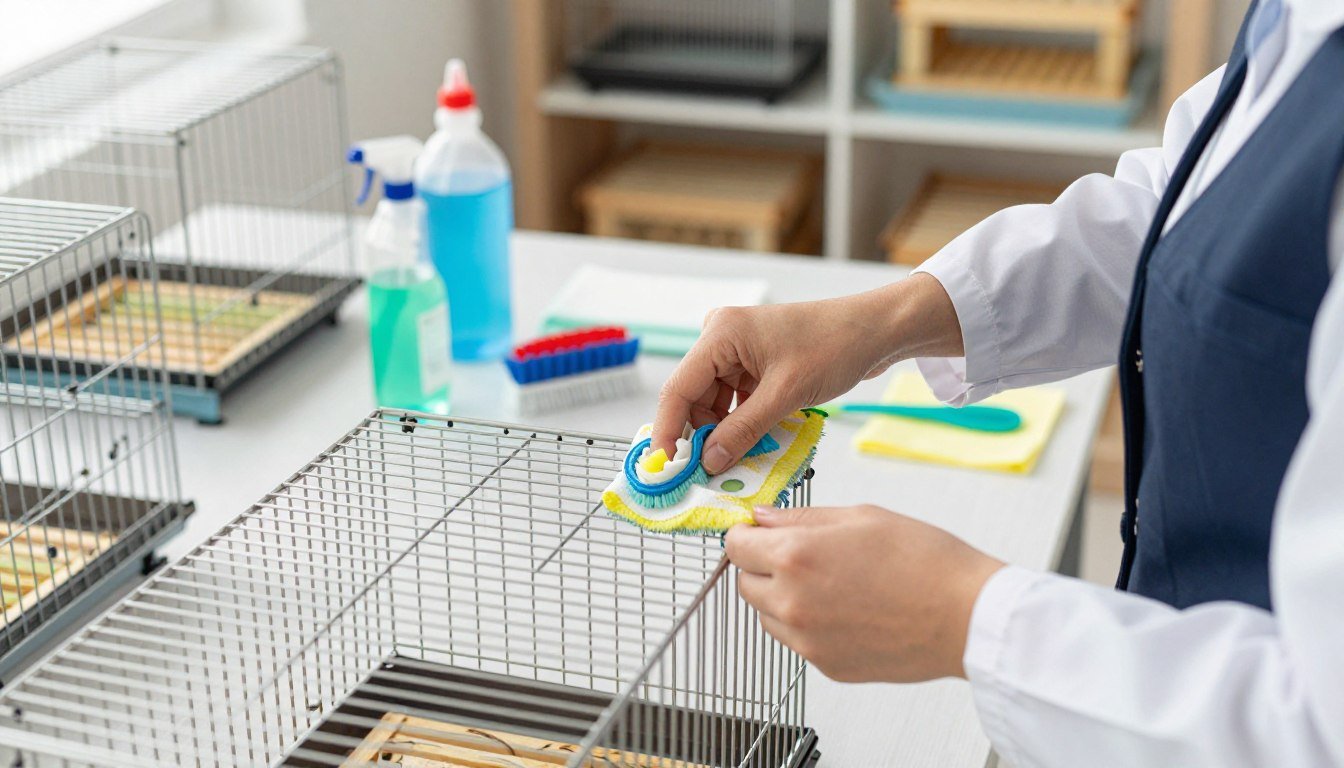
Step by Step Sanitization Protocol
Start each cycle with a hands-on check. Remove wax, propolis and stuck feed so cleaning agents can reach every surface. Inspect the mesh and any moving parts for trapped debris.
Soak the queen bee cage in a 1:10 bleach-to-water solution for at least 20 minutes. After soaking, rinse thoroughly with clean water to remove residue.

Pay special attention to the queen cage sliding mechanism and the cage sliding lid. Rinse those parts until no bleach scent or film remains.
- Air dry units fully in direct sun to speed moisture removal.
- Only declare a queen cage safe once it is dry and odor-free.
- Follow this routine to guarantee safe bee introductions and lower cross-contamination risk.
“Thorough cleaning and full drying are the final barrier that protects colonies.”
| Step | Action | Focus |
|---|---|---|
| 1 | Remove debris | Mesh, sliding parts |
| 2 | Soak 1:10 bleach 20 min | Full surface contact |
| 3 | Rinse thoroughly | queen cage sliding, cage sliding lid |
| 4 | Air dry in sun | Declare queen cage safe |
Managing Residual Pheromones for Better Acceptance
Residual scent from a former hive leader can mask the signals of a newcomer and slow colony acceptance. Workers use chemical cues to decide whether to accept or reject an introduced female.
Managing residual pheromones is vital to boost queen acceptance. A thorough cleaning routine resets the environment and removes competing odor markers.
Using a cage boost queen approach helps the colony perceive the newcomer as the only authority. When the bee cage boost is effective, workers focus on the new individual’s pheromones and show fewer aggressive behaviors.
Equipment maintenance reduces stress on both the introduced female and the workers. Clean, odor-free gear increases the odds of a calm, successful queen bee introduction.
“Reset the scent field and you raise the chance of quick, peaceful acceptance.”
| Action | Why it helps | Outcome |
|---|---|---|
| Thorough cleaning | Removes old pheromones | Higher acceptance rates |
| Use cage boost queen method | Resets colony perception | Less aggression |
| Dry and store gear | Prevents odor build-up | Consistent introductions |
For more on behavioral rejection and troubleshooting, see why bees reject a queen.
Assessing Colony Temperament During Introduction
Observe the colony’s behavior for several minutes before any handling to judge how gradual the introduction must be. A short, calm scan at the hive entrance tells you a lot.
Colony Size Considerations
Larger or more defensive hives often need slower introductions. Use a measured approach when using a push-in queen cage to reduce shock to workers.

To boost queen acceptance in a defensive colony, combine the cage boost queen method with gentle, minimal disruption. Avoid repeated inspections.
- When using a push-in queen cage, assess temperament; adjust the timeline for large or defensive colonies.
- Combine cage boost queen steps with a calm approach to help the bee cage boost work best.
- Use a professional round push-in for controlled release in aggressive hives.
- Keep the environment queen cage safe and monitor for signs of stress during safe bee introductions.
“Good judgment on timing and technique raises the odds of a peaceful queen bee introduction.”
For additional handling strategies and a safe removal perspective, see this practical guide on a professional round push-in.
When to Discard Rather Than Reuse
If a unit has any link to a diseased hive or comes from an unknown source, discard it immediately.
If you suspect American Foulbrood on a push-in queen cage, remove and destroy that item. AFB spores survive long on surfaces and are not worth risking.
A plastic queen cage exposed to a dead-out of unknown origin should also be retired. The cost of replacement is low compared to the loss of healthy colonies.

- Discard any push-in queen cage with possible AFB contact without delay.
- Retire a plastic queen cage from a dead-out of unknown cause.
- When uncertain, choose the long-term health of the apiary over short-term savings.
- Adopt a firm discard policy to keep biosecurity consistent across operations.
Remember: the low price of a new push-in queen cage is a small investment next to the value of a strong colony. Maintain strict disposal rules and your apiary will stay resilient.
“Maintaining a strict policy on when to discard equipment is a hallmark of a responsible beekeeper who values long-term biosecurity over short-term savings.”
For ways to cut single-use plastic in your operation, see reduce plastic use.
Balancing Biosecurity with Operational Efficiency
Smart protocols let teams protect colonies while keeping daily work flow moving. A consistent, non-negotiable cleaning schedule helps queen cage beekeepers protect every safe queen bee in their care.
Standardization reduces errors and speeds turnaround. When each step is documented and assigned, staff spend less time guessing and more time working safely.
HONESTBEE recommends treating used gear as a potential biological hazard until it completes a verified cleaning cycle. This conservative stance minimizes risk across commercial yards.
Investing minutes daily in a robust protocol saves weeks of lost production after an outbreak. The right balance pairs cost-conscious reuse with strict safety steps to protect long-term productivity.

“A well-planned process makes biosecurity a routine part of operations, not a disruption.”
| Priority | Action | Benefit |
|---|---|---|
| Policy | Standard cleaning schedule | Consistent protection |
| Training | Assign responsibilities | Fewer errors |
| Verification | Documented processing cycles | Traceable biosecurity |
| Guidance | Follow industry advice | Aligned best practices |
For industry context and ethical handling, consult guidance on specialized transport and trade at specialized queen mailing practices and industry ethics at beekeeping ethics.
Selecting Durable Equipment for Long Term Use
Choosing robust hardware pays off when tools face repeated cleaning and heavy field use. Durable galvanized steel items and premium wood steel builds handle repeated cycles without warping or cracking.
HONESTBEE supplies a wide range of options for commercial operations, from the multi-compartment queen cage to a professional bamboo queen design. Select a bee cage professional model with a steel spring queen or galvanized steel spring to ensure long service life.
Look for multi-function features such as a queen roller cage, a sliding gate feeder, or a gate feeder plug to streamline handling and support safe queen bee transport. Combining a plastic queen excluder or a hexagonal direct comb structure with premium components supports a reusable design commercial approach.

Practical steps: view specs professional for materials and match tools—roller cage catcher, cage sliding gate and cage metal tines—to your workflow. For buying guidance on breeder gear and queen rearing kits, see this best supplies guide and a national equipment roundup.
“Invest in durable, compatible tools and you protect both productivity and biosecurity.”
Conclusion
Small, repeatable steps in equipment care deliver outsized gains in longevity, biosecurity, and acceptance rates.
Proper cleaning of transport gear is the foundation of a healthy, productive apiary. Treat every used tool as a potential risk until it is clean and dry.
Queen cage beekeepers who commit to a clear protocol can enjoy cost and environmental benefits while protecting colony health. HONESTBEE supplies durable parts that stand up to routine care and high-volume handling.
Follow the steps in this guide, keep records, and train staff to maintain consistency. For formal biosecurity standards and practical direction, consult the honey bee producer guide.
FAQ
How do I properly clean a queen bee cage for safe reuse?
Start by removing all visible wax, propolis, and debris with a hive tool and a soft brush. Soak the cage in warm, soapy water to loosen residues, then rinse thoroughly. Use a food-safe disinfectant approved for beekeeping to reduce pathogens, following the manufacturer’s dwell time. Rinse again, let the cage air dry on a clean rack, and inspect metal springs or plastic tines for damage before reuse. For wooden or bamboo premium wood designs, avoid long soaks—wipe and air-dry to protect the material.
What are the main disease risks when reusing queen bee transport gear?
Used equipment can carry pathogens like Nosema spores, American foulbrood (Paenibacillus larvae), and chalkbrood fungal spores. Sticky residues and brood remnants provide a vector for spread between colonies. Proper cleaning and occasional replacement of high-risk items—especially those with cracks or deep crevices—helps limit cross-contamination in commercial beekeeping operations.
Which materials tolerate cleaning best: plastic, galvanized steel, or bamboo?
Durable galvanized steel and hard plastic, including essential yellow plastic and premium plastic excluders, tolerate rigorous cleaning and disinfectants well. Galvanized steel springs and metal tines resist corrosion when rinsed and dried. Bamboo and wood cages look premium and boost queen acceptance, but they require gentler care—wipe cleaning and limited moisture to avoid warping or fungal growth.
How can I manage residual pheromones to improve introductions and queen acceptance?
Remove lingering pheromones by washing with warm water and a mild detergent, then exposing the cage to sunlight and airflow to help dissipate odors. For multi-compartment or sliding gate designs, open moving parts during drying so vents clear. Some beekeepers use light smoke or cage placement near nurse bees to mask odors during introductions, but avoid strong chemicals that could harm bees’ olfactory cues.
When should I discard a push-in or roller cage instead of cleaning it?
Discard cages that show cracks, deep gouges, rusted metal springs, or warped plastic that trap debris. Also replace multi-compartment or sliding gate units if hinges stick or seals fail, and any item contaminated with confirmed American foulbrood should be destroyed or incinerated according to local regulations. Regularly inspect round push-in and professional round push-in styles for wear to decide replacement timing.
What tools and supplies are essential for effective maintenance of queen bee transport gear?
Keep a hive tool, soft brush, dedicated scrub brushes, food-safe disinfectant, mild detergent, drying racks, and gloves on hand. For commercial operations, add soaking tubs, a separate set of tools for diseased-colony work, and a heat source or sunlight area for thorough drying. Roller cage catcher and gate feeder plug accessories help manage parts during cleaning.
How often should I clean multi-function or professional multi-compartment queen cages?
Clean reusable cages after every use to reduce pathogen load and pheromone buildup. For busy apiaries, perform a deeper sanitization weekly or after handling multiple colonies. Inspect sliding lids, steel springs, and plastic components during each cycle and replace worn parts promptly to maintain safety during transport and introductions.
Are there specific methods for preparing cages prior to deep cleaning?
Pre-rinse to remove loose debris, then disassemble removable parts like sliding gates, metal tines, and springs. Soak non-wood parts to loosen residues. For bamboo or wood premium models, avoid full immersion; instead, wipe and use brief, controlled steam if needed. Label and separate used cages from cleaned stock to prevent cross-contamination.
Can cleaning damaged excluders or metal queen cages restore their safety?
Minor surface grime and residue can be removed, but structural damage such as broken springs, bent metal, or cracked plastic compromises safety and should lead to replacement. Durable galvanized steel and well-made premium wood cages last longer, but any sign of failure in a sliding gate or cage metal component warrants retirement of the item.
What are the economic and environmental benefits of reusing well-maintained transport gear?
Reusing robust, well-maintained equipment cuts supply costs for commercial apiaries and reduces plastic waste. Choosing long-lasting materials—galvanized steel springs, premium wood, or high-quality plastic—lowers replacement frequency. Proper maintenance balances biosecurity with operational efficiency, preserving budget and minimizing environmental impact.
How does colony size affect introduction strategy with a push-in or sliding gate feeder cage?
Small or defenseless colonies may accept a new introduced queen more readily; in larger, populous hives, introductions can provoke stronger defensive behavior. For big colonies, use multi-stage introduction methods, offer a gradual release with a sliding gate, and monitor temperament before full release to boost acceptance rates.
What cleaning agents are safe and effective for beekeeping gear?
Use mild detergents and food-safe disinfectants recommended by beekeeping suppliers. Avoid harsh solvents that leave toxic residues. For heavy contamination, follow label instructions for agricultural or apicultural disinfectants effective against bacterial and fungal spores. Always rinse thoroughly and dry completely before reuse.
How do I set up proper drying racks to prevent recontamination?
Use elevated, ventilated racks in sunlight or a low-humidity drying room. Keep cleaned parts separated from used gear and label shelves for “clean” and “dirty.” Position sliding lids and open compartments to expose interior surfaces to airflow, and allow sufficient drying time to prevent mold growth.
What features should I look for when selecting a professional multi-functional queen cage?
Choose designs with durable materials (galvanized steel springs, strong plastic or quality wood), smooth sliding gates, secure metal tines, and easy-to-clean surfaces. Multi-compartment and sliding gate models that disassemble easily speed cleaning. Consider round push-in or roller cage options for specific transport or introduction needs.
How can I balance strict biosecurity with efficient operations in a commercial apiary?
Implement standardized cleaning protocols, routine inspections, and a replacement schedule for high-risk items. Train staff on proper tool use and separation of equipment by disease status. Invest in durable, easy-to-clean gear to reduce downtime and maintain throughput without compromising colony health.