Every beekeeper owes their colony a safe, dry home and regular care. This short guide shows the practical way to set expectations, manage space, and protect bees so a hive can meet production goals.
Start with placement: raise the hive about eight inches, keep gaps tight, and give easy flight access. Check frames often for brood, stores, and empty frames. Record what you find so decisions rest on facts, not guesses.
Feed seasonally—syrup in spring, thicker syrup late summer, and dry food in cold months. Watch the queen’s laying pattern; it is the colony’s heartbeat. Use traps and screened pans for pests and narrow entrances to stop robbing.
Good housekeeping—drain pooled water, remove moldy gear, and freeze suspect frames—reduces disease risk. Even experienced beekeepers follow these routines to protect honey, wax, and overall hive health.
Key Takeaways
- Provide a secure, slightly elevated hive with a small entrance for safety.
- Inspect and record brood, stores, and queen activity regularly.
- Feed seasonally: 1:1 in spring, 2:1 late summer, and dry sugar in winter.
- Use traps and screened oil pans to limit varroa and beetle threats.
- Location and forage access directly affect production and colony health.
- Follow evidence-based routines; learn seasonal tasks from a trusted seasonal beekeeping guide.
Choose Your Beehive Maintenance Approach
Pick an approach that fits your goals and the time you can give. The right plan balances inspection frequency with desired results for honey, pollen, or royal jelly.
Low intervention suits keepers who want resilient colonies with minimal harvest. Check every few weeks for queen performance and stores. These hives self-regulate when forage is ample and stress is low.
Regular checks for steady production
Weekly or biweekly inspections fit beekeepers focused on honey and wax. These visits let you track brood, add supers, and prevent congestion. Consistent timing keeps both you and the bees calm.
Intensive care for specialized goals
Checking every 2–3 days is common when targeting pollen traps or royal jelly. Tight management boosts production but demands close attention to queen status and space. Small errors can stress brood during peak flow periods.
“Each visit should have a clear purpose: verify brood pattern, assess stores, look for pests, and adjust space.”
- Choose a cadence you can sustain; time constraints determine outcome.
- Document each visit to spot trends across days and weeks.
- More frequent management can increase production, but avoid over-handling during sensitive brood phases.
Final note: Match your management to goals. Predictable routines help colonies thrive and let you time supering or splits with confidence.
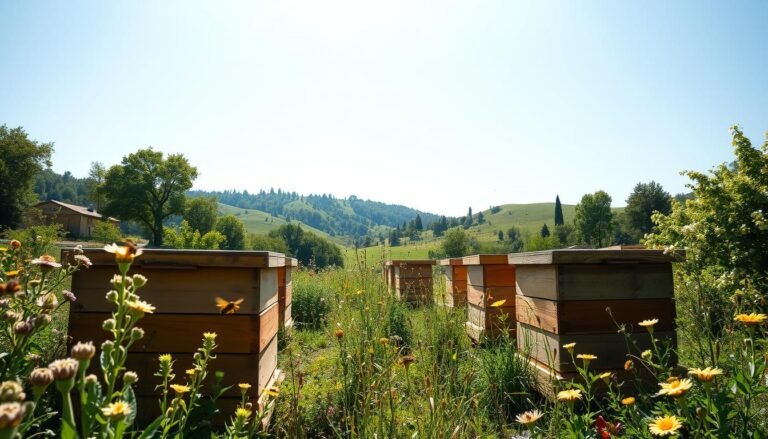
Set Up a Healthy Hive Location and Entrance
Choose a stable spot for your hive that protects bees and eases your regular work.
Place the box at least eight inches off the ground to cut moisture splash and deter small predators. Elevation improves airflow and makes handling equipment easier for the beekeeper.

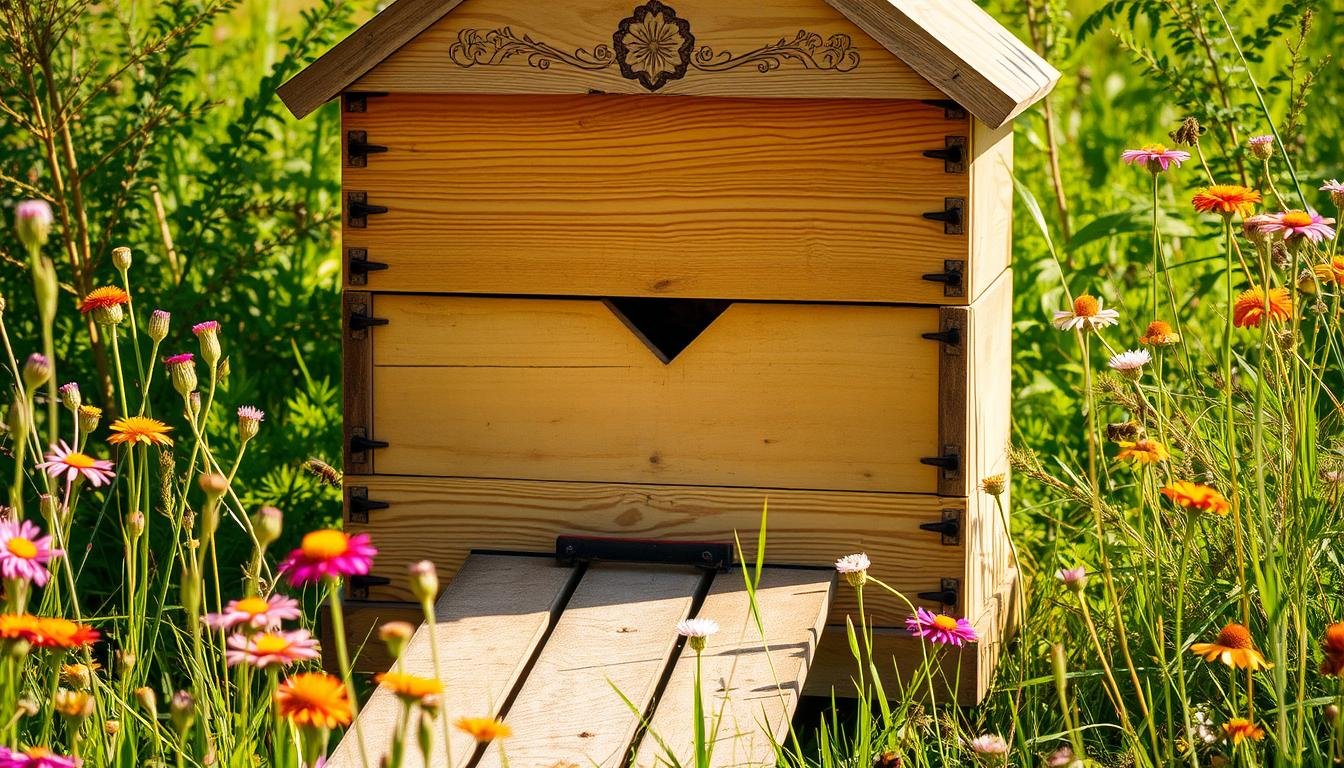
Elevation, small entrance, and predator/weather protection
Size the entrance small and tight. A narrow entrance reduces drafts, limits intruders, and helps bees regulate temperature inside hive.
Add a rain cover and mid-day shade in hot months to lower thermal stress. Use entrance reducers in fall and winter to conserve heat and slow robbing without blocking normal flights.
Site selection near nectar and pollen sources in your apiary
Select an apiary site close to proven nectar and pollen so colonies can rebuild quickly and need less emergency feeding. Orient hives for morning sun and sheltered afternoons when possible.
- Make sure the stand and ground slope let water drain from the landing board.
- Allow clear flight paths, extra room for more hives, and vehicle access for snow removal.
- Use windbreaks or natural barriers to improve microclimate while keeping ventilation.
Manage Hive Space, Frames, and Comb Growth
Plan box additions ahead of visible congestion to keep comb building steady and avoid emergency moves. Start small: one box for a new package or nucleus, and in horizontal setups give 8–10 bars or frames.
Add an empty box—or 8–10 empty bars—when only 2–3 frames or top bars remain empty. After two brood boxes, add boxes on top for honey reserves. Insert empties into the brood area or split the colony to relieve crowding.
Brood nest and swarming control
Keep the brood area open by rotating an empty frame into the nest. Watch the queen’s laying pattern and brood density to choose between adding a box or making a split.
- Scale space with colony growth—add a box before the last 2–3 frames fill.
- Use drawn comb to speed expansion; place foundation next to brood when comb is lacking.
- Inspect early for burr and cross comb; correct to keep frames lifting cleanly.
| Situation | Action | Benefit | Timing |
|---|---|---|---|
| Last 2–3 frames filling | Add an empty box / 8–10 frames | Continuous comb growth | Pre-flow or when stores rise |
| Two brood boxes present | Add honey box on top | Prevents backfilling brood | After stable brood pattern |
| High brood density | Rotate frame or split colony | Reduces swarming pressure | At congestion signs |
For more on optimizing internal spacing and bee flight paths, see a practical guide on bee space and expert steps for swarming preparation.
How to Inspect a Hive Like a Pro
A methodical inspection begins with a steady pace and a goal for what you must verify. Move calmly, work with purpose, and limit time in the hive to reduce stress on the bees.

What to look for: queen, brood stages, honey and pollen
Scan frames for eggs, larvae, and capped pupae to confirm a laying queen. A full set of brood stages means the queen is present and active.
Note frames of honey, nectar, and pollen on your inspection sheet. Count empties so you can plan feeding—syrup or dry sugar—if stores are low.
Reading temper, activity, and visible pest signs
Watch flight lines before opening; low traffic or frenzied aggression are clear signs something is wrong. Check for varroa, beetles, chewed cappings, or slime.
Inspect comb for cross or burr comb and correct early to avoid damage when you remove frames.
Simple record-keeping for better management
Record frames of brood, stores, and empties each visit. Frame-level notes let beekeepers spot trends and decide whether to add a box or split a colony.
Capture inside hive conditions such as moisture, odor, and heavy propolis use. Use a consistent guide and compare visits over time to prevent small issues from becoming big problems.
“Open calmly and methodically, scanning eggs, larvae, and pupae to confirm continuous brood and a functional queen.”
Feeding and Stores: Sugar Syrup, Dry Sugar, and Timing
Timing and type of feed directly shape brood growth and winter survival.
Spring build-up: give 1:1 sugar syrup to stimulate comb and queen laying. Young hives and splits benefit most. Use internal feeders early in cool spring months to prevent chilling and reduce spill risk.
Late-summer support
Switch to 2:1 syrup during late-summer dearth to build stores without forcing extra evaporation work. This helps bees pack weight into the hive ahead of colder months.
Winter protocol
When the cluster forms, rely on dry sugar or hard candy only. Avoid liquid syrup in true winter—low temperature and wet syrup risk chilling and fermentation.
- Gauge stores by frame checks and simple weigh-downs; refill before shortages appear.
- Match feeders to the season; use external feeders only when robbing risk and temperature are low.
- Mix syrup with clean water, keep it fresh, and clean feeders to prevent mold and pests.
- Record feeding dates and volumes over months to refine future plans.
“Good feeding prevents emergency food runs and protects overwintering success.”
Protecting the Hive: Varroa, Small Hive Beetles, and Robbing
Effective pest control starts with regular checks and simple physical defenses.
Varroa monitoring is essential because varroa are a leading cause of colony losses. Use alcohol washes or sugar rolls on a set schedule and treat when counts exceed your threshold.
Choose seasonally safe treatments and follow label directions to protect brood and wax. Keep records of counts, dates, and equipment used to refine your pest management plan.
Small hive beetle defenses
In warmer climates, combine in-hive traps, a towel under the lid, and a screened oil pan in place of a solid bottom board to reduce beetle pressure.
Preventing robbing
Robbing peaks in summer and fall dearth. Watch the entrance for frantic flight, wrestling bees, or wax debris—these are clear signs to act.
- Narrow the entrance immediately during dearth and tidy spilled syrup or exposed comb.
- Rotate and clean traps and oil pans so equipment stays effective.
- Support weak colonies with tightened entrances and check brood and adult populations during inspections.
“Quick detection and coordinated action among beekeepers lowers reinfestation risk across an apiary.”
Ventilation, Moisture Control, and Weather Readiness
Keep colonies comfortable year-round by controlling airflow and humidity around each hive.
Summer relief: provide shade during the hottest hours, add adjustable vents or open sliders, and supply a shallow water station with floats to prevent drowning.
Watch for heavy bearding on hot days; this is a normal cooling behavior. If bearding persists, increase ventilation or add space to reduce crowding.
Winter strategies and wind protection
Wrap boxes with black tar paper to retain heat and use entrance blocks to slow heat loss while keeping some air movement.
Install windbreaks—fences, trees, or structures—to cut sustained gusts that strip warmth from the colony and stress bees across the season.
- Clear snow from entrances and upper vents quickly after storms to prevent moisture buildup and suffocation risks.
- Slope the cover and add absorbent material if needed to reduce internal moisture and dripping.
- Balance ventilation and heat retention so the hive keeps brood-friendly conditions without excessive humidity.
- Position water sources upwind of your apiary to encourage use and reduce drift onto neighbors’ property.
“Small, timely interventions for airflow and moisture control keep colonies healthier and lessen emergency work.”
Plan ahead: check weather forecasts and make adjustments before heatwaves or cold snaps so you’re ready, not reactive.
Install and Replace Critical Equipment for Strong Colonies
Well-timed upgrades to boxes and frames let hives capture every nectar flow. Install queen excluders to keep the queen out of honey supers so upper boxes focus on clean honey production. Add supers before the main flow so foragers have space and the brood nest does not get backfilled.
Repair or replace damaged parts promptly. Broken or warped pieces invite pests and let moisture in. Freeze or thoroughly clean any used frames or comb before reuse to kill wax moth eggs and other pests.
- Match box and frame types across your yard for quick swaps.
- Standardize screws, latches, and spare parts to speed field fixes.
- Keep spare supers and spare equipment on hand during peak production.
| Action | Purpose | Timing | Benefit |
|---|---|---|---|
| Install queen excluder | Keep brood out of honey supers | Before nectar flow | Cleaner honey and easier harvest |
| Replace warped box | Restore structural integrity | At first sign of damage | Better heat retention and pest reduction |
| Supplement drawn wax | Speed comb build-out | Early season or after loss | Faster stores and higher production |
“Record equipment changes alongside inspections to link upgrades with colony performance.”
Seasonal Beehive Maintenance Checklist
Summer checks focus on balancing harvest with enough stores so colonies enter fall strong. Follow a short checklist each visit to protect production and plan for the colder months.
Summer harvesting: how much honey to leave for overwintering
Harvest in stages and leave honey reserves that match your local climate and colony size. Smaller colonies need more retained stores; larger, healthy colonies can spare more honey for harvest.
Reassess stores after each lift and before fall to decide if feeding is needed. Coordinate harvests by time of day and months of peak flow to reduce disruption and boost production.
Bearding vs swarming: signs, queen cells, and adding a brood box
Bearding is a cooling behavior on hot days; it alone is not a sign of swarming. Look for peanut-shaped queen cells and crowded frames—those are true signs of swarming intent.
If space is tight, add a second brood box or split the colony to relieve pressure and protect brood development.
Plan for expansion and keep a swarm capture kit ready
Keep a ready kit—box, frames, base, roof, and suit—so you can act fast when colonies cast a swarm. Add supers or an extra box before major nectar flows so bees expand without backfilling the brood area.
- Provide a shallow water station, shade, and increased airflow during heat.
- Adjust entrances and robbing screens in late-summer dearth to protect stores.
- Make sure inspection notes track frame-level stores and brood distribution.
- Keep a simple schedule and use a seasonal beekeeping checklist to coordinate tasks.
“Staged harvests and timely space additions are the easiest ways to keep bees productive and winter-ready.”
Conclusion
Success in the apiary comes from steady habits, timely checks, and smart feeding. Anchor your beekeeping in a repeatable plan that fits your goals and local conditions. A practical way is to set a routine for inspections, space management, and seasonal feeding.
Prioritize site, ventilation, and weather protection so the hive keeps stable internal moisture and avoids stress. Use 1:1 syrup in spring, 2:1 in late summer, and dry sugar in winter. Monitor varroa and other mites, keep wax and equipment sound, and install supers and excluders before flows.
Track stores across months and learn from local clubs and neighbors. For the beekeeper who values reliable honey and resilient colonies, steady, informed maintenance is the clearest path to long-term success.
FAQ
How often should I inspect my hive?
Inspect every 7–14 days during spring build-up and honey flows, and every 2–4 weeks in summer and fall. Check more often after storms or when you suspect pests. Keep inspections short, focused on queen presence, brood pattern, stores, and signs of disease or varroa.
When should I add a new box or frames?
Add a super or extra frames when at least 7–8 combs show good brood or drawn comb and bees are filling adjacent space. Add before congestion appears to reduce swarming and to give room for nectar and comb building.
What’s the best feeding schedule for the season?
Use 1:1 sugar syrup in spring to stimulate brood and comb building. Switch to 2:1 syrup in late summer to help bees pack winter stores. In winter, provide dry sugar or fondant when needed and avoid liquid feeds in freezing temperatures.
How do I monitor and control varroa mites?
Perform regular varroa checks with sugar shake, alcohol wash, or sticky boards. Treat when counts exceed your threshold—often 2–3% infestation on adults. Rotate treatments, use integrated pest management (IPM) and follow label instructions for miticides and organic options like oxalic acid or formic acid.
What are clear signs of a healthy queen and colony?
Look for a solid brood pattern with eggs, larvae, and capped brood across frames. Strong foraging activity, steady stores of nectar and pollen, and minimal dead bees at the entrance indicate a productive, healthy colony.
How can I reduce swarming risk?
Manage space by adding supers or splitting hives before congestion. Remove or cut out emergency queen cells when appropriate, perform timed splits or re-queening, and keep brood nest spread across frames to prevent crowding.
What ventilation and moisture steps work best for hot and cold weather?
In summer, provide shade, screened bottom boards or top vents, and water nearby. In winter, reduce large entrances, add windbreaks, and ensure minimal moisture buildup with tilted boxes or moisture-absorbing boards. Good airflow prevents mold and condensation.
How do I protect colonies from small hive beetles and robbing?
Use SHB traps, oil pans, or beetle jails in warm regions. Install entrance reducers and work during calm, nectar-flow periods to prevent robbing. Keep strong colonies with good stores and promptly remove weak or dead hives to reduce pressure.
When should I harvest honey without harming winter stores?
Harvest only surplus honey after the main nectar flow. Leave enough—commonly 60–90 pounds per colony depending on climate—or follow local guidance to ensure bees have adequate stores for winter. Avoid late-season harvesting that forces heavy feeding for winter.
What equipment should I replace or repair each year?
Inspect and repair frames, foundation, and worn boxes annually. Replace brittle wax comb older than 3–4 years to reduce disease and pesticide residue. Check excluders, feeders, and entrance hardware; replace or sanitize as needed.
How do I keep simple, useful hive records?
Note date, weather, queen status, frames of brood, stores, pests observed, and any treatments or changes. Use brief entries on a form or app. Good records help spot trends in production, health, and timing for future actions.
Can I use sugar candy or dry sugar in winter?
Yes—dry sugar or sugar candy is recommended in cold climates because it doesn’t freeze and is available when bees cluster. Place it above the cluster or in a top feeder, and feed only if stores are low to avoid stimulating brood rearing during a dearth.
What should I do if I find a failing or queenless colony?
Combine weak colonies with stronger ones using a newspaper method if appropriate, or requeen using purchased queens or a nuc. Provide emergency feed and reduce robbing risk. Treat for underlying causes like mites or disease before merging.
How do I prepare an apiary site for strong nectar and pollen availability?
Locate hives near diverse forage within a mile—wildflowers, trees, and crops. Ensure good drainage, some morning sun, and wind protection. Keep water sources nearby and rotate apiary placement if possible to follow bloom periods.
When is low-intervention management appropriate?
Low-intervention suits hobbyists wanting natural behaviors or conservation goals. It requires accepting higher attrition and less honey. Use minimal chemical treatments, allow natural comb building, and monitor for major pest outbreaks to balance colony survival and biodiversity.
How can I tell if moisture is damaging comb or brood?
Signs include moldy comb, darkened frames, chill brood patterns, or bees clustering low in the hive. Improve ventilation, add absorptive materials above the cluster, and repair leaks. Keep boxes slightly tilted forward to shed condensation.