Published August 28, 2026
Table of Contents
- Grafting vs. Graft-Free: Why This Guide Exists
- Chinese Grafting Tool
- German Grafting Tool
- Swiss Grafting Tool
- Side-by-Side Comparison
- Grafting Technique Basics
- Why Larval Age Matters More Than Tool Choice
- Building Grafting Skill Through Practice
- When to Graft vs. Go Graft-Free
- Pairing Your Tool With Cell Cups
- Lighting and Magnification Matter as Much as the Tool
- Dry Grafting vs. Wet Grafting
- Double Grafting: A Technique to Improve Acceptance
- The Cell-Builder Colony Matters as Much as the Graft
- Timing a Grafting Session Within the Day
- Cost of Grafting Tools
- Battery-Powered and Automated Grafting Tools
- Left- and Right-Handed Tool Considerations
- Common Mistakes
Grafting vs. Graft-Free: Why This Guide Exists
Our existing queen-rearing guides — the Alley method, Miller method, and Jenter and Nicot systems — all cover graft-free approaches for beekeepers who want to avoid the fine-motor precision grafting requires. This guide covers the other path: the actual tools used when you do want to graft, comparing the three most common grafting tool styles by design, ease of use, and practical tradeoffs. If fine-motor grafting still feels daunting, our guide to the notching method covers an even gentler entry point into deliberate queen rearing.
Chinese Grafting Tool
The Chinese grafting tool uses a thin, flexible tongue or spatula-like tip that slides gently under a selected larva and its surrounding royal jelly, lifting both together with a small adjustment lever or push-button mechanism that releases the larva into a queen cell cup. It’s widely regarded as one of the more beginner-accessible designs, since the flexible tip’s gentle scooping action is somewhat forgiving of imperfect angle or pressure compared to more rigid tool designs, reducing (though not eliminating) the risk of damaging a delicate larva during transfer.
German Grafting Tool
The German grafting tool typically uses a rigid, narrow spoon-like tip requiring more precise angle and pressure control to slide cleanly under a larva without damaging it — generally considered to demand more developed technique than the Chinese tool’s more forgiving flexible design. Beekeepers who’ve built grafting proficiency often prefer this style for its more direct, tactile control over the transfer, once the technique itself is well-practiced.
Swiss Grafting Tool
The Swiss grafting tool style generally emphasizes an even finer, more precise tip geometry, often marketed toward experienced graft practitioners and commercial queen-rearing operations doing high-volume grafting where transfer speed and larva survival rate at scale matter significantly. Like the German style, it typically rewards developed technique more than it accommodates a beginner’s first attempts.
Side-by-Side Comparison
| Tool | Tip Design | Beginner Friendliness | Best For |
|---|---|---|---|
| Chinese | Flexible tongue/spatula | High | Beginners, hobbyists |
| German | Rigid spoon | Moderate | Developed technique, direct control preference |
| Swiss | Fine, precise tip | Lower | High-volume commercial grafting |
None of the three is objectively “best” in isolation — the right choice depends heavily on your current skill level and grafting volume, and many experienced queen breeders eventually try more than one style before settling on a personal preference, since comfort with a specific tool’s feel genuinely affects grafting success rate more than any tool’s marketed specifications.
Grafting Technique Basics
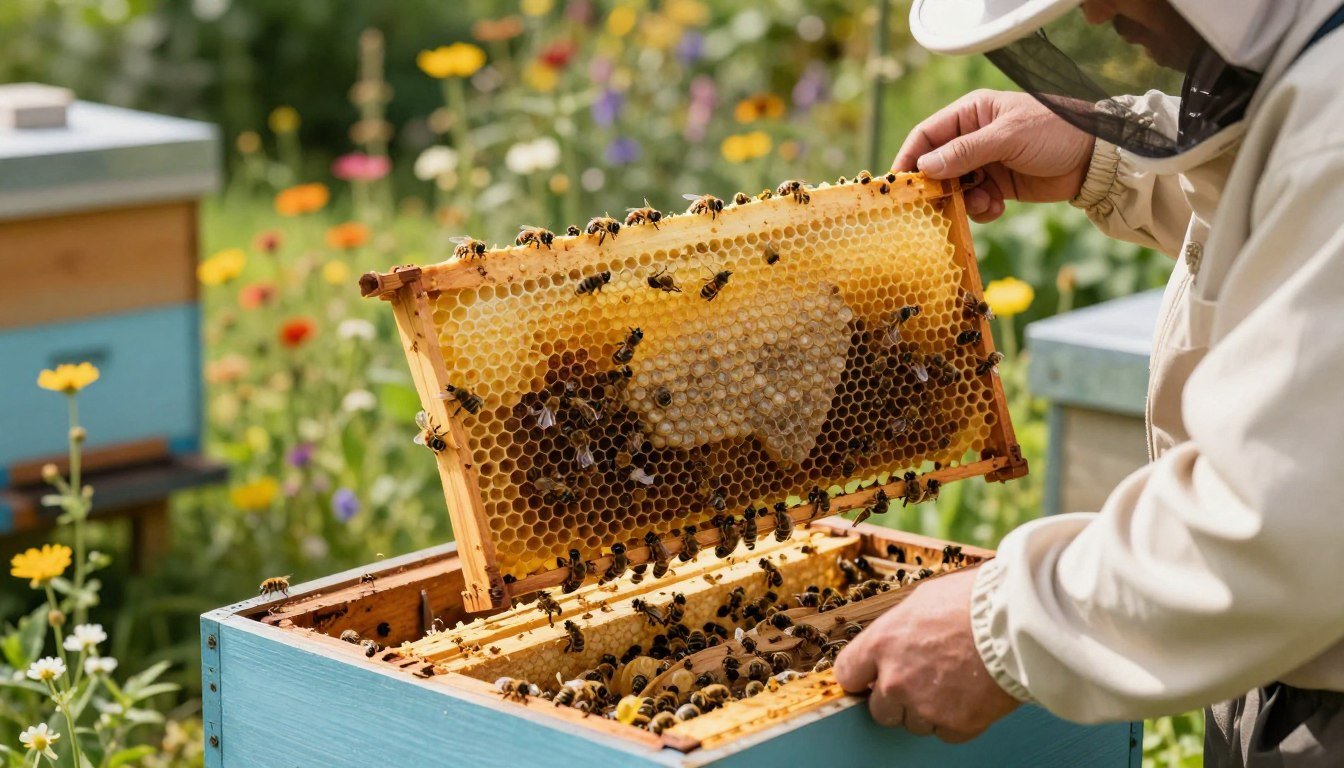
Regardless of tool style, the core technique is the same: select a larva of appropriate age (covered in detail below), gently slide the tool tip beneath it and its royal jelly bed without direct contact or pressure on the larva’s body itself, lift smoothly, and deposit it into a prepared queen cell cup, ideally in a single fluid motion rather than a hesitant, multi-step transfer that increases handling time and larval stress.
Why Larval Age Matters More Than Tool Choice
Selecting larvae at the correct age — generally under 24 hours old, or as close to newly hatched as you can reliably identify — matters more for grafting success than which specific tool you use, since an older larva has already received less royal jelly relative to its needs and has a measurably lower conversion success rate into a viable queen regardless of grafting technique quality. Practice identifying correctly-aged larvae under good lighting and magnification before worrying too much about tool brand, since larval selection is genuinely the more consequential skill of the two.
Building Grafting Skill Through Practice
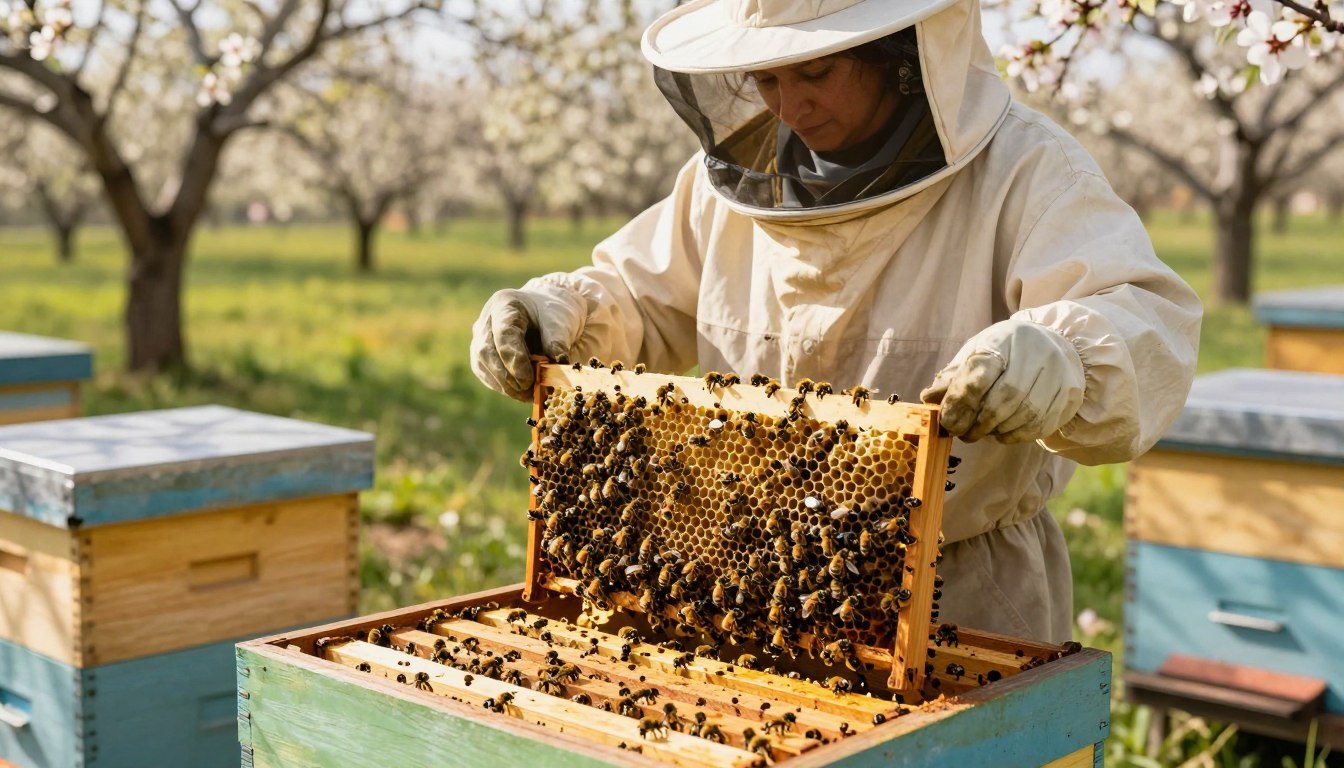
Grafting success rate improves substantially with repetition — most beekeepers see a real, measurable improvement in larval acceptance rate after their first several grafting sessions compared to their very first attempt, since the fine motor skill genuinely takes hands-on practice to develop regardless of tool choice. Don’t judge a tool (or your own aptitude) too harshly based on a first session’s results; track acceptance rate across multiple sessions before drawing conclusions about tool fit or personal skill level.
When to Graft vs. Go Graft-Free
Grafting offers the most control over exactly which larvae (and therefore which genetics, if grafting from a specific breeder queen) become queen candidates, and scales more efficiently for larger queen-rearing operations wanting many queen cells from a single strong breeder colony. Graft-free methods trade some of that control and scalability for accessibility — no fine-motor grafting skill required — making them a reasonable starting point for beekeepers newer to queen rearing, or those managing smaller queen-rearing needs where grafting’s added precision and scale aren’t necessary.
Pairing Your Tool With Cell Cups
Grafting tool choice pairs with your queen cell cup setup — plastic cell cups are the most common modern choice, generally mounted on bars that fit into a standard frame, while some grafters still prefer beeswax cups formed over a cell-forming stick for a more traditional approach some believe improves acceptance rates, though this belief isn’t strongly supported by controlled comparative data. Whichever cup material you choose, prime the cup with a small amount of diluted royal jelly or plain warm water before grafting, since a “dry” cup can reduce larval acceptance regardless of grafting tool quality.
Lighting and Magnification Matter as Much as the Tool
Good, bright lighting and appropriate magnification (a headband magnifier or dedicated grafting lamp with built-in lens are both common choices) affect your ability to identify correctly-aged larvae and execute a clean transfer more than any difference between grafting tool styles — many beginner grafting struggles trace back to poor visibility rather than tool inadequacy. Set up a dedicated, well-lit grafting station rather than trying to graft in variable outdoor light, since consistent conditions make it much easier to build and evaluate technique over successive sessions.
Dry Grafting vs. Wet Grafting
“Wet grafting” — diluting the larva’s existing royal jelly slightly with water or a light syrup solution before transfer — is a technique some experienced grafters use specifically to make the larva easier to lift cleanly with less risk of tearing, and can be combined with any of the three tool styles covered above rather than being tied to one specific tool. “Dry grafting,” using the larva’s undiluted natural royal jelly bed, is the more traditional default approach. Trying both and noting which produces more consistent results for your own hand and preferred tool is a reasonable way to refine your personal technique over time.
Double Grafting: A Technique to Improve Acceptance
Double grafting — performing an initial graft, letting the colony begin accepting the larvae, then removing and replacing each accepted larva with a second, fresh graft roughly a day later — is a technique some experienced queen breeders use to improve overall queen quality, since the second larva develops in a cell the colony has already begun provisioning generously, receiving more total royal jelly across its larval development than a single-graft cell typically gets. This adds complexity and an extra apiary visit, making it more common in commercial operations optimizing for queen quality at scale than in casual hobbyist grafting.
The Cell-Builder Colony Matters as Much as the Graft
A well-prepared, genuinely queenless (or otherwise primed) cell-builder colony with abundant young nurse bees and stored pollen/nectar accepts and provisions grafted larvae far more reliably than a poorly prepared one, regardless of how skilled the graft itself was — this is worth emphasizing since it’s easy to focus entirely on grafting technique while overlooking that the receiving colony’s condition is just as consequential to overall success. Confirm your cell-builder setup follows established queen-rearing preparation guidance before grafting day, rather than treating colony prep as a formality.
Timing a Grafting Session Within the Day
Graft early in the day when possible, since larvae are more resilient to handling stress earlier after feeding cycles and cooler morning temperatures reduce the risk of larvae drying out during the brief time they’re outside the hive’s controlled humidity. Work efficiently once you begin, minimizing the total time each larva spends exposed, and keep your frame of donor larvae covered with a damp cloth between individual grafts if a session runs long, protecting the remaining larvae from drying out while you work through each transfer.
Cost of Grafting Tools
Grafting tools across all three styles are generally inexpensive relative to most other beekeeping equipment, often costing less than a single frame of foundation, which means cost is rarely the deciding factor in choosing between them — technique fit and personal comfort matter far more than price difference. Many grafters who take the practice seriously eventually own more than one style, using whichever feels more natural for a given session or larva size rather than committing permanently to a single tool.
Battery-Powered and Automated Grafting Tools
Beyond the three traditional manual styles, some battery-powered and semi-automated grafting tools have entered the market, using mechanized suction or vacuum-based pickup instead of manual scooping, aimed primarily at high-volume commercial operations wanting to speed up large grafting sessions. These represent a genuinely different category from the manual Chinese, German, and Swiss tools this guide focuses on, with their own learning curve and higher cost — worth researching separately if your operation’s scale specifically justifies the investment, but not a direct substitute recommendation for most hobbyist or small-scale queen rearing.
Left- and Right-Handed Tool Considerations
Some grafting tool designs, particularly certain German-style spoons, have a more pronounced handedness to their optimal grip angle than others — if you’re left-handed and finding a specific tool awkward despite reasonable practice, don’t assume the difficulty is purely a skill gap before checking whether a different tool’s geometry simply suits your dominant hand better. Trying a tool in person, or borrowing one from a local beekeeping association before purchasing your own, is worth the effort if this is a genuine concern for you.
Common Mistakes
Selecting larvae that are too old, prioritizing ease of seeing and grasping a larger larva over the correct younger age, is the most common and costly mistake, undermining conversion success regardless of tool quality. Rough or hesitant handling during transfer — multiple attempts, direct pressure on the larva, or extended time outside the hive’s warm, humid environment — reduces survival rate meaningfully. Judging a tool or your own technique after only one grafting session, rather than tracking results across several sessions, leads to premature and often inaccurate conclusions about what’s actually working.
Sources
Grafting technique and tool design details reflect general queen-rearing extension guidance and publicly available manufacturer information for named grafting tool styles.
FAQ
Which grafting tool is best for a beginner?
The Chinese grafting tool’s flexible tip is generally considered the most forgiving and beginner-accessible of the three common styles, though personal comfort with any tool matters more than its marketed specifications.
Does grafting tool choice matter more than larval age?
No — larval age (ideally under 24 hours old) affects grafting success more than which tool you use; practice identifying correctly-aged larvae before worrying too much about tool brand.
Should I graft or use a graft-free method like the Miller or Alley method?
Grafting offers more control and scales better for larger queen-rearing operations, while graft-free methods are more accessible for beginners or smaller-scale needs without requiring fine-motor grafting skill.
How many grafting attempts before I should expect good results?
Most beekeepers see real improvement after several grafting sessions — don’t judge a tool or your own skill based on a single first attempt; track acceptance rate across multiple sessions instead.
Do I need more than one grafting tool style?
Not necessarily, but many serious grafters eventually own more than one style and use whichever feels more natural for a given session, since all three are relatively inexpensive and personal comfort matters more than any single tool’s specifications.
Are automated or battery-powered grafting tools worth it?
Generally only for high-volume commercial operations — they represent a different, more expensive category with their own learning curve, not a direct substitute recommendation for most hobbyist or small-scale queen rearing.