Published August 27, 2026
Table of Contents
- What the Demaree Method Is
- Why It Works: Separation Without Splitting
- Demaree vs. a Regular Split
- The Box-by-Box Setup
- Step-by-Step Instructions
- The One-Week Follow-Up: Removing Queen Cells
- When to Repeat It
- Finishing Up: Recombining the Colony
- Which Colonies Are Good Candidates
- Reading Swarm Signs Before You Start
- Common Mistakes
- FAQ
What the Demaree Method Is
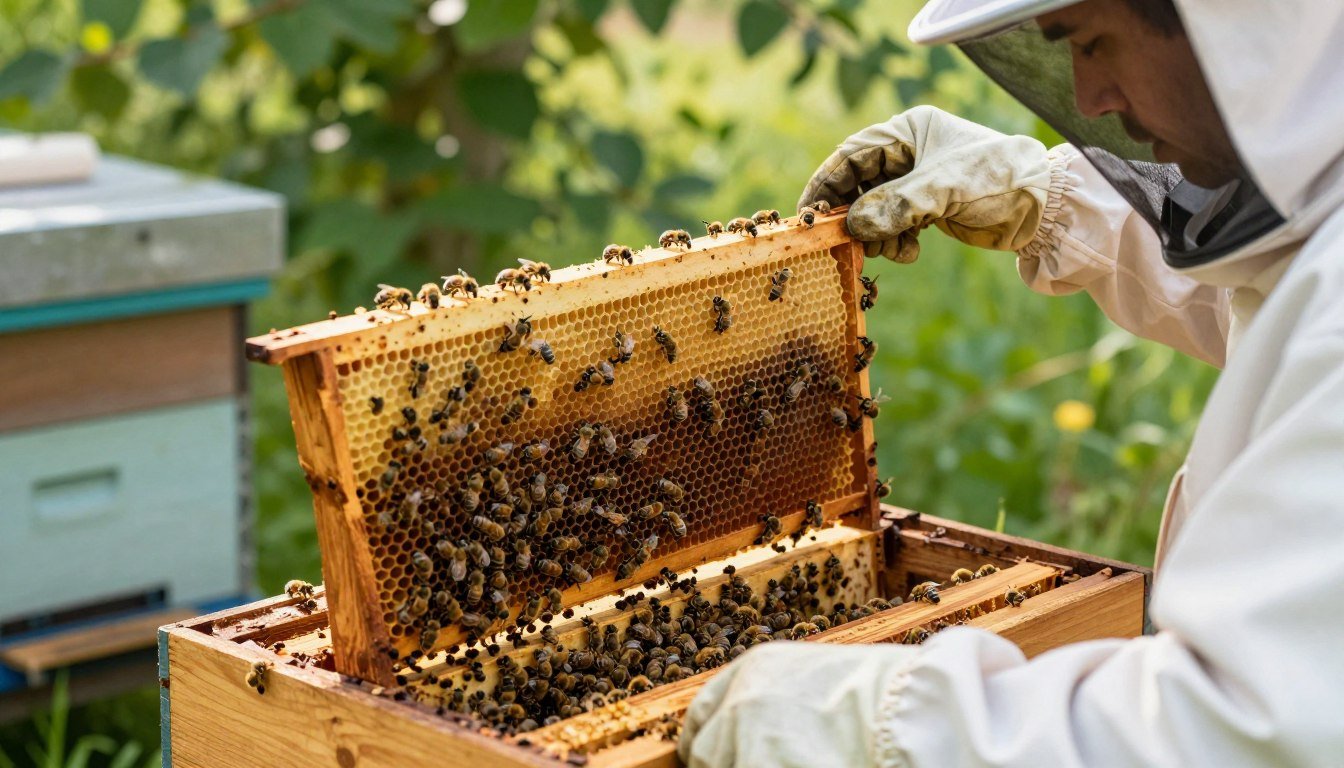
The Demaree method is a swarm-control technique that separates the queen from most of the colony’s brood using a queen excluder, while keeping the entire colony physically stacked as one hive rather than dividing it into two separate colonies the way a split does. It’s named after George Demaree, an American beekeeper who described the technique in the late 1800s, and it remains one of the standard swarm-prevention manipulations taught in beekeeping courses today specifically because it addresses the swarming urge without sacrificing the honey-collecting strength of a single large colony.
Why It Works: Separation Without Splitting
Colonies build swarm cells largely in response to overcrowding and a shortage of open space near the brood nest for the queen to lay and for nurse bees to work. A regular split solves this by physically dividing bees and brood into two boxes in two locations, but that also means splitting your workforce and losing the “one big colony” honey-production advantage during the flow. The Demaree method solves the same overcrowding problem differently: the queen moves down into a box with mostly empty drawn comb to lay into, freed from congestion, while most of the existing brood moves up above a queen excluder, out of her reach but still part of the same hive, still warmed and cared for by the same nurse bees, and still contributing to the same colony’s foraging force. For general background on why colonies swarm in the first place, see understanding why bees swarm and how to stop it.
Demaree vs. a Regular Split
| Demaree Method | Regular Split | |
|---|---|---|
| Colony count after | Stays one colony | Becomes two separate colonies |
| Honey production during flow | Full single-colony foraging force stays intact | Divided between two smaller colonies |
| Equipment needed | Extra brood box + queen excluder | A full second hive setup |
| Labor involved | Heavy lifting, repeated follow-up visits | One-time setup, less repeat handling |
| Best used when | You want to keep one strong colony for maximum honey yield | You want to increase your total number of colonies |
If your goal is more colonies rather than more honey from one, see swarming preparation: a comprehensive guide for split-based approaches instead — the Demaree method is specifically for beekeepers who want to prevent swarming while keeping one colony at full strength for honey production.
The Box-by-Box Setup
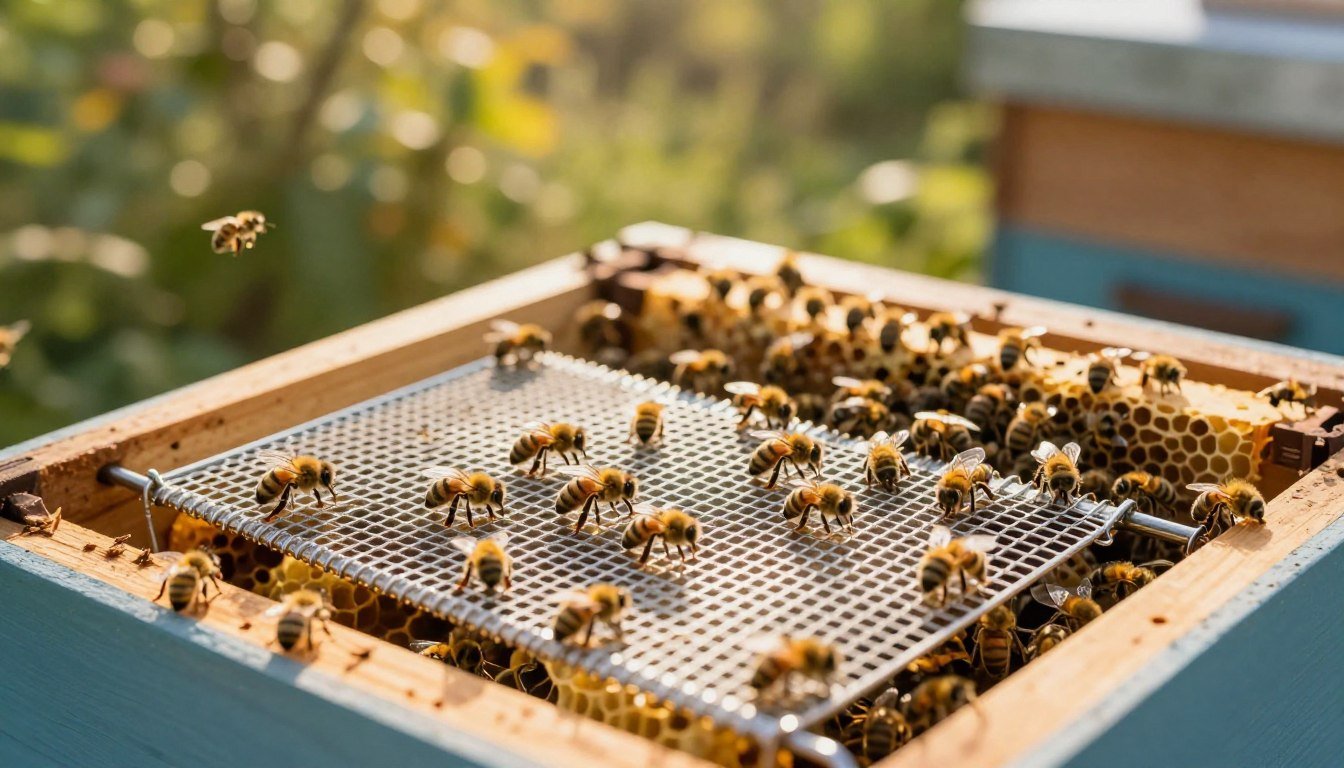
From bottom to top, a completed Demaree setup looks like this:
- Bottom board / hive stand
- New brood box with mostly empty drawn comb (or foundation), plus 2 frames of brood (including some open brood) and the queen
- Queen excluder
- One or more empty honey supers (optional, but commonly added here to give the colony room to store nectar during the process)
- The original brood box, now containing the bulk of the sealed and unsealed brood that was moved up out of the queen’s reach
- Inner cover and outer cover
Step-by-Step Instructions
- Before starting, check for and remove any existing queen cells in the colony — the Demaree method is a preventive measure, and starting it after swarm cells are already well underway is much less reliable.
- Locate the queen and set her aside temporarily on the frame she’s on.
- Set up a new brood box on the original bottom board, filled mostly with empty drawn comb or foundation.
- Place the queen, along with 2 frames of brood (including some open, unsealed brood so nurse bees have young larvae to tend), into the center of this new box.
- Add a queen excluder on top of this new brood box.
- Add empty honey supers above the excluder if desired, giving the colony room to store incoming nectar.
- Place the original brood box on top, containing the remaining frames of sealed and unsealed brood that weren’t moved down with the queen.
- Close up the hive with the inner and outer cover.
The nurse bees in the upper box will continue caring for the brood there, and foragers from the whole colony will use the single shared entrance, keeping the colony functioning as one productive unit throughout the process.
The One-Week Follow-Up: Removing Queen Cells
About one week after setup, go through the upper brood box specifically and remove any swarm cells the bees have started there — since the brood in that box is now separated from the queen by the excluder, the colony may still attempt to raise a new queen from it if the swarming urge was already strong. This follow-up check is not optional; skipping it is one of the most common reasons the method fails to actually prevent a swarm. Continue checking on a similar schedule as needed until the brood in the upper box has fully emerged.
When to Repeat It
If the colony is strong and the nectar flow is heavy, a single Demaree manipulation may not be enough to prevent swarming for the whole season — the lower brood box can refill and become congested again within a couple of weeks. Many beekeepers plan to repeat the process roughly every 9-10 days to 2 weeks during peak spring buildup, sometimes doing it 2-3 times across a single spring season, rather than assuming one setup will hold for months.
Finishing Up: Recombining the Colony
Once the brood in the original upper box has fully emerged (typically within about 3 weeks of setup, since that’s roughly a full brood cycle), that box will be mostly empty comb with returning foragers rather than active brood. At that point, many beekeepers remove the excluder and the now-empty upper box, consolidating the colony back into a simpler stack, or repeat the manipulation again if swarm season isn’t over yet. Either way, the goal by the end of the process is a full-strength, non-swarmed colony that went through the flow as one productive unit rather than as two smaller split colonies.
Which Colonies Are Good Candidates
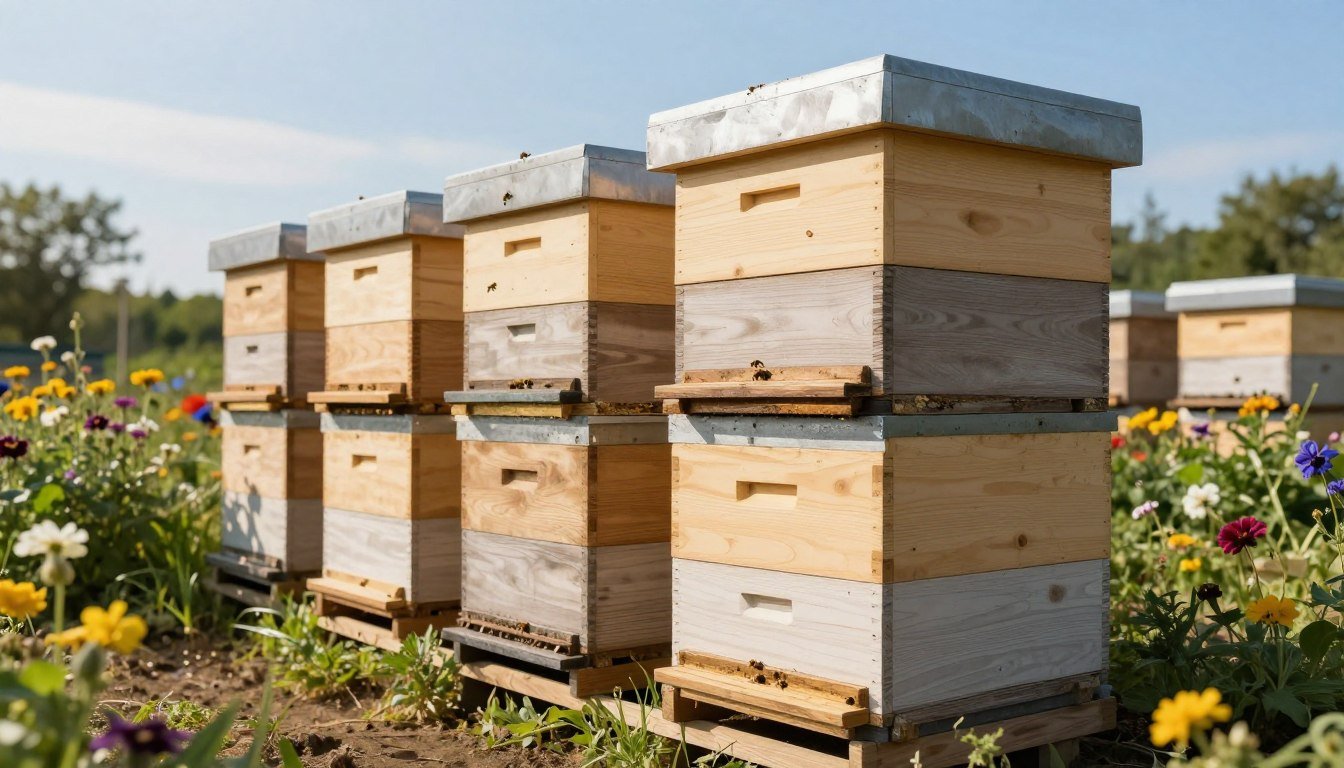
The Demaree method works best on strong, healthy colonies during a genuine nectar flow — it’s a technique for managing success (a colony so strong it’s about to swarm from overcrowding), not for fixing a struggling one. A few practical signs a colony is a good candidate:
- The colony is genuinely crowded, with most frames drawn and in use, rather than still building out comb in a partially filled box.
- A real nectar flow is on, since the method assumes the colony has enough incoming resources to keep building strength across both separated brood areas.
- No signs of disease or a failing queen — the method adds handling stress on top of the colony’s existing workload, which is a poor combination with an already-struggling colony.
- You have the equipment on hand — an extra brood box with drawn comb ready to go, plus a queen excluder, before you start rather than partway through.
A colony that’s small, newly established, or already showing disease symptoms is generally a poor fit for this method — address the underlying issue first rather than adding a labor-intensive manipulation on top of it.
Reading Swarm Signs Before You Start
Demaree works as prevention, so timing it against what the colony is actually showing matters. Early swarm preparation typically includes increased crowding, more drone comb being built, and the beginnings of queen cups along frame edges or bottoms — none of which mean a swarm is imminent on their own, but together they’re a signal it’s worth acting before actual capped swarm cells appear. Once cells are already capped, the colony’s swarming decision is much further along, and a Demaree setup at that point is far less likely to stop it. Checking every 7-10 days during peak spring buildup for these early signs, rather than only reacting after cells are already capped, is what makes preventive techniques like this one actually effective. See how to prevent swarming: best practices for the broader set of signs and seasonal timing beyond this one technique specifically.
Common Mistakes
| Mistake | Why it matters |
|---|---|
| Skipping the one-week queen-cell check | The upper, queen-less brood box can still raise emergency queen cells — missing this check is the most common reason the method fails |
| Not giving the queen enough empty comb to lay into | If the lower box is still crowded, the core overcrowding problem driving swarming isn’t actually solved |
| Assuming one setup lasts the whole season | A strong colony during a heavy flow can recongest within 1-2 weeks and need the process repeated |
| Starting after swarm cells are already capped | The Demaree method is a preventive technique — once cells are capped, the colony may swarm regardless |
| Underestimating the physical effort involved | This method involves substantial heavy lifting and repeated full hive inspections — factor that in before committing to it over a simpler split |
Sources
Box arrangement, timing, and queen-cell-check procedure reflect established beekeeping technique guidance widely published by beekeeping associations and experienced-beekeeper resources, consistent with the classic Demaree swarm-control method as taught in standard beekeeping courses.
FAQ
What is the Demaree method?
A swarm-control technique that separates the queen from most of the colony’s brood using a queen excluder, while keeping the whole colony in one stacked hive rather than splitting it into two separate colonies.
How is Demaree different from a regular split?
A split divides bees and brood into two separate colonies in two locations. The Demaree method keeps everything in one hive, so the full foraging force stays together for honey production during the flow.
How often do I need to check the colony after setting up a Demaree?
Check the upper brood box about one week after setup to remove any swarm cells, and be prepared to repeat the entire process every 9-10 days to 2 weeks if the colony is strong and the flow is heavy.
Does the Demaree method guarantee a colony won’t swarm?
No technique guarantees zero swarming, but done correctly with the follow-up queen-cell checks, it’s considered one of the more reliable swarm-prevention methods that doesn’t require splitting the colony into two.