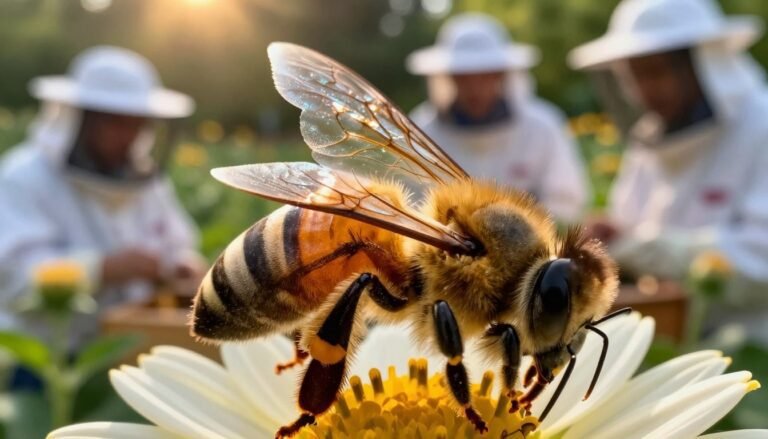
Maintaining healthy hives starts with a simple plan. As a beekeeper, you need a clear list to guide inspections, track brood and frames, and watch nectar flows.
Hannah Neil at NOD Apiary Products Ltd reminds us that management should follow local conditions, not a calendar. Good records beat a perfect memory.
Spring brings heavy work: swarm checks, hive audits, and assessments of honey stores. A focused approach helps you spot when the single queen needs attention and when to add or shift frames.
Use short, consistent inspections to decide when to act. Combine observation with notes and a simple plan. If you want a structured roadmap and tools, visit a helpful resource at inspection and seasonal planning.
Key Takeaways
- A concise list helps manage bees, hives, brood, and honey through peak seasons.
- Track inspections and frames with written notes — a short pencil is better than a long memory.
- Let environmental cues guide action rather than fixed dates.
- Regular checks reveal when it’s time to intervene to protect hive health.
- Use reliable resources to build a clear, repeatable plan for the season.
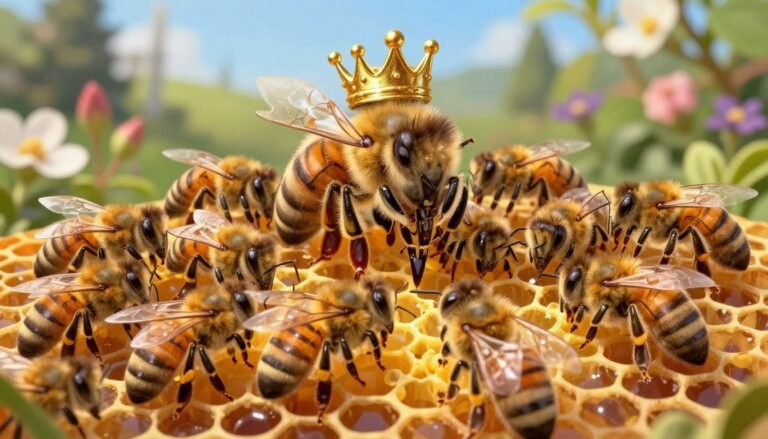
Understanding the Need for Requeening
A strong colony begins with routine checks that reveal whether the laying pattern and brood look healthy.
Understanding when to swap a failing matriarch is a core beekeeping skill. A weak leader leads to fewer bees, poor brood patterns, and less honey. Watch early spring inspections closely to confirm the laying pattern and population growth.
Hannah Neil advises rotating out 1–3 old dark combs each year. This small step improves brood hygiene and gives the current queen space to lay in clean cells.
Signs to watch:
- Slow population build-up or spotty brood.
- Drop in honey stores despite good forage.
- Unusual worker behavior or increased drone cells.
Make decisions across the time year by monitoring frames and notes. If growth lags, plan interventions early to protect hive health. Use trusted guidance on when to act and how to plan inspections at when to consider requeening and to build skills via resources like beekeeping resources.
| Sign | What to look for | Immediate action |
|---|---|---|
| Spotty brood | Uneven cells, gaps in larval pattern | Inspect frames; consider introducing new stock |
| Low population | Few workers, slow buildup | Boost with frames of brood or combine weak hives |
| Declining honey | Lower stores when nectar flows exist | Assess queen performance and feed if needed |
Essential Queen Replacement Checklist for Backyard Beekeepers
A clear gear list and timing plan cut stress during any hive intervention.

Tools and Equipment
Make sure you have a smoker, hive tool, gloves, veil, and sturdy protective gear before opening any hive. Keep extra frames and at least one honey supers box ready ahead of the honey flow.
Pack entrance reducers and a small feeder with sugar water. A clean spare frame set helps when you move brood or boost weak hives.
Timing and Seasonal Considerations
Work in early spring when colonies expand. A healthy double Langstroth hive should weigh no less than 32 kg (70 lb) then to avoid starvation.
Drones reach sexual maturity in about 6–16 days, so plan introductions when drone numbers are rising. Managing swarm tendencies is easier when you give strong hives plenty of space and monitor frames during peak nectar and honey flow.
| Task | Why it matters | Quick action |
|---|---|---|
| Gear check | Prevents delays in the bee yard | Pack smoker, tool, veil |
| Weight check | Avoids early spring starvation | Weigh or lift hive; feed if |
| Timing | Aligns mating with drone availability | Schedule around 6–16 days of drone maturity |
For seasonal planning and supplies, consult a detailed spring list at seasonal beekeeping checklists and tips on hive setup at beehive installation.
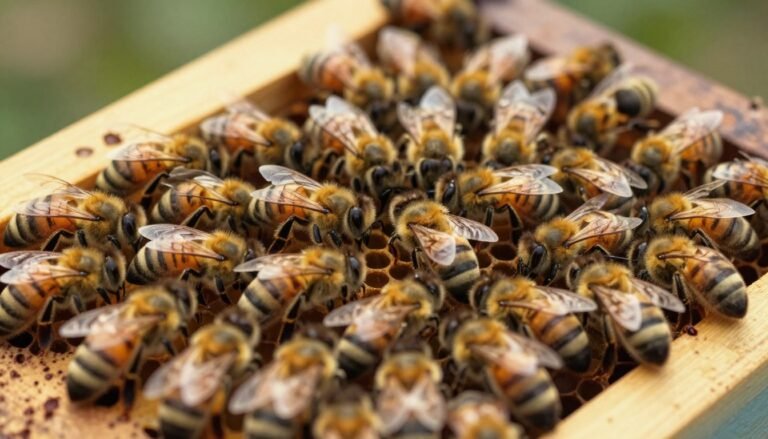
Evaluating Your Current Queen and Colony Health
Begin each check with a look at eggs and young brood to judge colony status.
Signs of a failing leader are often subtle but clear.
Signs of a Failing Queen
During hive inspections, make sure to look for eggs. Eggs show the laying adult is present and active.
Scan frames for a solid brood pattern. Spotty or patchy areas suggest poor laying or a missing laying adult.
Watch adult population. Categorize hives as weak, medium, or strong by the number of frames covered.
- If bees become weak with only one or two frames of brood, consider combining hives to raise survival odds.
- When you tip the hive from the bottom it should feel heavy; if it feels light, provide sugar water to support stores.
- Use an alcohol wash to monitor varroa mites; the Ontario spring threshold is about 2% (6 mites per 300 bees).
| Observation | What to check | Threshold / Number | Action |
|---|---|---|---|
| Eggs present | Fresh eggs on frames | Yes / No | Continue regular hive inspections |
| Brood pattern | Solid vs. spotty across two frames | Two frames of good brood = minimal | Boost brood or combine if only 1–2 frames |
| Adult population | Frames covered at top and bottom | Weak / Medium / Strong | Classify and act: feed, combine, or leave |
| Varroa level | Mites per 300 bees (alcohol wash) | 6 mites = ~2% | Treat if above threshold |
For month-by-month cues on when to inspect hives and what to expect at each time year, see the monthly beekeeping guide.
Selecting the Right Replacement Queen
Choosing a breeder affects hive performance across the season. Pick stock that shows calm temperament, good brood patterns, and strong worker numbers. These traits help a hive build rapidly in spring and maximize honey later.
Kristi Cook recommends observing potential stock over a full year.
“Selecting a queen from your own stock allows you to observe traits like temperament and honey production over an entire year.”
When deciding, you may want to weigh genetics that handle food shortfalls during a nectar dearth. A locally raised female often brings winter hardiness and better adaptation to regional forage.

| Trait | What to look for | Why it matters |
|---|---|---|
| Temperament | Calm at inspections | Safer handling; less stress on bees |
| Brood output | Solid pattern; steady number of young | Faster spring growth and more honey |
| Hardiness | Survived local winter well | Reduces losses and rebuild time |
Raising your own breeders is rewarding. It builds a locally adapted line and gives you control over traits. In short time, a well-chosen female can change the lot of your hives and lift overall colony health.
Preparing the Hive for a New Queen
A calm, well-cleaned hive speeds acceptance and gives a new laying individual the best chance.
Start with hygiene and airflow. Scrape bottom boards and top bars to remove excess wax and debris before any major intervention. Clean hive bodies and tidy the bee yard to reduce disease risk and distractions.
Removing the Old Queen
Make sure you remove the old queen and create a queenless state at least 24 hours before introduction. This short time helps the colony accept a newcomer.
Creating a Queenless State
Open the hive briefly and remove entrance reducers to improve airflow and ease movement of foragers. Keep hive bodies organized so bees become less stressed during the transition.
Managing Brood Frames
Rotate out old comb and place strong frames near the center to support brood. You may want to ensure the colony has enough honey and pollen stores to feed a new laying individual once she begins eggs.
- Inspect frames for disease before making changes.
- Keep two frames of good brood accessible to nurse bees.
- Use clean, solid frames to speed sealing and reduce drift.
| Task | Why it matters | Action |
|---|---|---|
| Scrape debris | Reduces pests and improves hive hygiene | Scrape bottom boards and top bars |
| Airflow | Calms bees and improves acceptance | Remove entrance reducers |
| Frames | Supports brood and laying | Rotate old comb; place strong frames centrally |
For a quick inspection routine and record keeping to guide these steps, see a practical resource on inspection and record keeping.
“Cleaning the bee yard and inspecting frames for disease is a critical step before any introduction.”
The Introduction Process
Begin introductions on a cool morning to reduce activity and improve acceptance odds. Make sure the bees are calm and you have minimal yard traffic while working.
Ventilation matters. Remove entrance reducers to help the colony regulate temperature and scent while the new queen remains caged. Good airflow lowers stress and speeds acceptance.
Give the hive time. Wait three to five days before opening the top to check the cage. This pause lets the bees eat through the candy or release the cage plug and begin to accept her.
Use simple tricks to cut swarm pressure. Reversing brood chambers can trick bees into thinking they have more space and ease swarm tendencies. Strong hives with honey supers in place will accept newcomers more readily during a honey flow.
Keep disturbance to a minimum. Quiet hives, steady hands, and limited inspections across these days raise acceptance rates and protect brood, frames, and hive bodies during the transition.

Monitoring Post-Replacement Success
Early checks are the fastest way to confirm a smooth transition and future productivity.
After introduction, perform short, regular hive inspections to verify that the new laying adult is active. Seeing fresh eggs on the brood frames is a very good sign that the colony is queenright and healthy, as Hannah Neil notes.
Check brood patterns across two central frames and watch for a solid, even spread. Keep comb space available so bees can store nectar and expand the brood nest. Strong hives with room in the brood chamber accept changes faster and rebuild more quickly.
Monitor varroa mites using an alcohol wash. Maintain low mites per hive to protect the bees long term. If counts rise, act quickly to reduce pressure.
When the colony is robust and honey supers are about 70% capped, you can plan to harvest honey and later extract honey. Continue to check frames and comb through the season to confirm the laying pattern and steady growth.
For a concise inspection routine and record keeping that supports these checks, consult a practical inspection and record keeping guide. To avoid common errors during this period, review typical management mistakes.
Conclusion
Consistent attention and small actions protect bee health and hive productivity.
Successful requeening is a cornerstone of responsible beekeeping. It helps colonies stay healthy, build strong brood, and produce more honey over time.
Follow a steady routine of short inspections, clear notes, and timely pest control. Each hive is unique; take the time to observe your bees and adjust plans as needed.
Keep records and supplies ready. Use practical guides like the new beekeepers checklist and seasonal tips on seasonal tasks to stay organized and confident in the yard.
With steady care, your hive will reward you with thriving bees and abundant honey.
FAQ
How do I know when to requeen a hive?
Look for reduced brood pattern, spotty comb with drone-laying, few or no eggs, rapid worker loss, or aggressive behavior. Conduct regular inspections during early spring and after major honey flows. An alcohol wash for Varroa mites and counting mites per 100 bees can reveal stress that often precedes queen problems.
What tools and equipment should I have on hand?
Prepare basic gear: smoker, hive tool, bee brush, spare frames with fresh comb or foundation, marked breeder or mailing cage, candy or nuc cage for introductions, entrance reducers, and personal protective equipment. Keep a feeder and sugar water ready if you need to stimulate brood rearing during low nectar flows.
When is the best time of year to introduce a new queen?
Ideal timing is early spring or during an active nectar flow when forage is abundant and the colony is expanding. Avoid late fall or cold snaps. After harvest or after removing honey supers can also be a good moment if the colony remains strong and stands to requeen quickly.
How do I evaluate if the current queen is failing?
Inspect frames for inconsistent brood, lack of eggs, small populations, or presence of many queen cells indicating swarming or supersedure. Also note reduced honey stores during a flow or excessive mites per hive from an alcohol wash—both can signal poor queen performance.
What should I consider when selecting a replacement queen?
Choose queens bred for local climate and desired traits: disease resistance, gentleness, and productive lines. Order from reputable suppliers or local breeders and consider mating season, strain (Italian, Carniolan, Buckfast), and mite-tolerance. Plan delivery timing to match your hive readiness.
How do I prepare the hive before introducing a new queen?
Reduce entrances, remove honey supers if needed, and clean up debris. Create a queenless state by isolating or removing the old queen and wait 24–48 hours to ensure workers accept a new breeder. Arrange two frames of brood and frames of nectar and pollen near the center to keep the colony strong.
Should I remove the old queen or let the colony raise its own?
Remove the old queen when you want a controlled introduction or need a specific genetic upgrade. Letting the colony raise a new one via emergency or supersedure can work but risks poor mating, delayed brood, or unwanted genetics. For predictable outcomes, replace with a mated, quality queen.
What is the recommended method to introduce a new queen?
Use a slow-release introduction cage (candy or perforated) placed in the brood nest for 3–7 days. Ensure workers can interact through the cage so they acclimate. Check the cage daily from a distance; once released, monitor for acceptance by looking for eggs within 7–10 days and calm behavior at the entrance.
How should I manage brood frames during requeening?
Keep several frames of open brood near the center to produce nurse bees and buffer acceptance. Remove excessive drone comb if pests are an issue. If creating a nuc introduction, transfer two frames of brood, available food, and a good number of workers to support the new queen.
What signs indicate a successful introduction?
Within a week you should see calm worker activity, no aggression toward the cage, and within 7–14 days you should find fresh eggs and a solid brood pattern later. Populations should climb, and the hive will resume normal nectar storage during flows. Continue mite monitoring to keep stress low.
How long after release should I expect to see eggs?
A mated queen often lays eggs within 24–72 hours after release, but detectable eggs on inspected frames commonly appear within 7–10 days. If you don’t find eggs by two weeks, the queen may not have been mated, accepted, or present—inspect carefully.
What do I do if the colony rejects the new queen?
If aggression or dead queen is found, consider reintroducing a well-protected caged queen or combining the hive with a stronger, queen-right colony using the newspaper method. Check for high mite loads, poor nutrition, or pests that make acceptance less likely.
How do hive strength and honey supers affect requeening?
Strong hives accept new breeders more reliably. Remove or avoid adding honey supers during stressful introductions unless population supports both brood expansion and honey storage. Harvesting honey before requeening can reduce disruption during a major brood turnover.
Should I adjust entrance reducers or feeders during the process?
Keep entrance reducers in place to help defend against robbing, and provide syrup feeders if nectar flow is low to encourage brood rearing. Remove them only if they limit ventilation during heat or impede a strong colony’s foraging during peak flow.
How do Varroa mites affect requeening success, and when should I treat?
High mite counts reduce queen performance and acceptance. Perform an alcohol wash to estimate mites per 100 bees before requeening. If counts are elevated, treat appropriately and wait until levels drop; treating several weeks before introduction improves chances of acceptance.
Can I requeen during a swarm season or right after a swarm attempt?
Avoid introducing a new breeder during active swarming. After a failed swarm or emergency supersedure, wait until the colony stabilizes. If you must act, ensure the hive is queenless and strong, and introduce during a foraging period with good nectar availability.