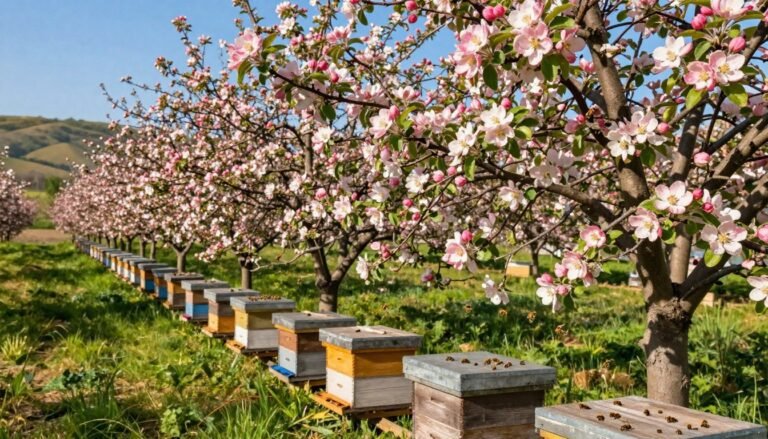
Getting your first colony starts with clear planning. Many experienced beekeepers recommend ordering in January to secure availability for spring. A standard package bees shipment has about 10,000 bees, weighing roughly 3 lbs, so proper preparation matters.
Before the arrival, gather information on hive setup and installation. The initial time you spend will pay off when your honey-producing colony settles in. Whether you keep bees as a hobby or a small business, a careful way of handling the container and the queen prevents stress.
Successful beekeeping depends on attention to detail. Professional groups offer resources that help you understand the process and reduce risks during transfer. Read practical guides and consider compact hive plans like those at small-space beekeeping strategies to prepare efficiently.
Key Takeaways
- Order early—many beekeepers advise January to ensure availability.
- A standard package contains about 10,000 bees (~3 lbs).
- Prepare hives and installation details before arrival.
- Follow expert guidance to protect colony health and honey yield.
- Use reliable containers and clear information to reduce stress on the bees.
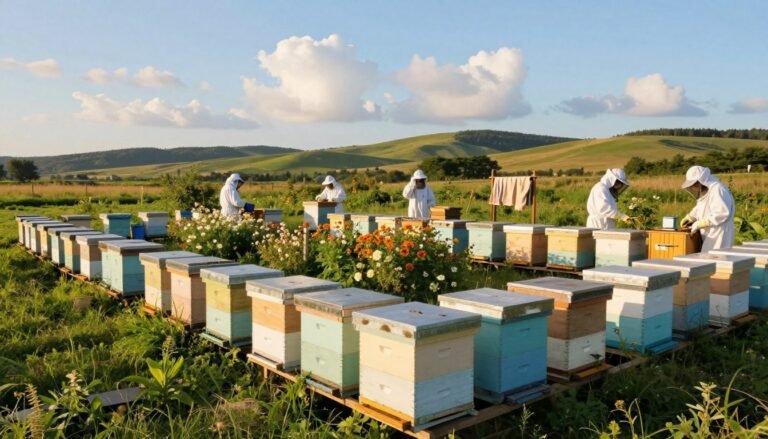
Essential Preparations Before Bee Pickup
Gather essentials and confirm pick-up details so your new colony moves into a ready hive. A little advance work reduces stress on the queen and her workers. Order early—many suppliers recommend January to avoid spring shortages.
Gathering Necessary Equipment
Have basic tools ready: a hive tool, smoker, and protective clothing. Set the hive in place at least a few days before arrival so the frames and boxes settle.
Scheduling Your Pickup
Confirm time and location with your supplier and keep contact details current. Expect a quick inspection of the box at pickup to check the queen and about 10,000 workers.
- Confirm supplier reputation and cost range ($100–$160).
- Allow a short acclimatization period if the queen is from different stock.
- Prepare your hive and plan the drive home to minimize transit stress.
| Item | Purpose | Timing |
|---|---|---|
| Hive tool | Frame handling and prying | Before arrival |
| Smoker | Calm the colony | At transfer time |
| Protective gear | Personal safety | During inspection & install |
For step-by-step prep on shipments, see how to prepare for your first. When your hive is ready, review hive installation best practices to ensure a smooth transfer.
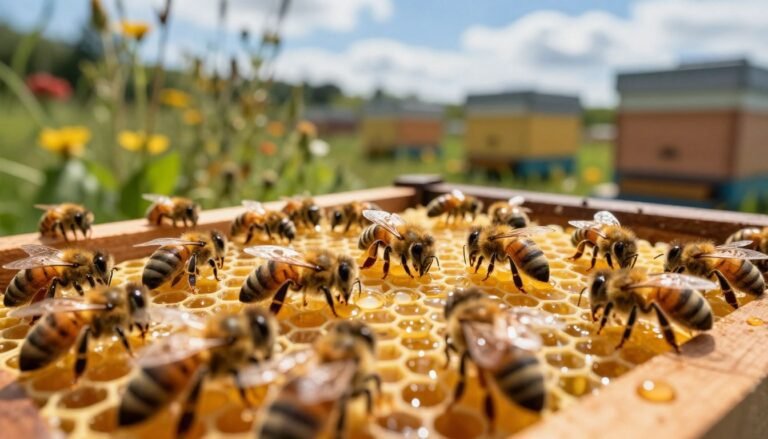
Best Practices for Packaging Live Bees for Local Pickup Safely
Verify breed options and pickup-only notices on the supplier site so your order matches your apiary plan.
Know your strain. Many beekeepers choose Italian or Carniolan queens for their productivity and adaptability. Mann Lake and similar suppliers list breed details and may note pickup-only availability. Check inventory before you finalize the order.
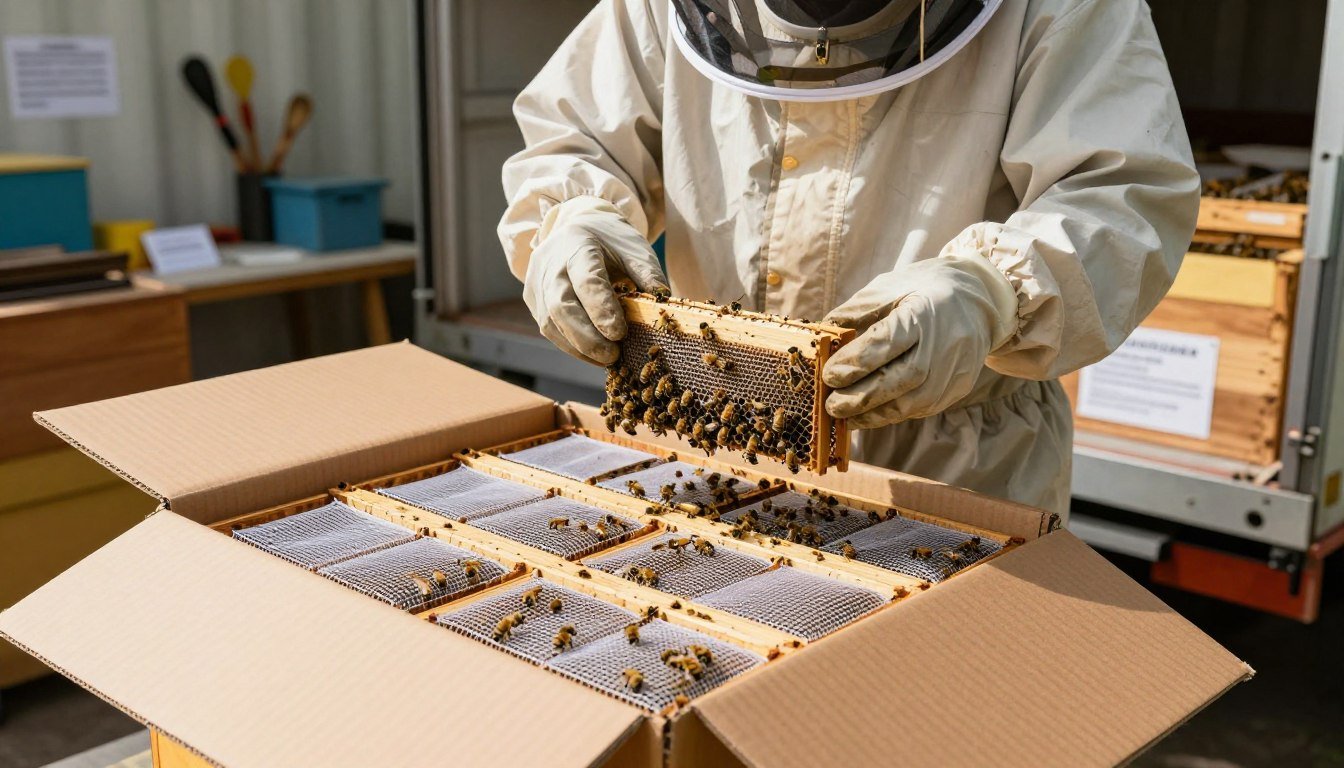
When suppliers ship honey bees, they use ventilated boxes and include a small food source. Inspect the container at collection. Confirm ventilation and the queen cage is secure.
Place the package on the ground or a stable surface near the hive during final installation. This reduces stress on the colony and protects the queen during transfer.

- Ensure the container is well ventilated for the drive.
- Have a designated spot on the ground near the hive ready.
- Follow supplier instructions—Mann Lake provides handling tips.
| Check | Why it matters | Action |
|---|---|---|
| Breed availability | Impacts temperament and honey yield | Confirm online before ordering |
| Container ventilation | Keeps colony stable during transit | Inspect vents and seals at pickup |
| Queen cage security | Protects the focal member of the colony | Verify cage is intact and centered |
| Placement at hive | Reduces handling stress when installing | Set package on ground near hive before opening |
For transport guidelines and step-by-step handling, review the supplier’s instructions and a regional checklist like package transport guidelines. Seasonal timing tips are available in a practical seasonal tasks guide to help plan spring arrivals.
Managing Temperature and Airflow During Transit
A cool, controlled cabin makes the difference between a calm package and a stressed colony. Keep the vehicle temperature steady so the cluster stays tight and the queen remains protected.
The right airflow and shade reduce heat buildup. Maintain about 50 degrees Fahrenheit when possible. This helps prevent overheating and keeps the colony calm.
The Importance of Ventilation
Ensure the container has fresh air by running A/C or cracking windows. Do not cover the box with blankets or restrict vents.
Avoiding Direct Sunlight
Keep the package out of direct sun. Even short exposure can raise the box temperature fast and stress the queen.
Monitoring Ambient Temperatures
If it is warm, lightly spritz the sides of the mesh with a 1:4 sugar syrup solution to cool and feed the workers. The syrup can at the top of the package provides extra food during the trip, but monitor conditions and avoid placing the box in a closed trunk.
- Keep temperature near 50°F to maintain the cluster.
- Provide steady airflow; avoid tight, enclosed spaces in the car.
- Spritz mesh with 1:4 sugar syrup when warm to cool and feed.
| Focus | Recommended Action | Why it matters |
|---|---|---|
| Temperature | Maintain ~50°F during transit | Keeps cluster calm; prevents overheating |
| Ventilation | Run A/C or crack windows; check vents | Allows heat dissipation and stable airflow |
| Sun protection | Shade the box; avoid direct sun | Prevents rapid temperature rise |
| Food/syrup | Use the syrup can and lightly spritz mesh | Supplies energy and aids evaporative cooling |
For step-by-step transport tips, review package transport guidelines. If you are new to colonies, see a helpful backyard beekeeping guide that covers the journey home and initial setup.
Handling Loose Bees and Vehicle Safety
Small numbers of stray insects on the box are usually attracted to the queen’s scent, not fleeing workers. These “hijacker” visitors often come from nearby colonies and cling to vents or seams.
Brush visible insects off the container before you load it. This reduces distraction and lowers the chance of stragglers entering the cabin.

If any bees get into the vehicle, they will head toward light and windows. Rolling the windows down a few inches lets them exit without frantic chasing.
Place the box in a mesh transport bag to prevent buzzing around the car. Keep the cabin cool and well ventilated to protect the colony and to keep the driver calm.
- Check the queen cage is secure before you start the drive.
- Avoid sealing the container in a tight bin; airflow prevents rapid overheating.
- Stay calm and steady; gentle driving helps keep the colony settled.
For more on ordering and numbers to expect, see buying packaged bees and nucs to plan your arrival and transit steps.
The Journey Home and Immediate Care
Minimize stops on the way back; a steady trip helps keep the colony calm and cool.
Head straight home after pickup and avoid errands that add time or heat. When you arrive, set the package bees in the shade next to the hive while you ready tools.
Temporary Storage Upon Arrival
If you cannot install the box immediately, move it to a cool, dark space out of direct sun. Keep the container upright to prevent the syrup can at the top from leaking.
Check the queen cage is stable and centered. Place cardboard beneath the box and inspect the sides for any drips or damage.
- Use a 1:4 sugar syrup spray on the screens if workers grow agitated.
- The syrup can in the package typically lasts a few days, but expedite installation when possible.
- Maintain cool temperatures and limit disturbance to reduce stress on the queen and workers.
For step-by-step installation guidance, see a practical guide on how to install package honey bees. If you need to isolate new stock, review methods to quarantine new stock before adding them to your apiary.
Installing Your New Colony
Start the install by staging your equipment and giving the colony a brief rest in the shade.
Prep the hive: remove 3–4 frames to create room to pour the package and to hang the queen cage. Have your hive tool, veil, and smoker within reach so the top stays open the least amount of time.
Lightly mist the workers with a 1:1 sugar syrup solution just before opening the box. This calms them and gives an immediate food boost.
Hang the queen cage between frames with the candy plug exposed at the top. It usually takes a couple of days for the colony to eat the candy and accept her pheromones.

- Pour the bees gently into the gap you created between frames.
- Place the empty package on the ground near the hive entrance to let stragglers join the colony.
- Close the hive and monitor over the next few days for queen acceptance and feeding needs.
Helpful resource: follow a step-by-step guide on obtaining and placing a package at obtaining and installing a package of.
Conclusion
Completing the transfer and seeing your new colony settle is a proud milestone for any new beekeeper.
Follow the methods outlined here to protect the queen, manage temperature, and limit transit stress. These steps help ensure a calm installation and healthy start.
Beekeeping is a process of steady learning. Each successful install adds valuable information and confidence as you keep bees and grow your skills.
Trust proven practices, stay observant, and join other beekeepers to share tips. For extra guidance on moving hives and handling transport, see this practical resource about bees on the move: Bees on the Move.
Happy beekeeping. Prioritize colony well‑being, keep records, and enjoy the rewards of tending a thriving hive.