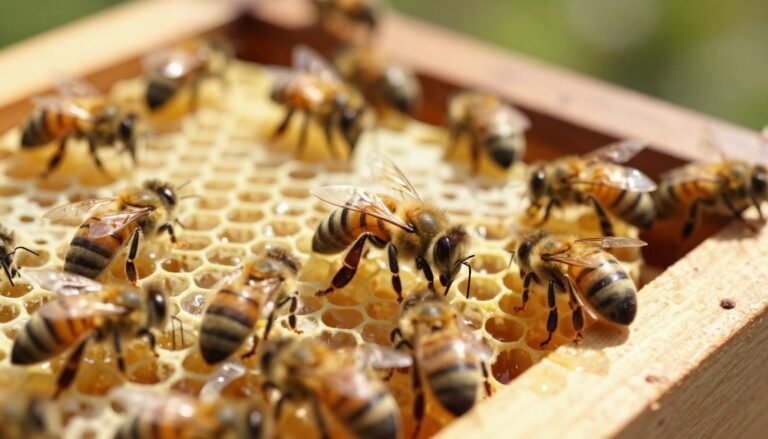
Every beekeeper should learn to read subtle signs inside a colony. A single vertical queen cell on a comb face often means the workers are preparing a replacement queen. This action helps honey bees keep the group strong when a queen grows old or weak.
In 1872 the American Bee Journal first used the term supersedure to describe natural queen replacement. Rusty Burlew later compared finished queen cells to peanut shells in size and texture. These clues help with quick, accurate inspections.
Routine checks of box frames and combs during the active season cut the chance of an unwanted swarm. Watch the number and location of cells each week. Timely action keeps queens, workers, and larvae healthy and the colony productive year-round.
Key Takeaways
- One vertical queen cell on a comb often signals queen replacement activity.
- American Bee Journal documented the term in 1872; this is a long-observed behavior.
- Finished queen cells look like peanut shells, says Rusty Burlew.
- Weekly inspections of frames and box reduce risk of an unwanted swarm.
- Understanding location and number of cells helps distinguish emergency versus natural events.
Understanding the Biological Purpose of Supersedure
Supersedure exists as a quiet, natural reset that keeps colonies productive when a queen declines. This process preserves brood production and avoids a full break in rearing young bees. It often proceeds without dramatic activity and supports long-term colony health.
Survival Mechanism
The colony senses reduced brood from an old queen and begins raising a supersedure queen. A supersedure queen is reared when workers detect lower egg laying or weak pheromone signals. During the overlap, there may be two queens on the same frame while the new queen matures.
Queen Replacement Cycles
Ted Hooper noted that about 5% of colonies with two-year-old queens may contain two queens in autumn. This overlap helps maintain steady brood levels so honey bees keep foraging and storing for winter.
- Replacement avoids a full brood gap.
- Monitoring brood on each frame shows transition success.
- Allowing natural replacement supports genetic health.
| Stage | Purpose | Common signs |
|---|---|---|
| Initiation | Detect failing queen | Reduced brood, worker attention to cups |
| Rearing | Raise a new queen | Enlarged cells on a frame |
| Overlap | Ensure continuity | Two queens possible, steady brood |
| Completion | Old queen replaced | Strong brood pattern from new queen |
For more detail on triggers and scientific notes, read what prompts supersedure. If you want signs often tied to colony movement, see preparing to swarm.
How to Spot Supersedure Before the Hive Swarms
Reading comb faces and brood patterns gives clear clues about queen replacement activity. Inspect frames slowly and look for placement and number of cells. A single, centered cell on a frame often signals workers are raising a new queen.
Location matters. Rusty Burlew noted that swarm cells form in groups at the bottom or sides of brood combs. In contrast, supersedure cells are usually scattered on the face of comb and not clustered.
Use these quick checks each week during peak season:
- Carefully lift brood frames to find queen or confirm eggs and larvae.
- Count cells and note location — many clustered cells usually mean a swarm plan.
- One or two isolated supersedure cells often mean replacement, not reproduction.

Watching brood patterns and worker behavior gives beekeepers the best chance to manage colonies and protect honey production. Early detection saves time and reduces emergency interventions.
The Critical Difference Between Swarm and Supersedure Cells
Knowing the visual and behavior cues for queen replacement helps clear up confusion during inspections.
Visual Characteristics
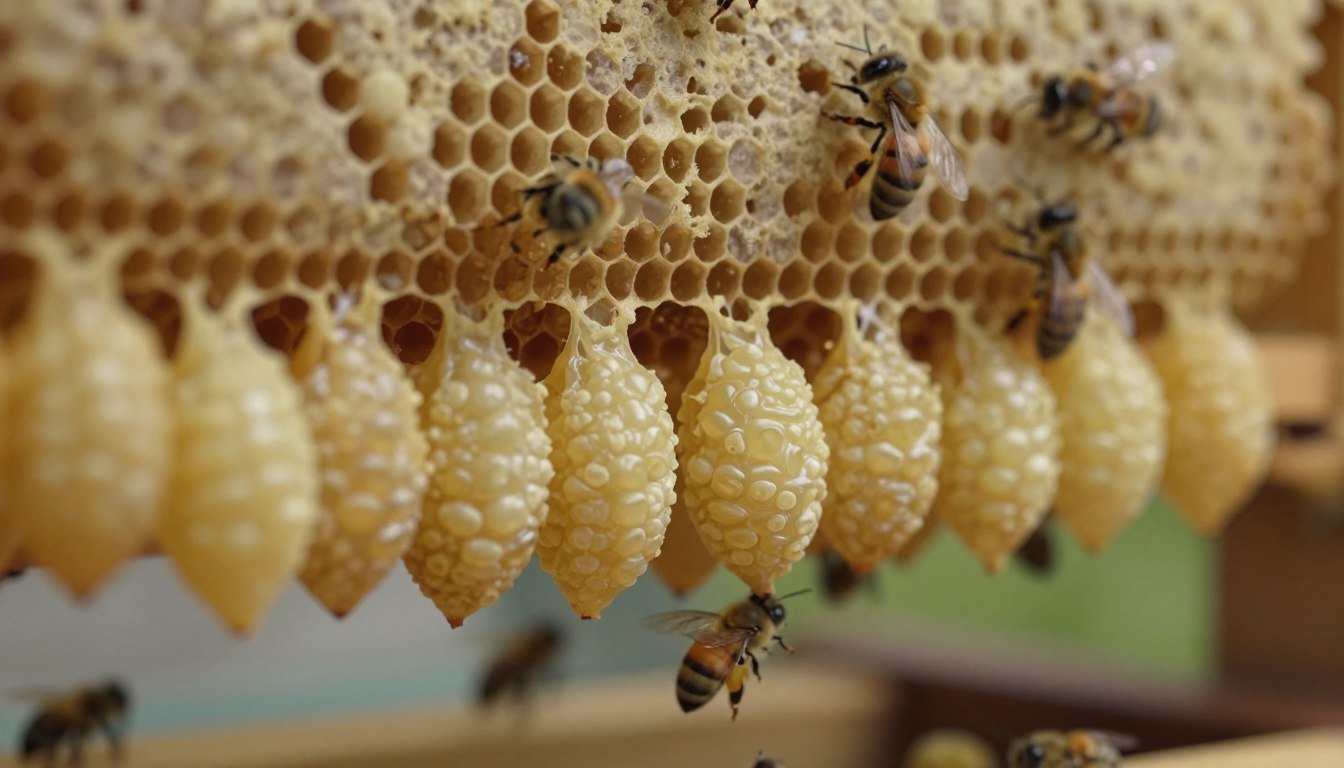
Queen cells hang vertically and resemble peanut shells. When many cells appear in clusters low on a frame, bees may be preparing for mass departure. In contrast, a solitary cell on the comb face usually means workers are raising a replacement queen.
Behavioral Indicators
Watch worker activity near cells. Intense traffic and heated buzzing around clustered cells often precede a swarm. Calm, focused care of a single cell and steady brood checks point toward internal replacement.
- Count cells first—number matters more than exact location.
- Verify presence of a queen and fresh eggs before any intervention.
- Treat more than one cell as potential swarm preparation until proven otherwise.
| Feature | Swarm Cells | Supersedure Cells |
|---|---|---|
| Number | Multiple, often clustered | One or very few, solitary |
| Placement | Bottom or sides of frames | Face of comb, center of frame |
| Worker Behavior | High activity and recruitment | Calm, focused cell care |
| Typical season | Spring and heavy forage days | Any time queen performance declines |
“A single, centered cell often signals replacement rather than reproduction.”
For a practical comparison and photos, see this guide: is it a swarm cell or a supersedure.
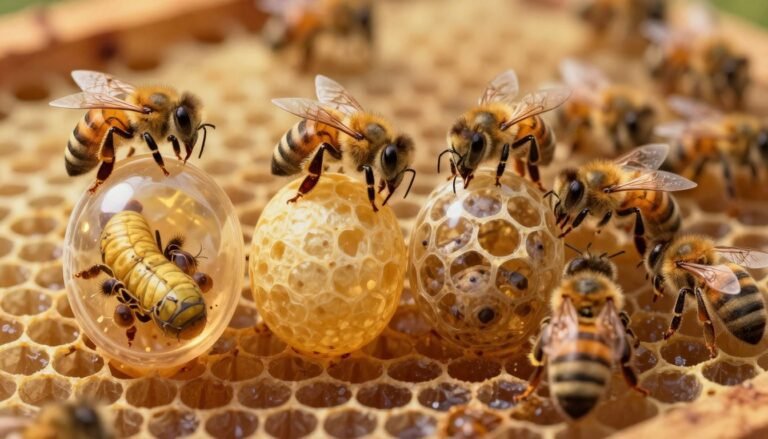
Identifying Queen Cups and Their Role in the Colony
Queen cups are tiny, thimble-shaped structures that bees build as a standby option. They often dot comb faces and frame edges across a healthy hive. Most remain empty and are harmless during routine checks.
When a cup changes status, it matters. If an egg or larva appears inside, the cup can become a full queen cell. At that point workers may feed royal jelly and commit resources. That change can indicate either swarm preparation or a planned supersedure.
Keep these points in mind during inspections:
- Empty cups are normal; you can usually ignore them while you count brood and check frames.
- An egg laid in a cup signals intent—treat it as an active cell until proven otherwise.
- Once charged with royal jelly and a larva, the cup is an active queen cell and requires attention.
- Location and number of charged cells guide your response: scattered, single cups often mean replacement; many charged cells, especially low on a frame, point toward a planned swarm.

For practical guidance on raising replacement queens and managing charged cups, see this concise guide on queen rearing basics.
Why Queen Cell Location Matters During Inspections
Where a queen cell sits on a comb gives beekeepers a quick, practical hint about colony intentions.
Cells hanging low on the bottom edge of the upper brood box often point toward a swarm plan. Many beekeepers tip the box during spring checks to view those bottoms quickly.
A solitary cell on the face of a frame usually indicates internal replacement. That centered placement is more likely a supersedure cell and not an imminent departure.
Always try to find queen and confirm eggs and brood before making decisions. Count the number of cells — number often beats location as an indicator of intent.
Examine every frame, document placement and number, and keep regular inspections each week. If a cell appears in an unusual spot, study nearby brood and workers for context.
For a visual comparison and practical tips on identifying queen cell types, see this short guide on identifying queen cells, and read about signs of overcrowding that prompt more cells at signs your hive is overcrowded.
Recognizing the Signs of a Failing Queen
A clear drop in steady egg laying often signals that a queen is losing her ability to sustain a colony.
Brood Patterns
Spotty brood patterns are the first practical sign. Look for scattered open cells and irregular larvae across central frames.
Consistent coverage across a frame means a healthy queen. Large gaps or many empty cells show reduced fecundity and may prompt the workers to raise a new queen.
Physical Queen Health
Physical injury is a major trigger. A queen with a damaged leg or other impairment often fails at egg laying and will be replaced by the colony.
If you cannot find queen during an inspection, check for fresh eggs as proof she is active. When an older queen underperforms, letting the colony supersede naturally is often the best way forward.

| Sign | What it means | Action |
|---|---|---|
| Spotty brood | Reduced egg laying | Monitor frames weekly |
| Damaged queen | Physical impairment | Allow natural replacement |
| Few fresh eggs | Queen absent or weak | Confirm over several days |
| Decline in open brood | Lower colony growth | Watch for new queen cells |
The Impact of Brood Pheromones on Colony Stability
Chemical cues from brood give workers a constant update on queen performance and colony needs.
Brood pheromones signal the queen’s fecundity and help keep the hive steady. When frames hold plenty of open brood, workers read those scents as proof that egg laying is normal.
Research by Tarpy et al. (2021) found packages installed with a frame of open brood show higher queen retention. That single frame releases pheromones that calm worker unrest and reduce early supersedure attempts.
If a colony has little brood or few larvae and eggs, workers may judge the queen weak and begin building supersedure cells. Adding a frame of open brood when installing packages is a low-effort way for beekeepers to stabilize colonies.
- Brood pheromones help workers assess queen health and laying rate.
- More open brood lowers the chance workers will replace a queen unnecessarily.
- Practical action: add a frame with open brood during package installation to improve retention.
https://www.youtube.com/watch?v=aZE4rXmjC0w
“Understanding these chemical signals lets beekeepers manage colony health and reduce emergency replacements.”
Managing Packages and Early Season Queen Replacement
Package installation in early spring sets a colony’s trajectory for the year. Studies show over 25% of queens in packages are replaced within weeks. A simple addition at installation makes a big difference.

Package Installation Best Practices
Add one frame of open brood when you place a package into a box. That single frame supplies brood pheromones and raises queen retention from about 33% to near 87% in trials.
Ensure the mated queen has food and calm conditions for several days. Monitor workers and check for cells and eggs during weekly visits. If you see multiple charged cells low on a frame, treat with caution; a solitary charged cell often signals internal replacement.
“Adding a frame that smells like brood is the easiest, most effective step a beekeeper can take at installation.”
| Practice | Result | Notes |
|---|---|---|
| Add open brood frame | Higher queen retention (≈87%) | Provides pheromones, calms workers |
| Install in box with stores | Better survival | Offer sugar syrup if nectar is scarce |
| Weekly checks | Early detection of cells | Watch eggs, larvae, and worker behavior |
For broader strategies on preventing premature departures, see our guide to prevent swarming.
Distinguishing Drone Cells from Queen Cells
A clear visual contrast helps keep drone brood from being mistaken for queen production.
Size and texture offer the fastest clue. Drone cells sit large and have a pebbly, cobblestone surface. Queen cells are elongated, hang vertically, and feel rough like a peanut shell.
Placement differs too. Drone cells cluster along frame edges in volume. Queen cells usually appear solitary on comb faces when workers plan a replacement.
Check inside each cell before removing it. Look for larvae or royal jelly. That step prevents accidental destruction of drone brood and preserves colony genetics.

- Drone clusters are common in spring and are normal colony development.
- Queen cells hang vertically and are fewer in number.
- Learn these differences to avoid needless panic during inspections.
| Feature | Drone Cells | Queen Cells |
|---|---|---|
| Size | Large, bulbous | Elongated, narrow |
| Surface | Pebbly / cobblestone | Rough, peanut-like |
| Placement | Clustered at frame edge | Solitary, hanging on comb face |
| Number | Often many | One or very few |
For visual comparison and more tips on queen cells identification, consult the guide linked above.
Evaluating the Number of Cells Present
Counting queen cells gives a fast, practical clue about colony intent. A single, well-placed cell on a comb face often indicates an internal replacement. Multiple queen cells clustered low or along edges usually mean the bees plan a swarm.
Numbers matter, but context matters more. Superseding colonies commonly build around five queen cells on average, though that number can vary widely. Note where cells sit, who attends them, and whether eggs are present.
Use this quick checklist each inspection:
- Record the total queen cells on each frame and in each box.
- Verify if cells contain eggs laid or larvae — active cells need more attention.
- Compare counts over time; workers often build then tear down cells during decision making.
When many cells appear, act. A large number signals higher swarm risk and may call for space management or split strategies. If only one or two appear, letting nature run its course often preserves colony strength.

“Tracking cell counts across frames over the season helps you stay ahead of colony changes.”
When to Intervene and When to Let Nature Take Its Course
Deciding whether to intervene in a colony’s queen replacement is one of the toughest judgments a beekeeper faces. If you find a supersedure cell during peak mating season, trusting the bees often produces the best outcome. Let nature run its course when a single cell sits on a comb face and brood remains steady.
Emergency cells are different. Many small, rough cells or torn brood pattern usually mean the queen has been lost. In those cases, introduce a new queen or combine colonies to avoid a brood gap.
Observe the colony for a few days before acting. Check eggs, larvae, and worker behavior on nearby frames. The old queen is often removed by workers once a new queen mates and lays.
Rule of thumb:
- One or two isolated cells + steady brood = watch and wait.
- Multiple emergency cells + scattered eggs = intervene.
- Unsure? Monitor for 3–5 days before making changes.

“Always prioritize colony health and stability when choosing intervention.”
| Situation | Signs | Recommended action |
|---|---|---|
| Natural replacement | Single cell on face, steady brood | Observe; no immediate action |
| Emergency requeening | Multiple emergency cells, spotty brood | Introduce mated queen or combine |
| High swarm risk | Many low clustered cells, crowded frames | Space management or split colony |
Techniques for Protecting Queen Cells
Aluminum shields offer a low-tech, high-success method for protecting a developing queen cell. This approach gives a new queen space to emerge while workers adjust behavior around her presence.
Why use a foil protector? Wrapping a cell in aluminum stops workers from chewing through the side. That simple barrier often prevents premature destruction in a queenright colony.

Apply the foil so the tip stays exposed. Secure the wrapped cell to a nearby frame or comb face. Check gently after a few days to confirm the queen has emerged and workers accept her.
- Wrap the cell firmly, leaving the emergence end clear.
- Attach the wrapped cell to a stable frame or box surface so it will not fall.
- Use this method when introducing stock from another source or when encouraging a controlled supersedure.
Practical benefits: This technique raises the odds that brood will continue steadily and that queens of desired genetics can establish. It saves time, avoids finding an old queen, and helps maintain honey and colony stability.
The Role of Seasonal Timing in Colony Decisions
Seasonal rhythms shape many of the choices a colony makes about queens and reproduction. In spring, rising nectar and brood needs push bees toward reproduction and increase the chance of multiple swarm cells forming on lower frames.
Late season activity often favors internal replacement. Finding a solitary cell in autumn can mean workers are preparing a new queen for winter rather than planning a mass departure.
Plan inspections around local swarming periods. Schedule weekly checks during peak spring and scale back when forage slows. Weather and local bloom timing change colony priorities quickly.

Watch brood, eggs, and frame placement across each box. If brood and stores are steady, let nature run its course for an old queen. If many cells appear low and clustered, act to reduce swarm risk.
“Aligning management with seasonal signals keeps bees strong and maintains honey production.”
- Know local swarming windows and adjust inspections.
- Recognize late season replacement as often beneficial.
- Use weather and forage patterns when planning interventions.
Common Mistakes Beekeepers Make During Inspections
Relying on a single cue during an inspection leads many beekeepers astray. Trusting only the placement of a queen cell can cause misjudgment.
Always look for context. Find queen or check for fresh eggs before removing any cells. A calm check prevents losing a good queen and keeps brood steady.
Panicking at the sight of cells often prompts errors. Many remove frames without scanning all comb and cups. That can destroy a developing queen or harm colony order.

- Keep clear records of inspections; that history guides decisions.
- Inspect every frame and box so you do not miss eggs or crowded areas.
- Provide space early—overcrowding raises swarm risk and stress for bees.
“A slow, methodical check beats hurried action during critical moments.”
| Mistake | Consequence | Quick fix |
|---|---|---|
| Relying on location | Misread colony intent | Assess eggs, brood, behavior |
| Not finding queen | Accidental removal of good queen | Search frames before cutting cells |
| Poor records | Hard to track trends | Log each inspection and notes |
For a practical checklist and record templates, see inspection and recordkeeping.
Advanced Strategies for Artificial Supersedure
Advanced beekeepers sometimes introduce a protected queen cell into an active colony to guide a gentle replacement.
Artificial supersedure lets you improve genetics without hunting for the old queen. Place a guarded cell from a chosen source into a queenright box. Workers tend that cell and allow a new queen to emerge while the old queen remains until rejected.

This method saves time and reduces stress on bees. The mated queen that emerges will emit stronger pheromones. Over days, workers accept her and phase out the older queen naturally.
Success depends on protection and observation. Wrap or cage the introduced cell so workers cannot destroy it. Monitor frames nearby and confirm the new queen is laying after emergence.
- Use protected cells from trusted stock to raise a new queen with desired traits.
- You do not need to find queen; that reduces disturbance.
- Practice on a few colonies before scaling across an apiary.
| Aspect | Benefit | Notes |
|---|---|---|
| Introduced cell | Improves genetics | Use guarded, healthy supersedure cell |
| Colony disturbance | Minimal | No need to find queen or perform removals |
| Monitoring | Ensures success | Confirm new queen lays within 2–3 weeks |
| Risk | Cell destruction | Protect cell; check frames often |
“Artificial replacement gives beekeepers control over colony traits while keeping brood continuity.”
Conclusion
A short, steady routine of frame checks gives fast clues about queen health and colony intent. Regular inspections help you tell a replacement event from preparation for flight. Note cell number, placement, and brood pattern and keep records.
Let nature work when a single, well-placed cell appears and brood stays strong. Intervene when many low cells appear or brood is spotty. A healthy, laying queen remains the heart of every productive hive.
For deeper reading on natural queen replacement, see this supersedure overview. For apiary growth and management ideas, consult beekeeping expansion tips.