This short guide helps beekeepers choose and use an entrance disc that gives tight control over hive activity. The steel disc mounts with a single screw through its center so it can rotate. That simple attachment offers a full view of the opening and lets you set the right hole diameter for your colony.
Good design balances ventilation and security. A 1-inch hole works well with plastic or metal discs and pairs with a queen excluder when needed. Proper slots and half-inch settings can be the difference between a healthy season and one with problems.
HONESTBEE supplies precision gear to commercial apiaries and can provide a wholesale quote on equipment that helps manage frames, mating nucs, and winter needs. See a practical setup and reducer tips in this helpful guide.
Key Takeaways
- Single-screw disc attachment allows 360-degree control of the hive opening.
- Standard 1-inch diameter works with plastic or metal discs to regulate traffic.
- Proper ventilation and queen excluder use protect mating nucs and frames.
- Small slot adjustments often decide seasonal success for bees.
- HONESTBEE offers wholesale options and support for commercial beekeepers.
- For step-by-step installation and reducer advice, see the detailed guide.
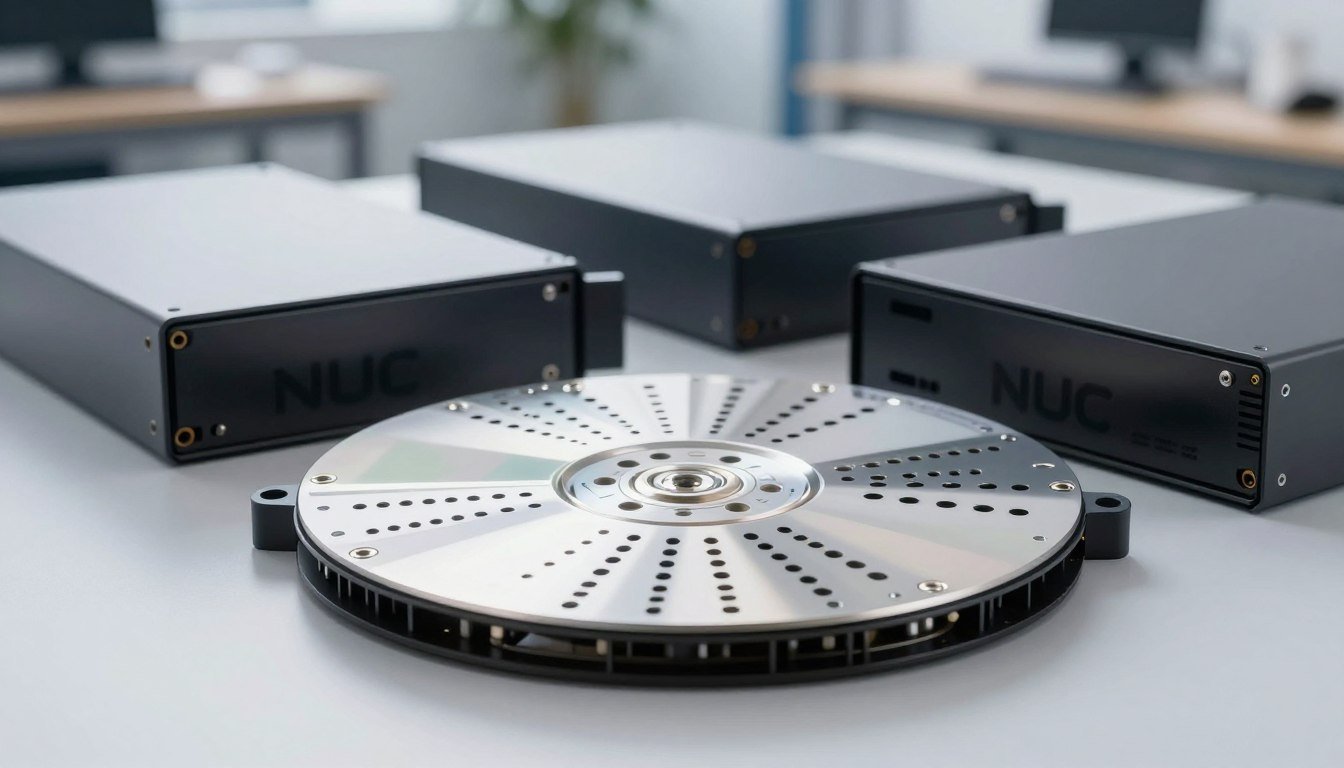
Understanding the Entrance Disk for NUC Boxes Explained
A compact rotating plate serves as a multi-function gatekeeper on both nucs and full hives. It gives beekeepers precise control over hive traffic and helps protect the colony.
Primary duties include queen exclusion, ventilation tuning, and anti-robbing measures. The 1-inch diameter opening accepts plastic or metal covers that keep the queen inside the frames.
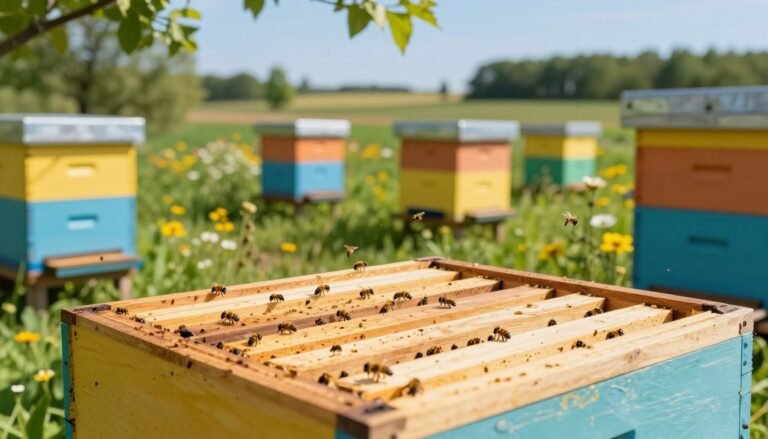
Many people note that bees drift toward the sides of the box in strong sun. That behavior does not harm thermal efficiency on doubled-up 5-frame units, since the 2x18mm walls and the small gap preserve warmth.
The disc usually mounts with a single screw at center. This attachment lets you rotate the plate through the year to set half-inch, full-open, or closed positions. With the right setting you can view and manage traffic while keeping queen exclusion intact.
For step-by-step mounting tips, see the steel entrance disc mounting guide. To compare transport and storage options, read this best nuc box for transport article.
Installation and Mounting Best Practices
Proper placement and a precise hole size make the rotating plate an effective tool for managing bee flow. Start by centering the 1-inch hole where it will serve as the main entrance on a small box or an upper entrance on a full hive.
Choosing the right hole size: Drill a clean 1-inch opening so the plastic or metal disc rotates freely with minimal friction. A half-inch setting on the plate is useful during peak season to limit traffic while workers still pass through.
Strategic placement on the hive: Mounting the disc on the front provides an upper entrance that helps ventilation and gives a clear view of activity. Side placement is helpful on nucs to control access without disturbing frames.

- Verify the single-screw attachment is tight to avoid gaps that invite robbers.
- Test rotation after mounting; there should be no binding against the wood.
- Use the disc position to support the queen excluder and protect frames during inspections.
| Mount Location | Typical Hole Size | Main Benefit | When to Use |
|---|---|---|---|
| Front (upper) | 1 inch | Improved ventilation and view of traffic | Warm months, hive expansions |
| Side | 1 inch | Controlled access, less frame disturbance | Small nucs and transport |
| Bottom edge | 1 inch | Traditional entrance control, easy landing | General use, winter prep with half setting |
| Upper back | 1 inch | Ventilation boost, secondary exit | Hot climates or heavy foraging |
Navigating the Four Functional Settings
Rotate the control plate to select one of four functional modes that match seasonal needs and colony strength.
The Fully Open setting lets a strong hive flow freely during heavy nectar runs. This gives maximum bee traffic and eases forager return during peak bloom.
Queen Excluder mode uses small slots that allow workers through but block the queen. This is vital when managing mating units; many beekeepers use it for 3–5 days to help a new swarm settle into frames.
Utilizing the Queen Excluder
Use this setting to prevent the queen from leaving while keeping workers active. Align the slots carefully so the hole in the body matches the excluder openings. See recommended queen cage and introduction methods at best queen cages.
Managing Ventilation Needs
The Ventilation setting opens small holes to trade air without permitting full movement. This reduces condensation and keeps brood healthy in damp weather.
Handling Full Closure
Fully Closed seals the colony for short-term transport or pesticide protection. Use extreme caution: prolonged closure risks overheating or suffocation.
| Setting | Main Use | When to Apply |
|---|---|---|
| Fully Open | Maximize traffic and foraging | Strong hives during nectar flow |
| Queen Excluder | Prevent queen exit, allow workers | Mating periods, new swarms (3–5 days) |
| Ventilation | Air exchange, reduce condensation | Cool or damp conditions |
| Fully Closed | Short-term seal for safety/transport | Transport or nearby spraying |
Practical tip: Rotate plastic or metal components slowly and check alignment each time. For step-by-step beginner guidance, review the beginning beekeeping guide.
Seasonal Management Strategies for Your Colony
Shift the plate seasonally to match colony growth and weather, and you’ll keep bees healthier all year.

Spring: Set the opening fully open on a small nuc so workers can expand quickly. Keep full hive bodies on a queen excluder when brood production ramps up.
Summer: Use a wide setting during peak foraging to prevent traffic jams at the entrance. This protects the queen and lets frames fill without stress.
Late summer and fall: Rotate to the queen excluder mode to help smaller nucs defend against robbing wasps and keep stores safe.
Winter: A full opening in an upper position acts as a dedicated ventilation port and a secondary exit for cleansing flights. That ventilation reduces condensation on frames and helps the colony survive cold snaps.
Practical tip: Check settings as you inspect brood and stores. Monitor activity and use queen exclusion when introducing new queens or during mating periods. Learn signs a hive is preparing to swarm at how to tell if your hive is preparing to.
Avoiding Common Pitfalls and Mismanagement
A simple oversight with the control plate can lead to overheating or blocked flights. Be mindful that this rotating plate is a tool, not a cure-all. It helps with ventilation and security, but misuse causes real consequences.
Key limitations:
- The disc opening is often too small to serve as a main opening on a strong hive. That bottleneck hinders foraging and raises traffic stress.
- Forgetting to open the plate after transport can cause overheating or suffocation of the entire colony. Always check settings on arrival.
- Upper entrances should supplement, not replace, a bottom entrance. Relying only on an upper port limits flight paths and can increase congestion.
Regular checks matter: clear holes and slots of propolis and debris, and adjust the size during late summer to reduce robbing risk. Learn more about potential reducer risks in warm weather with this guide on risks with reducers, and review trap options like the best pollen trap when managing strong hives.
Conclusion
Use the four settings as a seasonal playbook to balance ventilation, security, and foraging. This control gives you a simple way to protect the queen and manage worker traffic while you tend frames and stores.
Mastering the entrance disc is a core skill. It helps prevent robbing, aids mating management with a queen excluder, and keeps the colony healthy through the year.
When you need reliable hardware or a wholesale quote, contact HONESTBEE. See a mounting overview and product details in the metal disc guide and check recommended starter kits linked below.
metal disc mounting guide • best starter kit
FAQ
What is an entrance disk and why do beekeepers use one?
An entrance disk is a small, often plastic, plate that fits over the hive opening to control access. Beekeepers install it on nuc boxes and full hives to adjust hole size, restrict robbing, limit drone or queen movement, and manage ventilation. It gives quick, tool-free control of how bees enter and exit the colony.
What hole diameter should I use for nuc boxes?
Choose a hole that balances bee traffic and defense. Typical drilled sizes range from about 7 mm (for strong defense and nuc starts) to 20 mm (for maximum flow). Many beekeepers use a 10–12 mm opening as a compromise between easy movement and reduced intrusion from pests or robbers.
Where on the box should I mount the plate or slot?
Mount it low on the front face, centered horizontally, just above the bottom board. That placement lets guard bees monitor traffic and helps bees orient flights. For split or double-deep setups, fit the plate on the lower brood box so the queen remains below the excluder when needed.
How do the four functional settings work?
Most disks offer four positions: a small hole for restricted access, a larger hole for normal traffic, a slot for high ventilation and foraging, and a closed position to seal the hive. Rotate or slide the disk to the required setting based on colony strength, weather, and season.
When should I use a queen excluder setting on the plate?
Use the excluder setting during late summer or when you want to confine the queen to the brood chamber. This helps control brood placement and prepares colonies for splits or overwintering. Make sure worker access remains sufficient so foraging and food storage continue uninterrupted.
How can I manage ventilation with these plates?
Open the slot or larger hole during hot weather and heavy nectar flows to reduce hive temperature and prevent condensation. Close to a smaller opening or use the partial slot in wet, windy, or cold conditions to maintain warmth while allowing minimal airflow.
Is it safe to fully close a nuc box using the disk?
Full closure is useful for short-term hive moves or protecting a fragile nuc at night, but avoid closing long-term. Bees need constant ventilation and flight access for cleansing. If you must close for transport, ensure the colony has adequate air and reopen as soon as possible.
Can using the plate prevent swarming?
A plate can help delay swarming by restricting traffic and reducing congestion, but it won’t eliminate the biological drivers of swarming. Combine disk use with inspections, space management, and timely supering or splitting to effectively reduce swarming risk.
What are the risks of relying on upper entrances or unusual placements?
Upper entrances can cause orientation confusion, reduce guard efficiency, and complicate temperature regulation. They may also allow pests easier access. For most nuc boxes, a single low front opening remains the best option for colony control and beekeeper management.
How should I adjust settings seasonally?
In spring and summer, use larger openings or slots to support foraging and reduce heat stress. In late summer, fit the excluder position if preparing for splits or requeening. In fall and winter, reduce hole size to conserve heat and limit robbing, but maintain some ventilation to prevent moisture buildup.
Are plastic plates durable and easy to attach?
Yes. Many plastic models are lightweight, weather-resistant, and attach with screws or simple clips. They offer quick rotation between settings and resist warping better than some wood options. Choose UV-stable plastic to reduce brittleness over time.
Will a plate affect queen mating or colony development?
Properly used, it won’t harm mating flights or development. Avoid restricting the colony excessively during peak mating season or when nucs are building comb. Ensure workers can forage freely so the queen receives adequate care and the brood nest expands normally.
How should I deal with mismanagement or common mistakes?
Don’t over-restrict entrances for long periods, and avoid mismatched hole sizes for colony strength. Inspect frequently after changes to ensure adequate airflow and guard behavior. When problems appear—condensation, reduced foraging, or increased aggression—revert to a more open setting and reassess placement.
What are good brands or suppliers to consider?
Look to established beekeeping suppliers such as Mann Lake, Brushy Mountain, and Betterbee for quality plates and mounting kits. These vendors provide different designs and clear specifications so you can match diameter and material to your management style.