Modern hives owe their practical design to Reverend Lorenzo Langstroth, whose principles help beekeepers keep colonies orderly. Small gaps invite extra wax that makes inspections slow and messy.
Burr comb is the stray wax bees build in unwanted spots. This extra comb can hide pests and complicate frame handling. Managing the space inside a hive is the key step for avoiding bridge builds and misplaced wax.
Use uniform frames, snug fits, and guide strips so bees focus energy on honey, not stray construction. If irregular growth appears, remove it with a hive tool and check for pests or drone brood.
For deeper guidance and practical fixes visit this guide on burr comb care.
Key Takeaways
- Langstroth’s design helps maintain controlled bee space and reduce stray wax.
- Extra comb hinders inspections and may harbor pests.
- Keep frames tight and boxes uniform to limit unwanted build-up.
- Use guide foundations or strips to direct natural construction.
- Remove misplaced wax promptly and inspect for mites or beetles.
- Proper setup helps bees focus on honey, improving hive health.
Understanding the Principle of Bee Space
Precise measurements between frames guide bee traffic and limit stray wax. Reverend Lorenzo Langstroth discovered that a specific gap keeps movement clear and work focused. That gap—known as bee space—is the foundation of modern hive layout and frame design.
Defining the Gap
Langstroth set the critical measure at between 1/4 and 3/8 of an inch. When that space exists, bees maintain passageways and do not alter the structure with extra wax or propolis.
Consequences of Incorrect Spacing
If the gap between frames exceeds 3/8 of an inch, the colony will naturally fill it with excess comb. This makes inspections harder and raises management burdens for beekeepers.
If the distance is less than 1/4 of an inch, bees seal the area with propolis. In a 10-frame box with only nine frames, that extra amount of room invites bees build in the void.
- Maintain correct frame alignment to limit stray wax.
- Design boxes so every frame holds the intended spacing.
- Learn more about precise bee space measurements.
- For removal guidance when bees create excess comb, see this practical guide.
Why Bees Build Excess Comb
Bees treat any gap larger than their natural bee space as usable real estate. They will quickly expand wax structures into openings that exceed about 3/8 of an inch. This is basic colony behavior and a common cause of burr comb in hives.
Human error often makes the problem worse. When frames are left loose after an inspection, worker bees see fresh space and begin new comb production.
The longer extra material remains, the more time the colony has to add layers. What starts as a small patch of comb can grow into a major management problem that impedes inspections and raises pest risk.
Practical control means strict attention to internal dimensions and frame alignment. Push frames tight at every check and confirm boxes seat correctly. Consistent routine helps beekeepers keep energy focused on honey rather than misplaced wax.

For detailed removal and upkeep advice, see this burr comb care guide.
How to Prevent Burr Comb Under Inner Covers
Tight, uniform frames remove the temptation for bees to turn small spaces into new comb. Keep frame alignment precise at every check so the bee space stays consistent across the hive stack.
Use frames and foundation from the same manufacturer when possible. Consistent hive components preserve dimensions and reduce surprises during inspections.
After each inspection, push frames together firmly. This simple step stops bees from finding gaps where they might make burr comb or bridge comb.
Maintaining Proper Frame Alignment
- Seat frames snugly to maintain the correct bee space and limit stray wax.
- If the queen begins laying in misplaced comb, remove wax carefully to protect her and the brood.
- Regular, short inspections help you catch small comb growth before it becomes a larger problem.
- Keeping frames aligned prevents bridge connections between top bars and the inner cover.
For a practical walkthrough on inspections and brood issues, see the hive inspection: brood and burr comb guide.
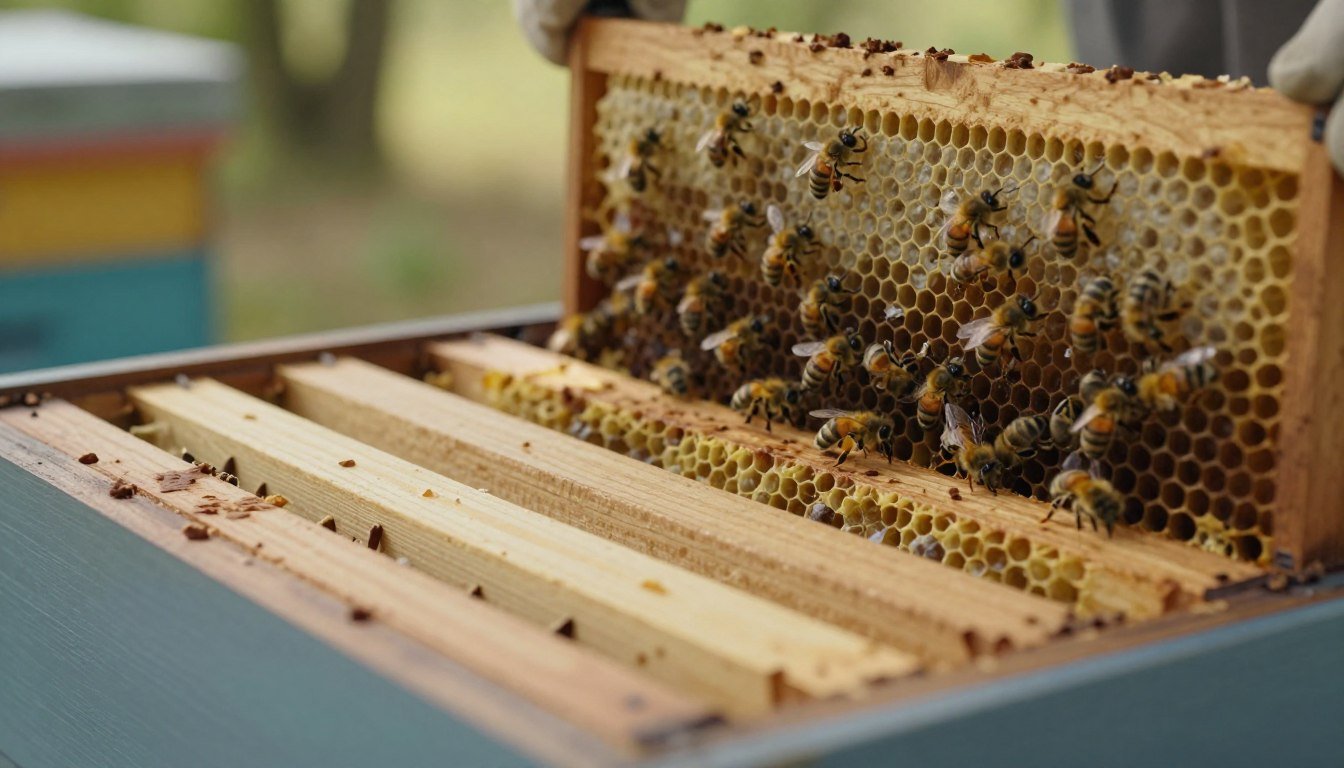
Identifying Common Locations for Misplaced Wax
Bees often add stray wax on the top bars when box spacing drifts beyond recommended limits. This is the most frequent spot for burr comb and can form quickly after an inspection.
Interior walls are the next common site. Workers may build bridge comb that links frames to the side of the box.
Early detection saves work. Bridge connections can cement frames and make removal risky for brood and the queen.

- Top bars of frames often host stray build-up where the gap exceeds 3/8 inch.
- Walls inside the hive may carry comb that ties frames to the box.
- Use a standard hive tool to scrape misplaced wax from bars and walls.
- Finding a comb bridge indicates the internal space is not correct and needs adjustment.
| Location | Risk | Action |
|---|---|---|
| Top bars of frames | Frames glued together, hard removal | Scrape with hive tool; realign frames |
| Interior walls | Block access, hide pests | Clean walls; check hive components |
| Between boxes | Bridge formation across boxes | Ensure proper space; reseat boxes |
For further reading on handling cross connections in alternative designs, see this guide on cross-comb in top-bar hives.
Risks Associated with Ignoring Excess Comb
Left unchecked, extra wax inside a hive invites pests and complicates routine care. Small areas of stray structure quickly become breeding sites for invaders. Quick action saves time and preserves honey stores.
Pest Infestations
Small hive beetles and wax moths seek out unused or loose wax. They lay eggs in stray comb and can destroy frames of honey and brood. Regular checks reduce this risk and protect the colony.
Queen Safety
When workers build large pieces, the queen may lay in that new material. Removing it carelessly can fatally injure her or disturb brood. Handle growth slowly and inspect every 7 to 10 days.
Impeded Airflow
Blocked passages trap moisture and heat. Poor ventilation stresses bees and may encourage fungal or pest problems. Keeping internal space clear helps the colony regulate temperature and manage stores.
| Risk | Why it matters | Practical action |
|---|---|---|
| Pest infestation | Beetles and moths breed in loose wax and destroy comb | Inspect weekly; remove stray wax; monitor traps |
| Queen injury | Queen or brood can be harmed during comb removal | Work slowly; locate queen before cutting; reseat frames |
| Airflow issues | Moisture buildup harms brood and honey | Maintain correct space; clear bridges; reseat boxes |
For a clear primer on what stray wax looks like and more guidance, see what is burr comb.
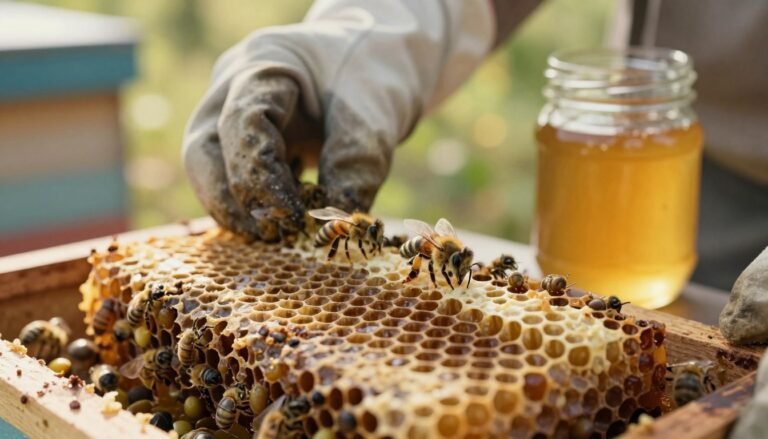
Essential Tools for Hive Maintenance
A reliable suite of hand tools makes routine hive work faster and less stressful for both you and the colony. A standard hive tool is the keystone implement for scraping away burr comb from the top bars and keeping frames aligned.
Use a smoker to calm the bees and create space while you work. Short, calm puffs discourage defensive behavior and let you move frames with less disruption.

Keep a sharp, clean hive tool and a spare scraper. Clean metal stops wax and propolis build-up and lowers the chance of transferring pests like hive beetles or wax moths.
- Hive tool: remove bridge comb, lever frames, and check spacing between frames.
- Smoker: calm bees for safer inspections.
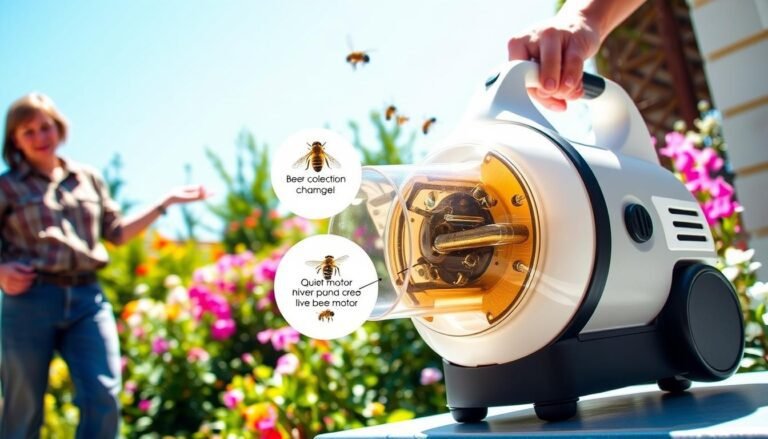
- Beeswax collection: render clean wax for candles or salves rather than waste it.
Regular use of the right toolset supports honey production and healthy frames. For compact setups and tool recommendations, see this minimalist beekeeping guide.
Best Practices for Removing Unwanted Comb
Remove stray wax with steady, deliberate motions so frames remain intact and the queen is safe.
Work calmly and use a hive tool to slice excess comb from the top bars. Keep motions slow so you do not crush worker bees or damage brood. When brood appears in salvaged wax, handle that section with care.
If you find drone brood, consider disposal or feeding it to chickens as a mite control step. For valuable brood, secure pieces back into frames using rubber bands so the queen can continue laying without interruption.
- Use your hive tool to separate and lift wax from bars, keeping cuts clean and tidy.
- After removal, push frames together firmly so bees do not rebuild in the same spot.
- Confirm the correct number of frames and use foundation to keep bee space consistent.
Regular, short inspections reduce time spent on repairs and lower pest risk. For timing and stepwise guidance on removing comb from tops of frames, see this removal timing and technique.
Conclusion
Routine checks and neat framing help colonies spend energy on honey rather than repairs. Consistent care keeps hive health steady and supports better honey yields.
Maintaining correct bee space and tight frame alignment limits misplaced comb and saves work later. Regular, short inspections let you spot and remove small comb before it binds frames or hides brood.
Use the right tools and a proactive plan for excess wax and stray material. For specific guidance on handling problem growth, see this handling burr comb from diseased hives.
Good habits keep each hive manageable and let bees focus on stores, brood, and clear flight paths. Stay consistent; your colony will reward steady effort.
FAQ
What is the main goal of preventing burr comb in beehives?
The main goal is to maintain proper spacing and accessible frames so inspections, honey harvest, and queen management proceed smoothly. Good spacing reduces damaged comb, limits pests like small hive beetles and wax moths, and keeps worker activity predictable.
What does "bee space" mean in hive design?
Bee space is the precise gap bees naturally leave between surfaces — about 1/4 to 3/8 inch. Maintaining this gap between frames, boxes, and inner components discourages builders from filling voids with extra wax or bridge comb.
What happens when bee space is incorrect?
When gaps are too large, bees construct bridge comb that fuses frames and boxes together. If gaps are too small, they seal areas with burrs and propolis. Both scenarios complicate inspections and can injure bees and queens during manipulations.
Why do colonies build excess wax inside a hive?
Colonies build extra wax for storage, brood expansion, and to secure loose parts. Congestion, a strong population, abundant nectar flow, or gaps around frames and inner components encourage builders to fill empty space quickly.
How can I maintain proper frame alignment to reduce unwanted comb?
Use correctly sized frames and consistent foundation or starter strips. Square the boxes, index frames on top bars, and avoid warped parts. During inspections, re-seat frames in order and check that frames sit parallel and at the same height.
Where do bees commonly place misplaced wax or bridge comb?
Look along box seams, between supers and inner covers, beneath the crownboard, around entrance reducers, and in gaps left by misaligned frames or warped tops. Comb frequently appears near feeder areas and over frames left with open space.
What pest risks increase when extra comb is ignored?
Extra comb creates hiding spots for wax moth larvae and small hive beetles. Those pests can damage comb, consume brood and honey, and spread disease. Remove obstructions promptly to limit infestations and reduce treatment needs.
How does excess comb threaten the queen?
Excess wax can trap or hide the queen during inspections, increase the chance of accidental crushing, and alter nest structure so she lays in undesirable areas. Clear pathways and maintain frame access to protect her mobility and egg-laying behavior.
Can misplaced comb affect hive ventilation?
Yes. Extra wax and bridges block airflow channels and reduce effective ventilation. Poor airflow increases humidity and disease risk, and can compromise thermoregulation for brood, especially in hot or wet conditions.
What tools are essential for preventing and managing unwanted comb?
Keep a hive tool, frame spacer, level, and square handy. Use a hot knife or heated spatula for clean comb removal, and have spare frames and foundation for replacements. Protective gear and a bee brush help with safe handling.
What are best practices for removing unwanted comb safely?
Work in calm weather with gentle smoke. Cut bridge comb at attachment points rather than prying, and avoid tearing foundation. Replace damaged frames with new foundation or wired frames. Sanitize tools and store removed comb away from hives to prevent pest spread.
How often should inspections focus on preventing comb bridges?
Inspect frequently enough for your local nectar flows and colony strength — typically every 7–14 days during build-up. Regular checks let you catch small bridges early and correct spacing before extensive comb accumulates.
What role does foundation or starter strips play in controlling comb placement?
Foundation guides bees to draw straight comb where you want it. Starter strips or full foundation reduce the tendency to build irregular comb between frames and decrease the chance of cross-frames or burr deposits.
Should I remove all burr comb or leave some for the bees?
Remove comb that fuses frames, blocks access, or harbors pests. Small amounts that don’t impede inspections can be left, but prioritize hive function and safety. Replace problematic comb with proper frames to discourage repeat building.
Can hive component quality affect comb problems?
Yes. Warped boxes, mismatched frames, and poor-fitting inner covers create gaps that encourage builders. Invest in precise, standardized equipment from reputable suppliers like Mann Lake or Dadant to minimize fit issues.
Does colony size influence how much extra comb is built?
Strong colonies with many foragers and nurse bees build more rapidly. During high nectar flow, a large workforce fills available spaces quickly. Monitor populous colonies and add space or supers before they start bridging gaps.
How do brood patterns and drone brood factor into comb management?
Irregular brood patterns and excessive drone brood can indicate space problems or queen issues. Maintain proper frame rotation and honey/storage placement so brood remains centralized and workers aren’t forced to expand into gaps with burr wax.