Clear, consistent jars start with patient processing. For many beekeepers, extraction occurs the same day as harvest so warm honey flows through an extractor with less resistance.
Proper storage in food-grade plastic containers keeps products safe from moisture and contamination during the brief settling phase. Filtering right after extraction removes large debris and speeds the clearing process.
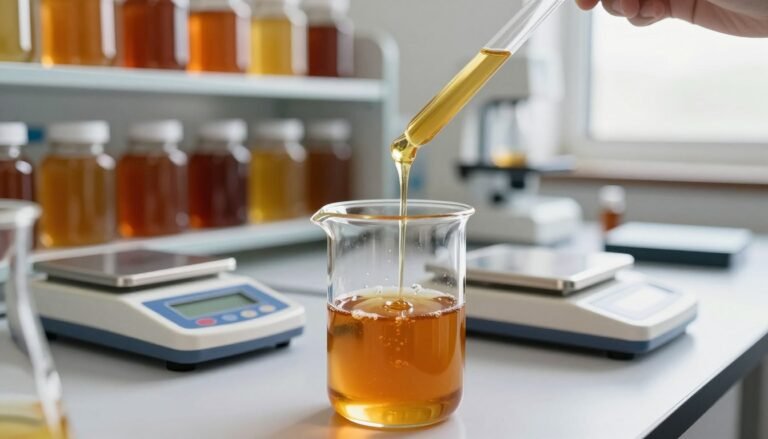
Organization matters: prepare labels, clean the extraction area, and stage warm buckets near 33°C for gentle settling. A short rest period—paired with a coarse-to-medium filter progression—yields clearer jars and fewer issues at cap time.
For practical tips on extraction and storage workflows, visit this guide on extracting and storing raw which aligns with safe moisture and temperature targets for production.
Key Takeaways
- Extract on harvest day when possible for easier processing.
- Use food-grade containers and keep moisture low for safe storage.
- Filter immediately after extraction to remove debris before settling.
- Warm, short settling near 33°C helps clear air and scum.
- Prepare labels and clean work areas to streamline bottling.
Understanding the Importance of Honey Settling
A careful settling phase protects the flavor and shelf life of your harvest. This short pause in processing lets impurities and air rise so you put a cleaner product into jars and prepare for bottling with confidence.
The Role of Moisture Content
Water content in capped comb can exceed safe levels. Bees may cap nectar above 18.5% moisture, which raises the risk of fermentation and spoilage.
Maintaining proper moisture is a core beekeeping skill. Monitor levels and control temperature during settling to keep the final product stable.
Why Clarity Matters
Clear jars sell better and signal high quality. Settling allows fine particulate and surface scum to separate naturally, improving appearance without harsh processing.
Professional beekeepers prioritize this step so every jar meets buyer expectations. For packaging guidance, see our packaging and labeling resource.
| Factor | Recommended Target | Why It Matters | Action |
|---|---|---|---|
| Moisture | Under 18.5% | Prevents fermentation | Test and dry if needed |
| Temperature | ~33°C (gentle) | Helps air escape | Hold in warm room |
| Clarity | Clear, debris-free | Improves shelf appeal | Allow settling and skim |
| Storage | Food-grade containers | Protects product | Use sealed buckets, then jars |
How Long to Let Honey Settle Before Bottling
A brief rest in a warm room clears trapped air and floating debris from extracted honey.

Allow the product to sit for 24 to 48 hours in a warm place so bubbles and small wax pieces can rise to the surface. In this period the contents in your tank or bucket will naturally clarify, making jars easier to fill.
Consistent temperature helps. Many beekeepers use a warming cabinet near 33°C to keep flow steady after extraction and while waiting for air and foam to work upward.
- Check water content before bottling to ensure safe storage and correct weight in each bottle.
- Use a gated bucket or tank to control flow and deliver uniform weight across jars.
- Skim off surface scum and wax once bubbles rise, then transfer to final containers or plastic storage for short-term holding.
| Action | Recommended Period | Benefit |
|---|---|---|
| Rest in warm tank or bucket | 24–48 hours | Allows bubbles and wax to rise |
| Check water content | Before bottling | Prevents fermentation, ensures shelf life |
| Use gated dispenser | At bottling time | Consistent jar weight and clean fills |
For regional tips on timing and extraction workflows, see wildflower harvest tips.
Preparing Your Workspace for Clean Extraction
Clear workflows and sturdy surfaces prevent spills and protect jars during extraction. Arrange the extractor, tank, and buckets so each step moves in one direction from comb to container.
Maintaining Hygiene Standards
Cleanliness matters because this is a food product. Wash all tools, strainers, and containers with hot water and a food-safe cleaner before use.
Use food-grade tanks and buckets for processing and short-term storage. A 5-gallon bucket can weigh about 65 pounds when full, so place it on a sturdy table or pallet to avoid accidents.
- Verify water content of the harvest before filling jars to prevent fermentation and ensure product stability.
- Use a proper filter sequence (coarse to medium) at the extractor to remove wax and debris and improve clarity.
- Organize lids, labels, and scales near the bottling area to reduce handling time and maintain weight consistency.
| Area | Requirement | Reason |
|---|---|---|
| Extractor setup | Level platform, food-grade materials | Prevents contamination and uneven flow |
| Tanks & buckets | Food-grade, sealed when possible | Protects product during short storage |
| Personal hygiene | Wash hands, use gloves if needed | Reduces risk of contamination |
| Weight handling | Use carts or lifts for 5-gallon units | Avoids injury and jar breakage |
For step-by-step processing tips and legal selling guidance, consult this processing guide and this selling guide.
Managing Air Bubbles and Surface Scum
A short hold in a quiet room lets tiny air pockets travel upward where you can remove them. This simple step improves clarity and gives each jar a clean finish.

After an initial 24–48 hours rest period, skim the foam and any wax film from the bucket surface. Use a clean, shallow spoon or a dedicated skimmer and work steadily across the tank edge.
Filtering at extraction cuts the bulk of wax and reduces the scum you must remove later. If your extractor or filter missed fine particles, a second skim saves time at the bottling stage.
Using a warming cabinet
Set a warming cabinet to a steady temperature that encourages air and tiny bubbles to rise without overheating the product. Consistent heat helps trapped air escape from the tank and bucket within a few hours.
- Keep the room quiet and vibration-free so bubbles move upward smoothly.
- Skim after the period of rest, then transfer clear contents into jars for final weighing.
- For tips on final jarring and finishing, see jarring and finishing.
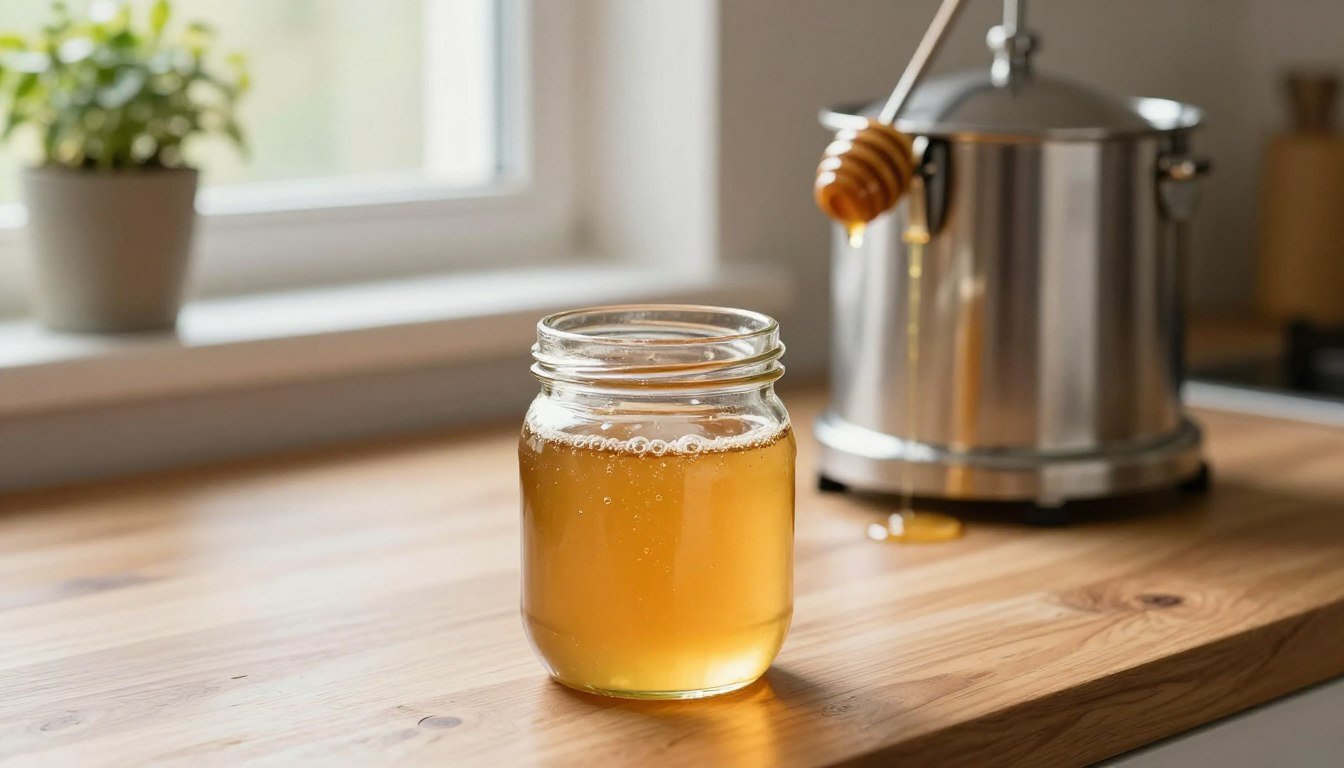
Selecting the Right Containers for Your Harvest
The jars and bottles you pick influence both customer appeal and your bottling workflow.
https://www.youtube.com/watch?v=8-nK3omJFcQ
Choose sizes that match demand: small jars for samples, mid-size for regular sales, and larger bottles for bulk buyers. Size variety helps display and pricing.
Glass jars give a premium look and preserve flavor. Food-grade plastic containers offer lighter weight and easier handling during transfer from the tank or bucket.
- Use a gated bucket or tank for consistent fills and accurate weight per jar.
- Pick square or hex jars for shelf impact; shape can be a brand differentiator for beekeepers selling direct.
- Store empty containers covered and off the floor so dust and debris stay away before filling.
| Type | Benefit | Best Use |
|---|---|---|
| Glass jar | Premium look, inert | Retail jars |
| Plastic (food) | Lightweight, durable | Bulk storage |
| Gated tank | Clean fills, weight control | Bottling runs |
Before you start a run, confirm your extractor and gate match the chosen bottle necks. For practical harvesting and handling tips, see the harvesting guide.
Labeling and Legal Considerations for Sales
Clear, accurate labels protect your business and give buyers confidence at first glance.

Before placing products on the shelf, confirm local rules for food labeling and sales. Laws vary by state, and each jar you sell must list required content, net weight, and origin where applicable.
Navigating Local Regulations
Beekeepers should keep records of processing dates, moisture checks, and where the product came from. Good paperwork makes inspections and audits straightforward.
- Verify label content meets state and federal food rules.
- Organize labeling during bottling runs so jars leave with consistent, professional branding.
- Seal every jar and keep containers and tanks clean to protect product safety.
“Accurate labels and clean handling reduce risk and build customer trust.”
| Requirement | Why it matters | Action |
|---|---|---|
| Label content | Legal clarity for consumers | Include net weight, origin, and ingredient list |
| Sealing | Food safety and tamper evidence | Seal jars before sale and log batch |
| Record keeping | Compliance and traceability | Track tank and bucket transfers, extractor runs |
For a concise guide to label rules, review this label requirements resource. It helps ensure your jars and products meet food safety expectations and present well in market channels.
Final Thoughts on Achieving High Quality Honey
Finish each run with patient checks and clean tools so every jar reflects your best work.
Quality comes from steady temperature control, careful filtering, and timely skimming of wax and foam.
Maintain a warm, steady environment and monitor your tank and extractor during the final stage. This preserves flavor and reduces risk of fermentation.
Use clear labels and consistent fills so the product looks professional on the shelf. For practical timing advice, consult this 48-hour resting guidance.
Protect enzymes and taste by avoiding excess heat; practical tips are available in this guide on avoiding overheating during extraction.
FAQ
How soon after extraction should I let honey rest before packaging?
Allow extracted honey to rest until most air bubbles and fine debris rise to the surface. For small batches in jars expect 12–24 hours; larger tanks or buckets may need 24–72 hours. Temperature around 70–80°F speeds air escape and thickening without harming quality.
What causes persistent air bubbles in jars and tanks?
Bubbles come from the extractor, agitation during transfer, and dissolved moisture releasing gas. High water content and cold temperatures trap air. Use gentle transfers, allow warm settling, and avoid vigorous stirring to reduce trapped bubbles.
Can I speed up clearing by warming the honey?
Yes. A controlled warming cabinet or warm water bath at 95–104°F helps reduce viscosity so bubbles rise faster. Avoid heating above 120°F to keep enzymes and flavor intact. Use food‑safe, even heating and monitor with a thermometer.
How do I remove surface foam and scum effectively?
Skim foam with a clean stainless steel spoon or flat skimming tool after bubbles collect. For large volumes, use a shallow skimmer or cheesecloth over a ladle. Remove debris promptly to prevent reabsorption of moisture and to improve clarity.
Is filtering required before bottling for retail sales?
Filtering improves appearance and removes wax, bee parts, and particulate. Use coarse filters (mesh or nylon) for minimal processing, or finer food‑grade filters for retail jars. Keep filtration gentle to avoid introducing air.
What moisture content is safe for storage and sale?
Aim for 17% water or lower. Higher moisture risks fermentation and off‑flavors. Use a refractometer to test samples. If moisture reads high, consider controlled dehydration methods or blending with drier honey to reach a safe level.
Which containers preserve quality best: plastic or glass?
Glass jars and food‑grade PET bottles both work, but glass is inert and resists odor transfer long term. Use BPA‑free, food‑grade plastics for lightweight retail needs. Ensure lids seal tightly to prevent moisture uptake and contamination.
How should I set up a clean extraction and bottling area?
Maintain a dedicated, washable workspace with stainless steel tanks, sealed floors, and clean drains. Sanitize tools, use food‑grade containers, and control dust and pests. Good lighting helps spot foam and debris during settling and skimming.
Are there legal labeling requirements for selling jarred honey?
Yes. Label must show product identity, net weight, ingredient list if blended, producer name and address, and country of origin. Follow FDA and state guidelines; check local county regulations for cottage food rules or required inspections.
How does temperature at harvest affect settling and quality?
Warmer hive and ambient temperatures yield less viscous honey that drains and clarifies faster. Cold honey traps bubbles and slows settling. Harvest during warm, dry weather, and warm stored honey gently before bottling if needed.
Can I bottle honey straight from the extractor for small farmstand sales?
For quick farmstand sales, you can decant when most visible bubbles and debris have settled and you’ve skimmed the surface. Expect some cloudiness that clears over days. For longer shelf life and retail presentation, allow extended settling and filtering.
What signs indicate honey has fermented or is poor quality?
Fermented honey smells yeasty, tastes sour, and may foam persistently. Visible bubbling, off‑odors, and unexpected thinning suggest high moisture. Discard or reprocess suspicious batches; test moisture with a refractometer to confirm.
How often should beekeepers check settling tanks before bottling?
Inspect tanks several times daily during the first 48 hours, then daily thereafter. Skim as necessary and check refractometer readings. Make the final transfer to bottles after clarity and moisture targets are met.
What tools help reduce air introduction during bottling?
Use siphons with gentle flow, bottom‑fill bottle fillers, and angled nozzles to minimize turbulence. Work at warm room temperatures and fill containers slowly. Avoid pumping at high speeds and cap immediately to limit air contact.
Should I label jar dates or batch numbers?
Yes. Batch numbers and harvest or bottling dates help trace quality issues, manage inventory, and meet many regulatory expectations. Clear records support food safety and build customer trust in your brand.