Published August 27, 2026
Table of Contents
- What a Mason/Leafcutter Bee House Is
- Why Maintenance Isn’t Optional
- Correct Hole Sizes
- Materials: What to Use and What to Avoid
- Construction Basics
- Placement: Height, Sun, and Weather Protection
- Harvesting Cocoons at the End of the Season
- Winter Storage
- Putting Cocoons Back Out in Spring
- How This Differs From Honeybee Hive Management
- Which Species Will Actually Use It
- Predators and Parasites to Watch For
- How Many Tunnels Do You Actually Need
- Pairing a Bee House With the Right Plants
- Common Mistakes
- FAQ
What a Mason/Leafcutter Bee House Is
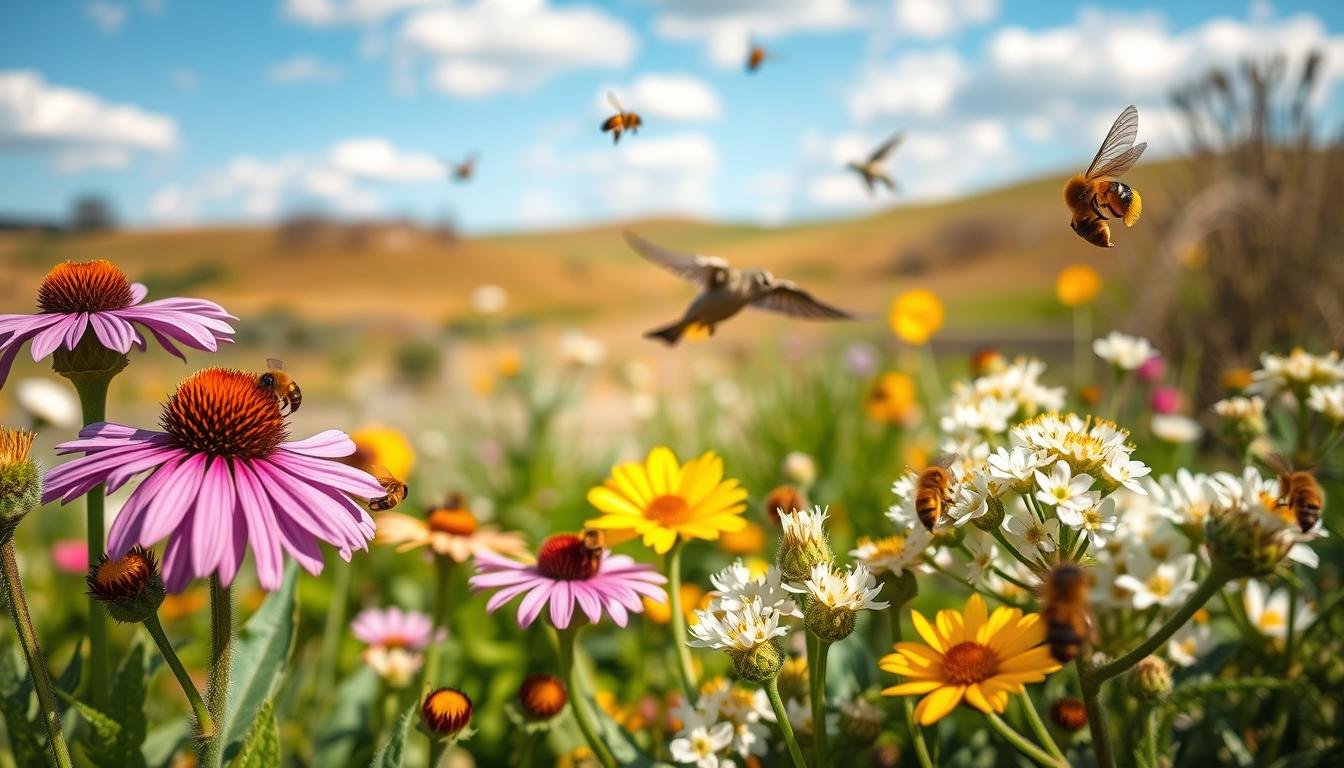
A mason or leafcutter bee house is a structure of hollow tunnels — natural reeds, paper tubes, or drilled wood — that gives solitary native bees a place to lay eggs and provision nests, since these species don’t build hives or live in colonies the way honeybees do. Each female works alone, filling a tunnel with a series of individual brood cells, each stocked with pollen and an egg, then sealing the tunnel behind her. Done correctly, a bee house can meaningfully support local mason and leafcutter bee populations, both valuable pollinators in their own right. Done carelessly, it can do more harm than good. See native bee species: pollinators in the United States for background on which solitary bees you’re likely to be housing in the first place.
Why Maintenance Isn’t Optional
This is the detail most casual “how to build a cute bee hotel” guides skip entirely: an unmaintained bee house doesn’t stay neutral over time — it actively degrades. Pollen mites and chalkbrood fungus accumulate in tunnel material year over year, and within just two or three seasons of no cleaning or material replacement, a bee house can end up killing more bees than it successfully raises, turning what looked like a helpful habitat feature into a population sink for the very species it was meant to support. This isn’t a minor caveat; it’s the central fact that should shape how you build and manage one from the start — every tunnel material needs to be removable and cleanable, not sealed in permanently.
Correct Hole Sizes
Hole diameter matters more than most people expect. Most mason bees (including the common blue orchard bee) prefer roughly 6-8mm diameter holes, with 8mm (5/16 inch) often cited as the sweet spot for the most common North American Osmia species, while leafcutter bees generally prefer somewhat narrower holes in the 5-7mm range. Holes outside the roughly 6-10mm range tend to attract wasps rather than the bees you’re trying to support, and hole depth matters too — depths shorter than about 5 inches skew the resulting offspring ratio toward males, which isn’t what you want if the goal is supporting a productive local population. Offering a mix of diameters (some 6mm, some 8mm, a few 10mm for leafcutters) gives a wider range of species genuine options rather than favoring just one.
Materials: What to Use and What to Avoid
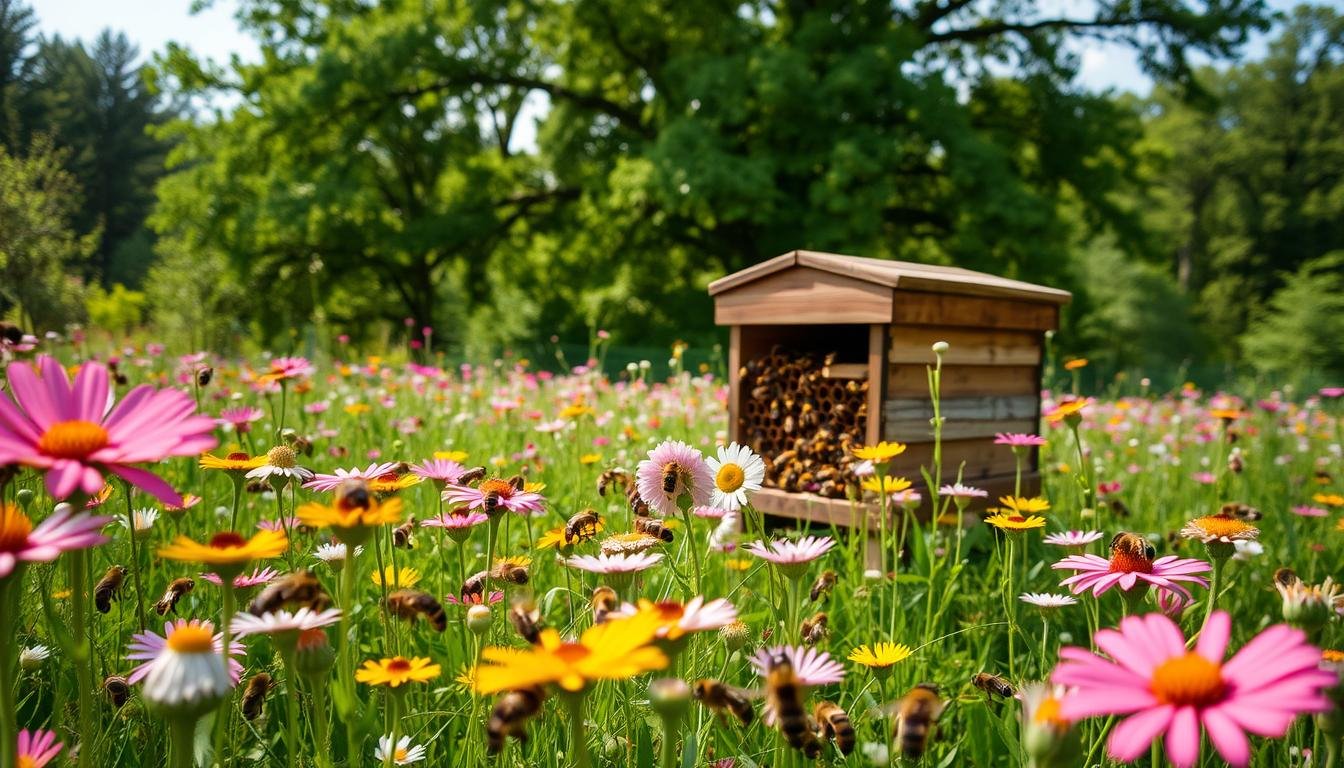
Good tunnel options include natural reeds, double-walled paper tube liners inserted into a wooden frame, and reusable wood trays with routed grooves that can be opened and cleaned. Avoid varnished, painted, or pressure-treated wood for any surface bees will directly contact, since finishes and preservatives can be toxic to developing larvae. Whatever material you choose, sand entrance holes smooth — rough edges can damage a bee’s wings on entry and exit, a small detail that meaningfully affects a solitary bee’s ability to keep working.
Construction Basics
- Build or select a frame that holds tunnel material with a closed back — never drill or use tubes that pass all the way through, since bees need a sealed end to provision cells against.
- Fill with your chosen tunnel material (paper liners, reeds, or grooved wood trays), sized to roughly 5-6 inches of usable depth.
- Add a roof or overhang that keeps tunnel entrances relatively dry during rain, without fully enclosing or trapping humidity inside.
- Ensure everything is removable — this is the requirement that makes annual cleaning actually possible, and it’s worth prioritizing over a more permanent-feeling but sealed design.
Placement: Height, Sun, and Weather Protection
Mount the finished house roughly 5 feet off the ground, angled or positioned to catch morning sun, which helps warm emerging bees and encourages active use earlier in the day. Some overhang or roof protection from direct rain is important, but avoid placing the house somewhere it gets no sun at all or stays damp — persistent moisture is one of the conditions that encourages the mold and fungal issues (like chalkbrood) that make unmaintained houses dangerous in the first place.
Harvesting Cocoons at the End of the Season
Once bees have finished actively using the tunnels for the season — typically by late summer or early fall, depending on species and region — remove the nesting material (or the individual liners/trays) from the house. If using removable paper liners or trays, open them to check and sort the cocoons inside, discarding any that show clear signs of mold, parasitism, or damage rather than storing everything indiscriminately. This inspection step is exactly what separates a maintained bee house from the “death trap” scenario covered earlier — you’re actively removing the material where pests and pathogens have had a chance to build up.
Winter Storage
Store harvested cocoons over winter somewhere cool and stable but not heated — an unheated garage or shed is a commonly used option, since natural cold exposure through winter is part of what triggers normal spring emergence timing. A simple ventilated container (a cardboard box with holes cut for airflow works fine) is generally sufficient; the goal is protecting cocoons from extreme temperature swings and predators, not creating an artificially warm environment.
Putting Cocoons Back Out in Spring
Move stored cocoons back outside in early-to-mid spring, timed to just before local bees would naturally begin emerging in your region — placed somewhere dry with good morning sun exposure, similar to the house’s regular placement. Bees emerge naturally as temperatures warm and disperse to begin their own nesting activity rather than reusing the exact tunnels they emerged from. After the season’s emergence has concluded, clean and prepare the house (redrilling wood holes if needed, replacing paper liners, general sterilizing) before the cycle repeats the following year.
How This Differs From Honeybee Hive Management
If you’re an experienced honeybee keeper new to native bee housing, it’s worth resetting expectations: there’s no colony to inspect, no queen to find, and no honey to harvest. Management here is almost entirely about the physical tunnel material’s condition and cleanliness rather than the ongoing hands-on colony management honeybee keeping involves. It’s a genuinely lower-maintenance undertaking in terms of frequency (a couple of touchpoints per year rather than weekly inspections), but the consequences of skipping that maintenance entirely are more severe proportionally, since there’s no larger colony resilience to absorb a buildup of pests the way a honeybee colony sometimes can. See how to support wild pollinators near your apiary for more ways beekeepers can help native bees alongside their honeybee colonies.
Which Species Will Actually Use It
What shows up depends heavily on your region and the specific hole sizes you offer — blue orchard bees and other mason species (genus Osmia) are common users of 6-8mm holes across much of North America, while various leafcutter species (genus Megachile) tend toward the narrower end of the range. You may also attract other cavity-nesting solitary bees and, less desirably, some wasp species if hole sizes drift outside the ideal range or if the house sits in a location wasps find appealing for their own purposes. Don’t expect or aim for honeybees to use this kind of housing at all — they’re a fundamentally different, colony-based species with entirely different nesting needs, and a mason bee house isn’t a substitute for or alternative to an actual hive.
Predators and Parasites to Watch For
Beyond the mite and chalkbrood buildup covered above, a few other threats are worth knowing. Parasitic wasps can lay their own eggs in occupied tunnels, effectively hijacking the pollen provisions a mason or leafcutter bee worked to gather. Woodpeckers and other birds occasionally target bee houses specifically because they’ve learned tunnels contain a concentrated food source. A wire mesh barrier with openings large enough for bees to pass through but too small for birds’ beaks can help protect an otherwise vulnerable house without blocking the bees themselves. None of these risks are reasons to avoid keeping a bee house — they’re simply additional factors the annual cleaning and inspection routine already covered gives you a natural opportunity to check for.
Common Mistakes
| Mistake | Why it matters |
|---|---|
| Using a sealed, non-removable tunnel design | Makes annual cleaning physically impossible, guaranteeing pest/pathogen buildup over time |
| Choosing hole diameters outside the 6-10mm range | Attracts wasps rather than the mason/leafcutter bees the house is meant to support |
| Never cleaning or replacing tunnel material | Within 2-3 uncleaned seasons, mite and chalkbrood buildup can make the house kill more bees than it raises |
| Using varnished or treated wood in contact with bees | Finishes and preservatives can be toxic to developing larvae |
| Placing the house somewhere shaded and damp | Encourages the mold and fungal conditions that drive the pest-buildup problem |
How Many Tunnels Do You Actually Need
A modest house with 20-40 tunnels is plenty to start observing genuine activity in most residential settings, and there’s little benefit to building something dramatically larger before you’ve confirmed local bees are actually using what you’ve put out and that you’re genuinely able to keep up with annual cleaning. A house that’s too large to properly clean and inspect every year is worse than a smaller one that gets proper maintenance, precisely because of the pest-buildup risk covered throughout this guide — scale up gradually as you confirm both real local demand and your own capacity to maintain what you build, rather than starting with an oversized structure on day one.
Pairing a Bee House With the Right Plants
A bee house alone, without nearby forage, won’t attract much activity — mason and leafcutter bees need accessible pollen and nectar sources within a reasonable flight range of the nesting site, and leafcutter bees specifically also need suitable leaf material nearby for lining their nest cells. Placing a bee house within or near an already-planted pollinator-friendly garden bed, rather than in an isolated spot with little nearby forage, meaningfully improves the odds of genuine occupancy. If you’re starting a garden bed from scratch specifically to support the bee house, native, open-pollen flowering plants blooming across as much of the growing season as possible give the widest window of usable forage for whichever species end up using the tunnels. Avoiding pesticide use anywhere near the bee house and its surrounding forage plants matters just as much here as it does for honeybee health generally.
Sources
Hole sizing, material guidance, and the annual cleaning cycle reflect published solitary-bee conservation guidance and detailed hobbyist documentation of mason bee house management, consistent with widely cited native-pollinator housing best practices.
FAQ
Do mason bee houses actually need annual cleaning?
Yes — this is essential, not optional. Within 2-3 uncleaned seasons, accumulated mites and chalkbrood fungus can turn a bee house into a net negative for local bee populations rather than a benefit.
What size holes should a mason bee house have?
Roughly 6-8mm for most mason bees (8mm/5/16 inch is often ideal), and 5-7mm for leafcutter bees. Holes outside the 6-10mm range mostly attract wasps instead.
Can I use painted or treated wood for a bee house?
No — avoid varnished, painted, or pressure-treated wood in any surface bees will contact, since finishes and preservatives can be toxic to developing larvae.
When should I harvest and store cocoons?
Remove nesting material after bees finish using it for the season (typically late summer/fall), store cocoons somewhere cool and unheated over winter, and put them back outside in early-to-mid spring before local emergence timing.