Understanding the right moment to replace a queen is a core skill for every beekeeper managing healthy hives. David and Sheri Burns note a queen often performs best for only one to two years. That timeline guides many decisions about queen rearing and replacement.
If your bee population drops or eggs are scarce, introducing a new queen may be essential to sustain worker bees through winter. Monitor frames and cells closely for brood patterns and signs of a queenless hive.
Good queen rearing practices and timely requeening hive actions help maintain strong hives that produce royal jelly and stable worker numbers. For practical steps on queen introduction and timing, consult this guide on requeening a bee hive and best practices for hive setup at beehive installation.
Key Takeaways
- Queens peak at one to two years; plan replacement before performance drops.
- Watch frames and cells for laying eggs and consistent brood patterns.
- Act within weeks if a hive shows signs of being queenless.
- Use proven queen rearing methods to keep worker bees healthy and productive.
- Introduce new queens carefully using indirect release methods for best acceptance.
Understanding the Role of the Queen in Hive Health
The queen sets the chemical tone that keeps every hive orderly and productive. Her mandibular pheromone (QMP) signals that the group is queenright and stable. That scent guides worker bees and shapes daily tasks inside the hive.
David and Sheri Burns note the queen handles laying eggs and that brood pattern drives overall health and productivity. A strong queen also supports development by helping produce royal jelly for young larvae.
Pheromone output is the clearest sign beekeepers watch during active management. Low scent or poor egg laying often precedes a drop in population and may signal the need for urgent queen rearing or replacement.
- Chemical unifier: queen pheromones regulate worker bees and hive behavior.
- Reproductive center: laying eggs keeps the hive growing and productive.
- Selection focus: choose queens with high pheromone output when practicing queen rearing.
Understanding this role helps any beekeeper diagnose problems early and act to preserve hive balance. For practical guidance on queen traits and management, see this overview on queen bees basics and tips on boosting population naturally at boosting colony population.
Identifying Signs of a Failing Queen
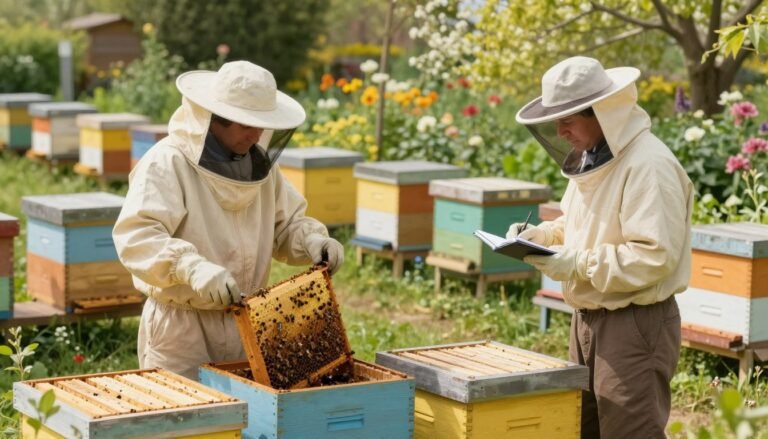
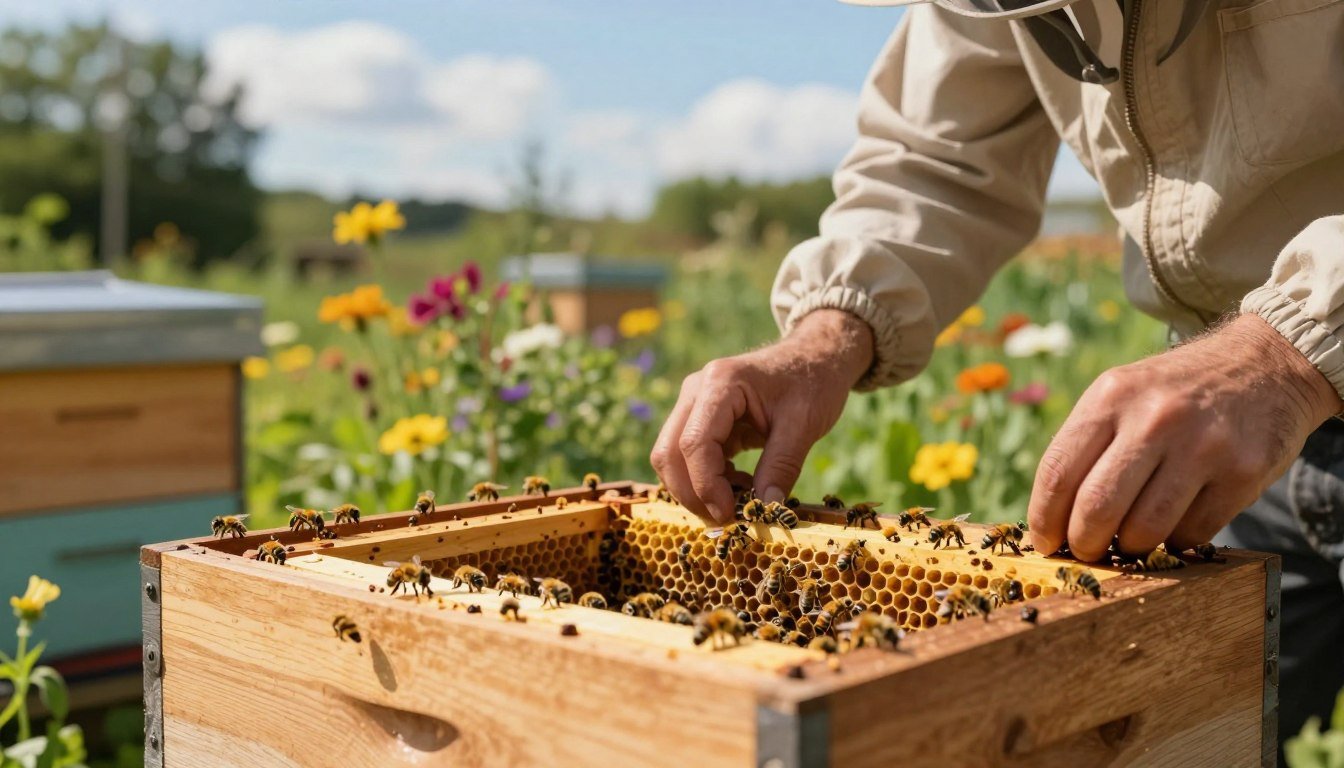
Early detection preserves hive strength. Inspect frames often. A failing queen usually leaves a spotty or “shotgun” brood pattern with empty cells scattered among capped brood.

Brood Pattern Irregularities
Look closely at comb faces for structure changes. Bees preparing a replacement build one to three large, peanut-shaped supersedure cells on the face of a frame. Multiple eggs in one cell or an excess of drone brood are red flags.
Population and Temperament Shifts
Worker numbers often fall and the hive grows defensive as pheromone signals weaken. You may also note reduced royal jelly and poor laying eggs rates. David and Sheri Burns advise watching worker behavior around the queen for clues about her productivity.
- Shotgun brood: clear sign of decline.
- Supersedure cells: 1–3 peanut-shaped cells on comb face.
- Behavioral change: fewer worker bees and more aggression.
“Inspect frames regularly; early signs allow timely intervention.”
For guidance on inspecting purchased stock, see this article on inspect purchased nucs for disease risk.
When to Requeen a Weak Honey Bee Package Colony
Late summer offers an ideal window for replacing queens so new stock can settle before winter. David and Sheri Burns recommend July through September as prime timing. This span lets a mated queen lay winter bees and strengthens hive populations.
If the hive is truly queenless with no eggs or young larvae, act immediately. A beekeeper must introduce a new queen right away to prevent population collapse. In periods with few drones available, secure a mated queen before introduction.
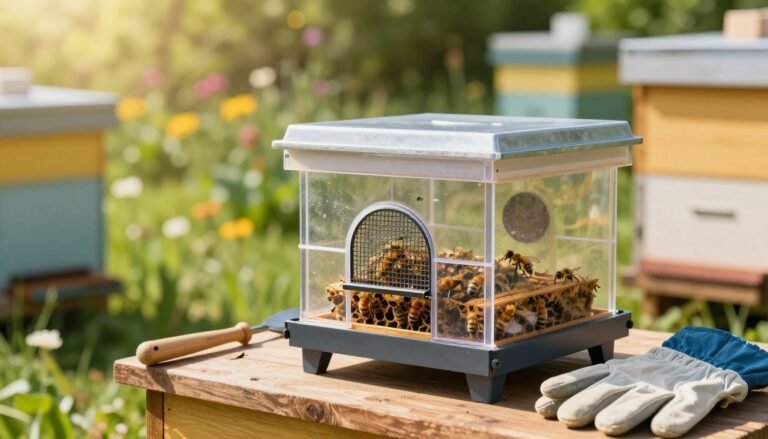
Use a queen cage fitted with a candy plug so workers accept the newcomer gradually. Monitor frames closely after placement and watch for aggression toward the cage. If a recently installed package fails within a week, plan for replacement without delay.
- Timing: July–September for best establishment before winter.
- Use: queen cage with candy plug for safer introductions.
- When urgent: no eggs present, provide a mated queen immediately.
“Prompt, well-timed introductions preserve brood patterns and hive stability.”
Preparing the Hive for a New Queen
A deliberate prep routine gives the newcomer the best chance at steady laying and smooth integration. Clear steps reduce stress on worker bees and set the stage for successful queen rearing.
Removing the Old Queen
Start by inspecting every frame. Carefully search comb and cells for the old queen and any emergency or supersedure queen cells.
Use a frame holder to steady frames while scanning. If you find queen cells, remove them; their presence will lower acceptance odds for the new queen.
David and Sheri Burns recommend waiting 24–48 hours after the old queen is removed before introducing the new queen. This pause lets the hive realize it is queenless and begin to prepare.

- Meticulously check each frame and comb for the old queen.
- Remove all queen cells found on any frame.
- Use a cage for gradual release once the new queen arrives.
Proper preparation helps worker bees accept the newcomer and lets eggs resume regular patterns. For practical steps on requeening a weak hive, see requeening a weak hive.
Selecting and Sourcing Quality Queen Stock
Choosing strong genetic stock gives your hive the best chance at long-term health. David and Sheri Burns favor survivor stock queens—feral queens proven through harsh winters and mite pressure.
Local breeders with 30–40 hives often raise reliable queens because their stock adapts to regional pests and climate. Many beekeepers buy from these small operations for consistent traits like mite resistance and steady laying.
Track which hives in your yard persist year after year. Those survivors make excellent candidates for future queen rearing. If you face a queenless hive, bringing in quality stock can quickly restore eggs and brood patterns.
- Select stock that shows winter survival and disease tolerance.
- Buy local when possible; regional adaptation matters.
- Work with trusted breeders who understand beekeeping demands and supply tested queen bees.
“Investing in superior queens pays off in honey yield and hive stability.”
Methods for Introducing a New Queen
Introducing a queen works best when the hive has time to accept her scent without stress. Use staged release methods that protect the queen while worker bees begin to adapt to her pheromones.

Using the Candy Plug Method
The candy plug is a simple fondant or sugar paste placed at the cage exit. Workers eat through the barrier over several days, giving the new queen a gradual release.
Place the queen cage with the candy plug accessible so bees can reach it. This gradual access helps most hives accept the newcomer and restores regular laying of eggs.
Direct vs Indirect Release
Indirect release using a queen cage is the most reliable path to acceptance. The cage shelters the queen and lets worker bees inspect attendants and pheromones first.
Direct release is risky. David and Sheri Burns note that workers may ball and kill an exposed queen. Some beekeepers try sugar water with peppermint extract as a gentle neutralizer, but the cage approach remains best.
Proper Cage Orientation
Always place the queen cage near the top of a frame so the queen stays away from drafts and chilled spots. Orient the cage with the candy plug facing up so any dead attendants do not block the exit.
“Use a caged queen or queen cell to give the hive the best chance for a smooth transition.”
Wait at least one week before opening the hive to check release and early laying. For more details on safe introduction techniques, review practical guidance on queen introduction best practices.
Verifying Acceptance and Colony Recovery
Ten to fourteen days after placement, open the hive briefly and scan frames for eggs, tiny white larvae, or early capped brood. These signs confirm the new queen is actively laying eggs and being accepted by bees.
Use black foundation when possible. David and Sheri Burns note the contrast makes small eggs easier to spot on the frames. That tip speeds inspection and reduces stress on the hive.
If three weeks pass with no eggs or larvae, the queen likely failed acceptance. If the queen remains inside the queen cage past that point, remove it and plan to introduce a replacement and repeat the requeening hive process.
Successful recovery shows capped brood within several weeks and a steady rise in worker numbers before winter. The queen’s pheromone will spread and calm bee behavior as the hive stabilizes.
- Inspect at 10–14 days for eggs or larvae on frames.
- Use black foundation to spot eggs faster.
- If nothing appears by three weeks, restart the process.
“Confirming capped brood gives confidence that the hive is on the path to recovery.”
For hands-on advice when efforts stall, review this practical guide on saving a failing colony.
Conclusion
Clear inspections and quality queen rearing make recovery predictable for struggling hives.
Requeening a weak group is a vital management step that protects brood, worker numbers, and honey production. By spotting failing signs early, beekeepers can introduce a new queen and halt decline.
Proper preparation—removing the old queen, using a queen cage, and offering brood support—raises acceptance odds. David and Sheri Burns stress that steady monitoring and quality queen rearing are core practices for any beekeeper.
For practical how‑to steps consult this requeening guide and for broader apiary growth strategies see beekeeping expansion tips. Strong,