Accurate sugar measurement keeps fermentation safe and predictable. Stephen Vasquez and Shannon Mueller of UC Cooperative Extension in Fresno County stress proper care and calibration to get reliable data.
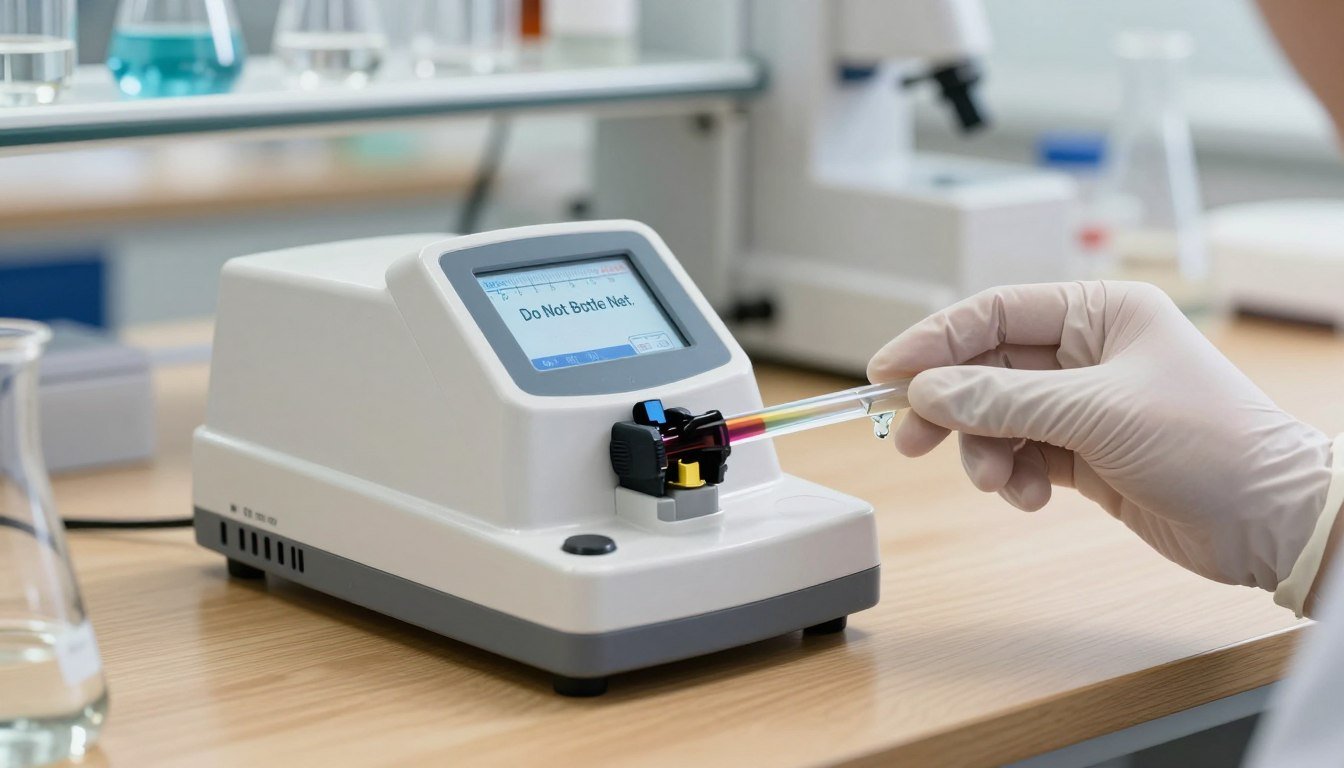
Place a few drops of your liquid sample on the prism of an analog refractometer and close the cover. The light creates a clear line that shows sucrose concentration; an analog device can display 17 ºBrix for some worts.
High values on a handheld unit may signal incomplete fermentation and a need to delay packaging. Make sure your instrument is clean, calibrated with distilled water, and near stable temperature to avoid measurement error.
Digital refractometers return results in seconds, but avoid air bubbles on the surface. Check the scale and refractive index range for your project and use conversion tools or calculators for final gravity calculations.
Key Takeaways
- Keep the prism and eyepiece clean; a dirty surface skews values.
- Calibrate with distilled water before testing a sample.
- Allow samples to reach ambient temperature for best accuracy.
- Use conversion calculators and check scale/range for your brew.
- High Brix on a handheld signals a pause in packaging and further testing.
- For more user discussions see this forum thread: community tips.
- For device selection and moisture ranges, consult a buyer guide: best honey refractometers.
Understanding Refractometer Readings That Mean Do Not Bottle Yet
Use the instrument’s light and index scale to confirm the solution has dropped to target concentration. A clean prism and steady temperature make the visual line crisp. Small errors in water or residue on the prism shift the scale and can mislead your decision.
Interpreting the Brix Scale
The Brix scale shows sucrose concentration as a percent. Analog units rely on your eye to judge the contrast line, while digital models give a fast numeric value. Analog refractometer models cost about $100–$200; digital units run near $300 and often speed up sample checks.
Identifying Incomplete Fermentation
If the scale stays high, fermentation is still active. A handheld instrument is handy, but ensure the sample represents the whole batch. Keep the temperature stable; swings affect the index and may suggest sugars remain when they actually have dropped.
- Clean the prism with water after each test.
- Calibrate regularly to maintain the correct range and index.
- Use multiple samples from the tank to verify consistency.
| Tool | Typical Cost | Best Use |
|---|---|---|
| Analog handheld | $100–$200 | Field checks, low cost, visual scale interpretation |
| Digital model | ≈$300 | Rapid numeric values, higher precision, easy logging |
| Calibration supplies | $10–$30 | Distilled water and standard solutions for index checks |
| Maintenance | Low cost | Regular cleaning keeps sample results reliable |
“Proper interpretation of the light contrast line on your instrument helps identify when sugar concentration reaches target levels.”
For step-by-step guidance on using these tools, see this how-to guide. For moisture and concentration checks in related products, consult this moisture testing resource.
Factors Influencing Your Brix Measurements
Ambient heat or cold can shift a Brix result enough to change your packaging decision. Temperature is the dominant variable in accurate sugar analysis. Older analog units were calibrated for a standard 68ºF (20ºC).
When the air or sample drops to 50ºF (10ºC), a single test can read up to 0.89 ºBrix lower without a correction. Modern refractometers with automatic temperature compensation work best within a 68–86ºF (20–30ºC) range.
Practical tips:
- Bring each sample to stable room temperature before measurement.
- Keep the prism surface clean and dry; debris changes the light path.
- Record the temperature at the time of every reading for future comparison.
If you test outdoors on a hot day, use a correction table or move the liquid to a controlled lab space. A short check in the laboratory often saves hours of rework.
“Temperature compensation and a spotless prism are the two simplest ways to improve measurement repeatability.”

For related handling guidance and seasonal mix advice, see the syrup ratios guide.
Essential Calibration and Maintenance Procedures
Start every session by confirming the zero baseline with pure water on the prism and adjust the instrument until the scale hits zero. Calibrate at the beginning of each use and again during long runs to catch drift.
Create a simple test kit using 500 ml bottles of water and 3 g sucrose packets. Keep one kit near your bench so you can verify performance in seconds before a critical sample.
To calibrate: place a few drops of water on the prism, close the cover, and turn the screw until the zero mark is correct. Make sure no air bubbles trap under the cover; trapped air bends the light and skews the final reading.
Digital models need a different step — fill the well with pure water and press the zero button. Twist the eyepiece to focus the scale for clear visual value before testing any solution.
After every test, rinse the prism surface with plain water and dry with a lint-free cloth. Regular calibration prevents small errors that can lead to premature packaging decisions.
“A consistent zero check and clean prism are the cheapest ways to keep results trustworthy.”
For a printable calibration workflow and troubleshooting tips, see the UC guide and a note on moisture effects in related curing processes: calibration checklist and humidity & maintenance.
Troubleshooting Common Measurement Errors
Small visual glitches often point to a simple optical fault rather than a failed fermentation.
Prism Damage and Contamination
Inspect the prism for scratches, residue, or dust before each test. A scratched surface blocks light and skews the index. If distilled water will not calibrate to zero, contact the manufacturer for service.
Optical Alignment Issues
If the contrast line looks warped or the field is cloudy, the instrument may have suffered a drop. An analog unit with a fogged view often needs professional repair. Check the eyepiece and screw adjustments for loose parts.
Managing Ambient Light Interference
Bright sunlight can confuse digital sensors and change a value. Move to shaded or indoor space and keep the sample homogeneous by stirring before the test.

| Problem | Likely Cause | Quick Fix |
|---|---|---|
| Cloudy field | Internal moisture | Send for repair |
| Distorted line | Optical misalignment | Check housing, tighten eyepiece |
| Fluctuating values | Ambient light / uneven sample | Move indoors; stir sample |
“A clean prism, stable temperature, and controlled lighting solve most sensor issues.”
For help with routine service or how to calibrate refractometer, consult this forum thread.
Final Thoughts on Ensuring Fermentation Completion
A stable sequence of measurements, taken under similar conditions, signals that yeast activity has stopped. ,
Use your refractometer to track the sugar trend and log each sample with temperature notes. Keep the prism clean after every test to preserve accuracy and extend tool life.
Look for a steady scale over 72 hours before packaging. If you doubt a value, perform a quick calibration check with water and repeat the measurement under the same conditions.
Good maintenance of refractometers and careful logging give reliable information and help avoid common packaging mistakes. For communal tips on final gravity and verification, see this forum thread: FG hydrometer reading discussion.