Proper planning is essential to keep your colony healthy during any relocation. This short guide outlines clear steps to protect the brood, secure each hive box, and preserve forager orientation when you change the apiary location.
Understand that bees navigate by landmarks and the sun, so a planned method reduces the risk of lost foragers. Secure entrances and fasten boxes to prevent shifting across distance and in variable weather.
Pick the right time of day and ensure good ventilation through the top screen and frames. Provide water and steady airflow, and choose a final spot that offers shade, a nearby garden, and clear flight paths.
Follow a structured approach and you protect every part of the colony — from brood frames to outer boxes — while minimizing stress during the move.
Key Takeaways
- Plan carefully to maintain colony health during relocation.
- Secure hive boxes and entrances before transport.
- Consider bee navigation and choose the best time of day.
- Maintain ventilation with top screens and intact frames.
- Set up the new location with water, shade, and clear flight paths.
Table of Contents
- Understanding the Need for Colony Relocation
- The Biological Reality of Bee Navigation
- Essential Migratory Pollination Checklist for Moving Hives
- Selecting the Ideal Time for Transport
- Preparing the Hive for a Safe Journey
- Securing Hive Components and Structural Integrity
- Managing Ventilation to Prevent Overheating
- Choosing the Right Vehicle for Transport
- Loading and Driving Safety Protocols
- Implementing the Gradual Shift Method
- Setting Up the New Apiary Location
- Managing Forager Drift and Reorientation
- Handling Multiple Colonies Simultaneously
- Avoiding Common Relocation Mistakes
- Protecting Yourself During the Move
- Conclusion
- FAQ
Understanding the Need for Colony Relocation
Relocation is a routine part of modern beekeeping. Professionals move a hive to follow nectar flows, support crops, or improve honey yields. Good planning reduces stress and keeps brood healthy.
Over 75% of managed colonies in the United States head to California each February to service the almond crop, a clear example of how demand drives relocation. Such large-scale moves show why beekeepers must prepare every box and entrance before transport.
Distance and time matter. Evaluate the trip so bees do not return to the wrong place. Secure frames, top screens, and ventilation to protect the colony during transit.
The chosen method affects long-term health. Whether you move a single hive to a new garden or several colonies to a commercial spot, the way you pack, seal entrances, and provide water will determine success.
Learn small-scale techniques in our small-space beekeeping strategies guide to adapt methods for tight spots and urban apiaries.
The Biological Reality of Bee Navigation
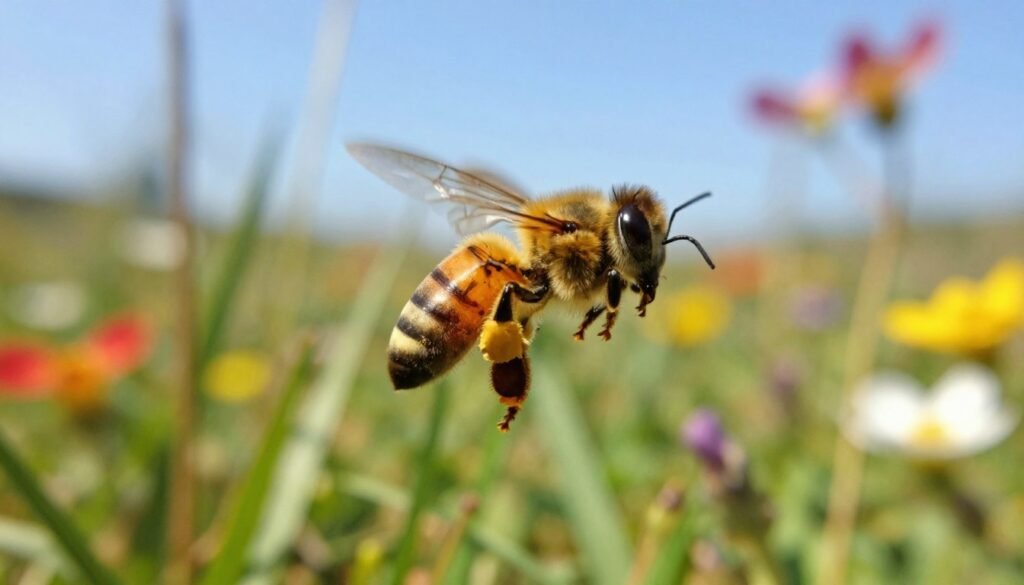
Bees use a detailed internal map of their surroundings, which shapes how they find food and return home.
Understanding this map helps every beekeeper plan a safe relocation. Honey bees forage within roughly a 3-kilometer radius around their hive. They memorize landmarks, flight corridors, and sun angles tied to that specific location.
The Three Kilometer Rule
The 3-kilometer rule is simple: if you move a colony less than that distance, many foragers will try to return to the old spot. They may hover, circle, or get lost. Successful moves often require taking the colony to a temporary site at least 3 kilometers away so bees can re-orient over several days.
Landmark Memory
Bees link landmarks to their entrance and flight paths. Even small changes in landscape or boxes near the hive can confuse them. Respecting this biology protects the queen, brood, and stored honey during a site change.
| Navigation Factor | Effect on Hive | Practical Step |
|---|---|---|
| 3-km radius | Foragers tied to original location | Move colony ≥3 km temporarily |
| Landmark memory | Orientation depends on visual cues | Minimize landscape changes at new site |
| Entrance cues | Bees use entrance to find home | Keep entrance markings consistent |
Need detailed guidance on relocation steps? Read our guide about moving bees between apiaries to reduce disease risk and improve success.
Essential Migratory Pollination Checklist for Moving Hives
A clear, step-by-step plan keeps a hive stable during transport and reduces stress on the bees.
Begin by sealing and marking each entrance. Use entrance reducers or ventilated plugs so bees stay contained but breathe freely. Verify that frames sit tight and the brood chamber is secure.
Strap every box and replace the solid top with a screened top to cut heat buildup. Pack water and a small food reserve if the trip is long.
After placement at the new location, keep the colony sequestered for 72 hours. This gives bees time and days to reorient and lowers the chance they return to the old spot.
| Step | Action | Why it matters |
|---|---|---|
| Entrance security | Use reducers/screens | Prevents escape and drifting |
| Strap boxes | Ratchet or cam straps | Keeps frames intact during transit |
| Ventilation | Top screen + airflow | Prevents overheating and moisture |
| Sequester | Keep bees confined 72 hours | Facilitates reorientation and safety |
Follow a consistent method. This protects brood, conserves honey and nectar stores, and helps beekeepers keep colonies healthy at the new spot.
Selecting the Ideal Time for Transport
Timing affects survival and stress. Plan moves so the queen and most workers are inside the hive before you begin. Aim for cooler, stable conditions that let the colony rest and breathe.
Night vs daytime moves
Nighttime advantage
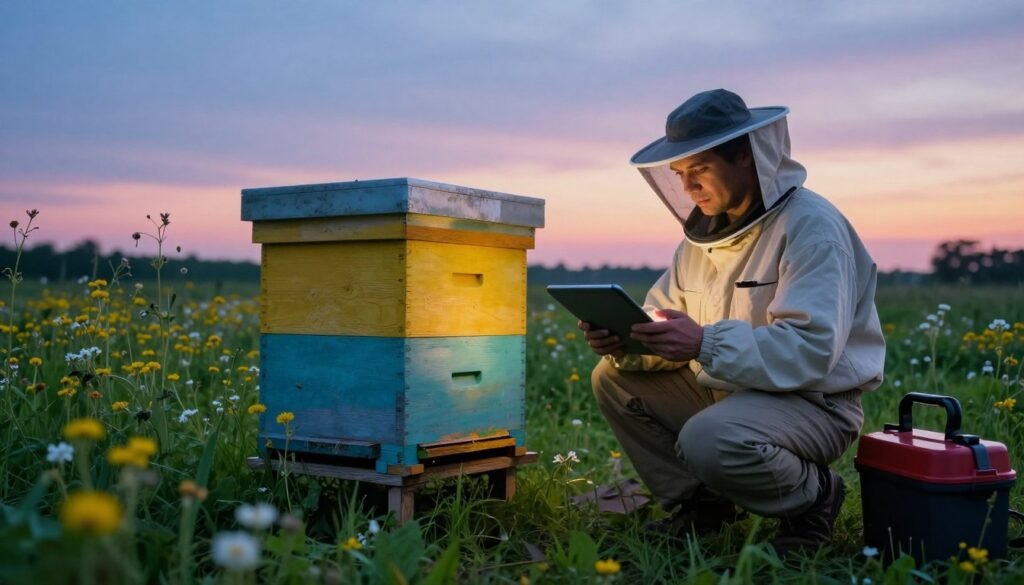
Moving at night or late evening ensures foraging bees have returned. Flow Hive recommends dusk or night when temperatures are above 10°C (50°F). This reduces the chance thousands of workers get left behind.
Daytime risks
If you move in daylight, many bees will be away gathering nectar and honey. Those bees may never find the new location and can perish at the old spot. Day moves raise the risk of colony loss.
Temperature matters. Do not move if it is too warm. A sealed hive can overheat within hours. Keep the top screen in place and maintain ventilation and water if the trip is long.
| When | Benefit | Key actions |
|---|---|---|
| Night / Dusk | All bees likely inside | Secure entrance, check ventilation, start after dusk |
| Day | Fewer inside; risky | Avoid unless urgent; block entrance and wait for return |
| Weather | Temperature safe range | Move >10°C and not too hot; carry water and monitor air |
Preparing the Hive for a Safe Journey
Fastening boxes and ensuring airflow are the two steps that most protect bees on the road. Before you load, bind the brood chamber and supers into a single, secure unit so frames cannot shift.
The Somerset Beekeepers Association recommends a strong nylon strap to hold the box and top in place. Replace the crown board with a traveling screen when bees cluster outside on warm evenings to improve ventilation.
Block the entrance with foam or wire mesh to keep the colony inside while allowing air to circulate. Check that each frame sits tight and that the queen is well inside the hive before departure.
Do a final sweep: confirm straps, test airflow through the top screen, and carry water if the trip is long. If you need more signs to check before a night or morning move, read our guide on signs your hive may swarm.
Securing Hive Components and Structural Integrity
Start with the hive base and work upward; each layer must be locked to prevent gaps. A stable assembly protects brood, preserves comb, and keeps worker bees inside during transit.
Using Ratchet Straps
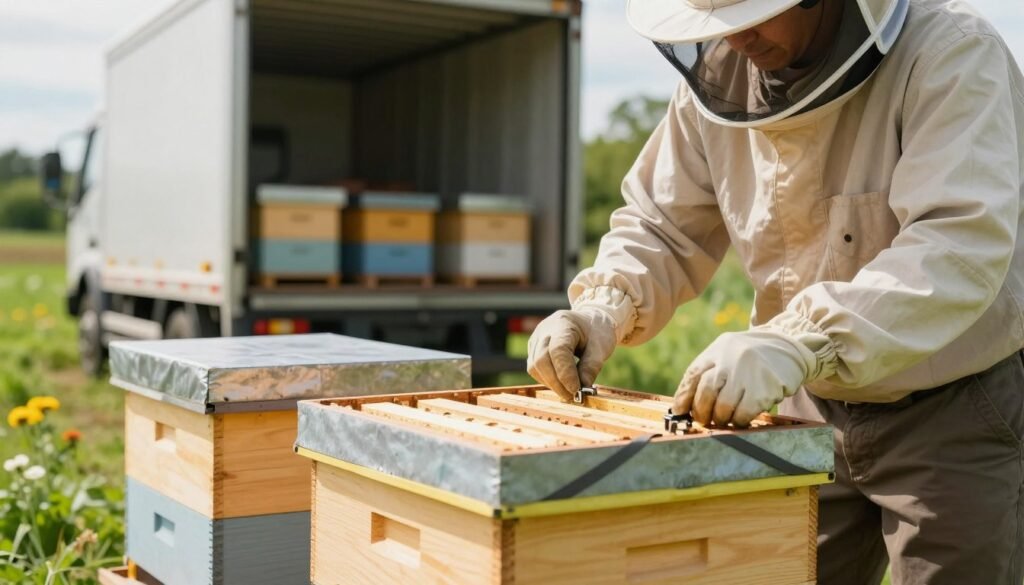
Ratchet straps are the most reliable way to hold a box stack together. Tighten straps around the brood box and any supers to stop shifting. Check straps after loading and during long trips.
Remove heavy honey supers if a full load weighs over 45 kg (100 pounds). Transport them separately to reduce lifting injuries and protect comb.
Managing Hive Height
Limit height to two deep boxes when possible. Betterbee recommends this to keep weight manageable and maintain structural integrity during lifts.
Fasten every component from the floor to the top cover. Seal gaps at the entrance and roof so bees stay contained and ventilation stays effective.
For step-by-step transport tips, consult the transporting colonies guide.
Managing Ventilation to Prevent Overheating
When thousands of bees share tight space, ventilation becomes the hive’s most vital safeguard. Proper airflow stops heat and moisture from building up in the brood area during transit.
Replace the crown board with a wire mesh traveling screen to allow cool air across the top and let hot air escape. If the hive has a screened bottom board, leave it open to add airflow from below.
Keep the entrance partially reduced to prevent escapes but not sealed so tightly that air cannot pass. Monitor the colony at regular stops during long trips and check for heavy panting or clustering that signals stress.
The B Farm recommends misting a small amount of water through the top screen during long, warm journeys. A light spray helps bees evaporate water and lower the internal temperature without drowning the brood.
Act quickly if ventilation looks inadequate. Move the hive to shade, increase top and bottom airflow, and provide water. Poor ventilation can suffocate a colony within a few hours, so watch the hive closely during each stage of the move.
Choosing the Right Vehicle for Transport
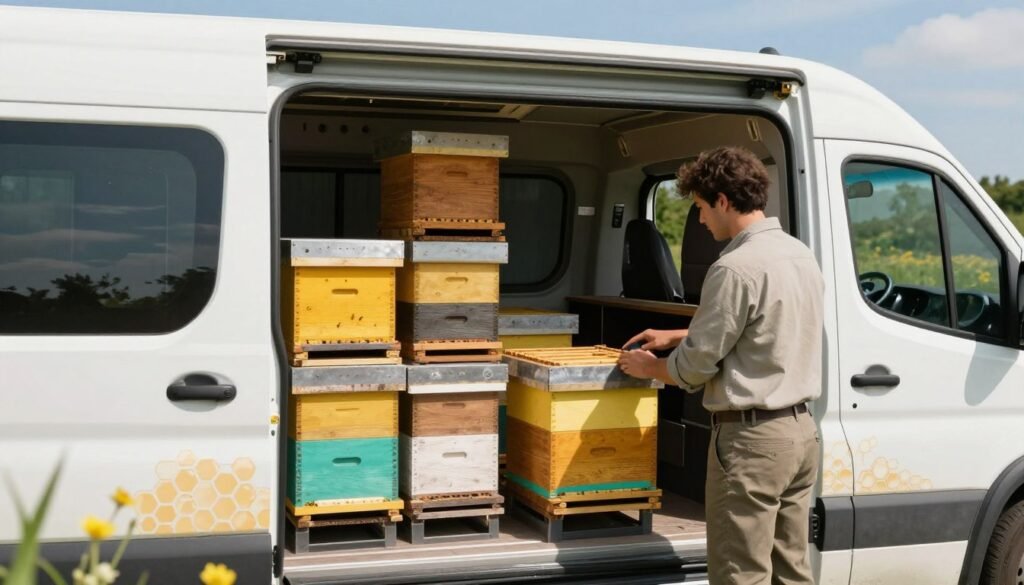
The right vehicle keeps your colony safe, calm, and stable during the trip. Use an open truck bed or a flat trailer so any escaping bees do not endanger the driver or bystanders. Flow Hive advises strongly against enclosed vans or cars for this reason.
Load with care: position frames parallel to travel to minimize comb damage. Secure each box and check the entrance and top screen before you drive. Carry a small supply of water and a daylight plan in case delays add extra days on the road.
Drive at moderate, steady speeds. Sudden braking or sharp turns stresses bees and can break frames or crush brood. Choosing the right vehicle and a calm driving method protects both the colony and the beekeeper.
| Vehicle Type | Best Use | Key Actions |
|---|---|---|
| Open pickup bed | Short to moderate distances | Frames parallel, strap boxes, leave airflow |
| Flat trailer | Multiple colonies or long routes | Secure stacks, anchor to trailer, steady speed |
| Enclosed van (not recommended) | Only in emergencies | Risk of escapes; avoid per Flow Hive guidance |
Want a trailer-mounted option? See this guide on mobile apiary setup to evaluate vehicle choices and practical rigs for safe transport.
Loading and Driving Safety Protocols
A deliberate loading routine and cautious driving preserve comb, prevent queen injury, and lower colony losses.
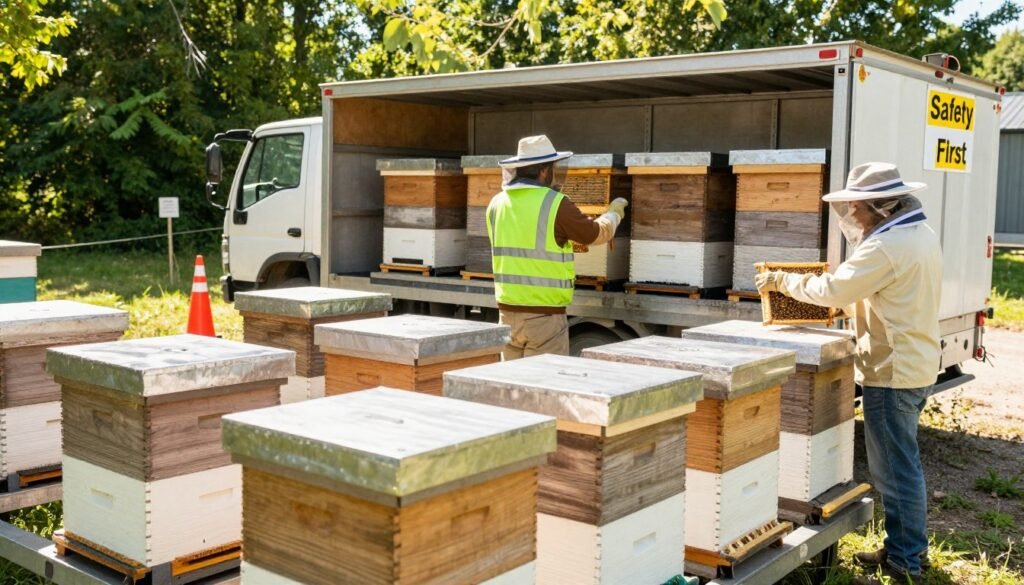
Before you lift any box, wear full protective gear. Betterbee notes that bees rarely fly in the dark but can crawl and sting, so a veil and leather gloves are essential even at night.
Check that straps are tight and frames line up. Misaligned frames can shift and concertina, damaging brood comb and crushing the queen.
Double-check seals, zippers, and mesh. Bees will escape through small gaps, so inspect entrances and lid fittings before you approach the vehicle.
- Secure every box with ratchet straps and confirm frame alignment.
- Replace the crown board with mesh if ventilation or heat is a concern.
- Load hives so frames sit parallel to travel direction and cannot tip.
Drive at steady speed. Avoid sudden braking, sharp turns, or rapid lane changes. These actions stress the colony and can cause comb to break.
| Protocol | Action | Why it matters |
|---|---|---|
| Protective gear | Veil, leather gloves, suit | Prevents stings while handling at night or morning |
| Strapping & alignment | Ratchet straps, parallel frames | Stops shifting, protects brood and honey comb |
| Ventilation check | Top mesh, partial entrance | Controls heat and moisture during travel |
Implementing the Gradual Shift Method
Shift a hive by short, steady steps to keep bees oriented and limit lost workers. Extension bee health specialists advise moving the colony about one yard (one meter) per day for short-distance relocations. This small distance lets foragers update their internal map without mass disorientation.
The method is simple but slow. Each day, move the box one yard toward the final location. Place a visual cue, such as a small branch, directly in front of the entrance after each move to encourage fresh orientation flights.
This way reduces the chance that returning bees fly back to the old site. It also protects brood and stored honey by keeping the colony calm during the transition.
Note that the gradual shift method is labor-intensive. Check water and ventilation daily, and monitor activity at night or during cool hours to ensure most bees remain inside.
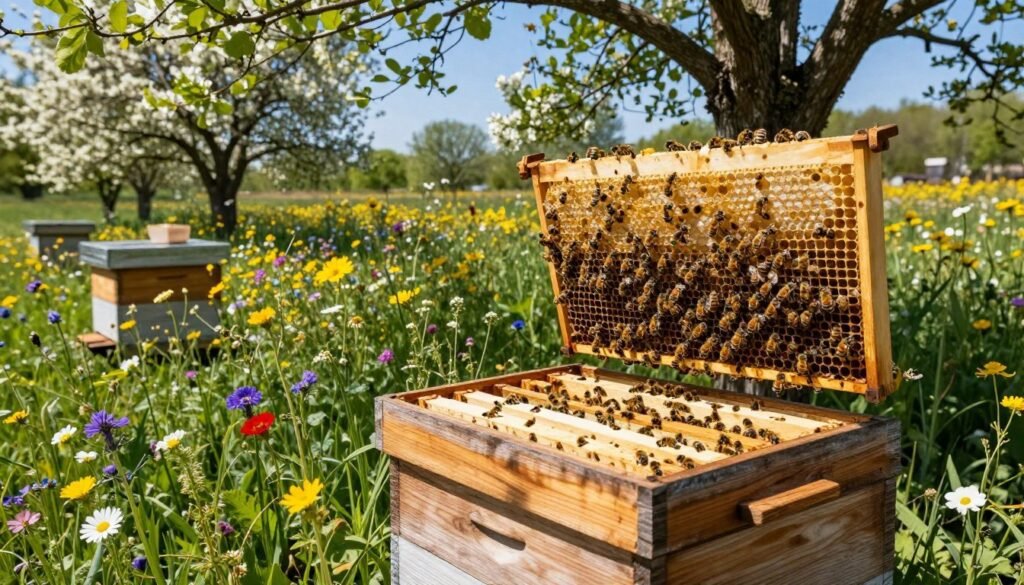
- One yard per day: steady updates to bee navigation.
- Visual cues: branches at the entrance to trigger reorientation.
- Daily checks: watch the colony, brood, and supplies as you move.
Setting Up the New Apiary Location
Place each hive near a visible landmark so returning bees anchor a fresh map of the area.
Orient the entrance away from prevailing winds and toward the morning sun. This encourages early flights and steady bee traffic once you open the box.
Open the entrance promptly on arrival—Betterbee advises doing this as early as possible, ideally before dawn. A sealed colony can overheat in the morning warmth if left closed.
Set the hive on stable ground and avoid moving it again after release. Any further adjustment forces the colony into a full re-orientation process and raises the risk of drifting to neighboring hives.
Place a small water source nearby and check brood frames after the first few days. Keep the site calm and clear so colonies settle quickly and foragers return reliably.
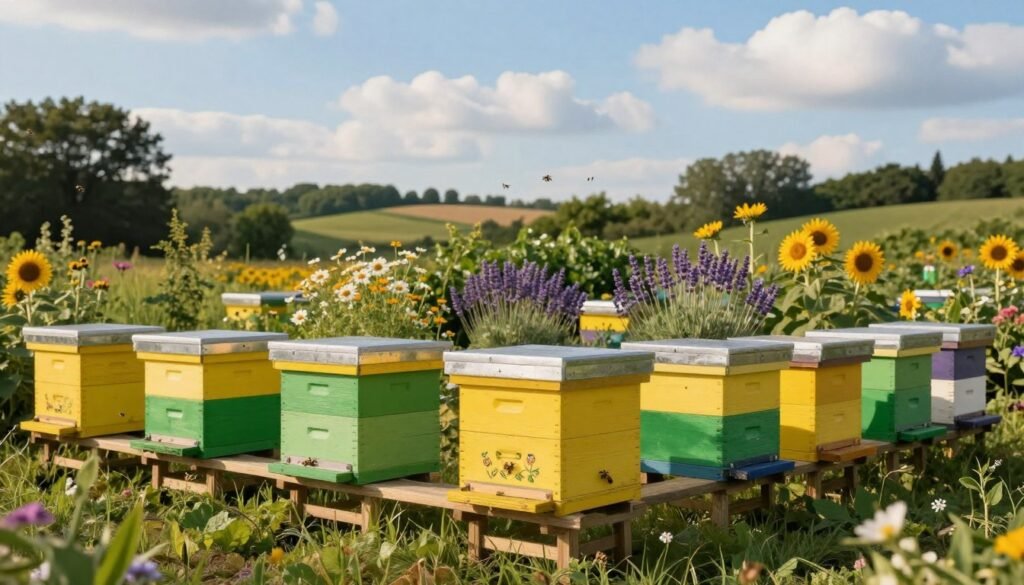
| Action | Why it matters | When |
|---|---|---|
| Landmark placement | Speeds orientation for returning bees | At arrival |
| Entrance orientation | Reduces wind stress, boosts morning flights | Before release |
| Open entrance | Prevents overheating and aids re-orientation | At dawn or asap |
| Do not re-site | Avoids additional disorientation and drift | During first days |
Managing Forager Drift and Reorientation
Control drift by giving returning bees clear, new cues at the hive entrance. Place a leafy branch or visual marker right in front of the box so workers pause and relearn the location.
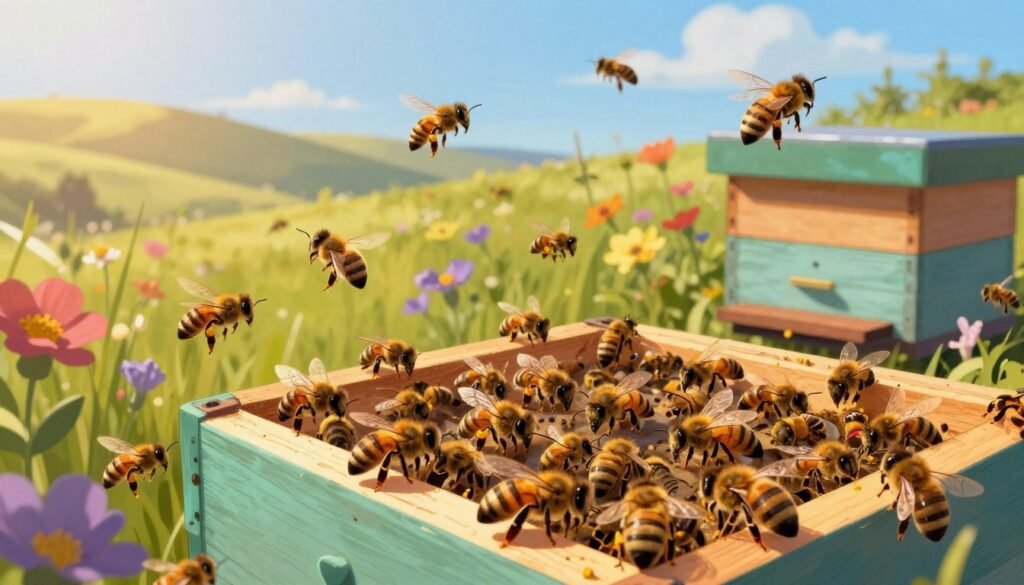
If some bees still fly back to the old site, leave an empty, ventilated box there for a day. Confused bees will enter and can be collected safely.
After collecting, unite those bees with the main colony at the new site. This keeps the queen supported and prevents the colonies from losing too many foragers.
Distinct landmarks help bees build a fresh mental map, shortening the time before normal foraging resumes.
| Issue | Action | Benefit |
|---|---|---|
| Forager drift | Place branches at entrance | Forces reorientation to new location |
| Stragglers | Leave empty box at old site | Collect and reunite lost workers |
| Slow return | Use distinct landmark near hive | Speeds mapping and steady foraging |
- Check morning and night activity to confirm bees accept the new way home.
- Provide nearby water and avoid disturbance by vehicle traffic during the first time at the new site.
Handling Multiple Colonies Simultaneously
Prioritize the strongest hive first. Move the most robust colony before others so returning bees that get confused at the old site will drift into weaker hives. This natural boost helps balance the apiary and reduces losses.
Keep each hive sealed and ventilated. Use mesh covers and secure straps on every stack. Check the entrance and top screen before loading. During the trip, monitor activity at night and at morning stops to confirm ventilation and containment.
Coordinate your team to speed the process. Assign roles: one person handles loading, another secures straps and checks frames, and a third monitors the vehicle during transit. Clear communication saves time and lowers stress for both bees and crew.
- Order matters: strongest hive first, then the rest in planned sequence.
- Secure every box: mesh, straps, and aligned frames prevent damage.
- Teamwork: assign tasks so loading and checks finish quickly.
- Reduce disruption: limit site work and open entrances only when ready.
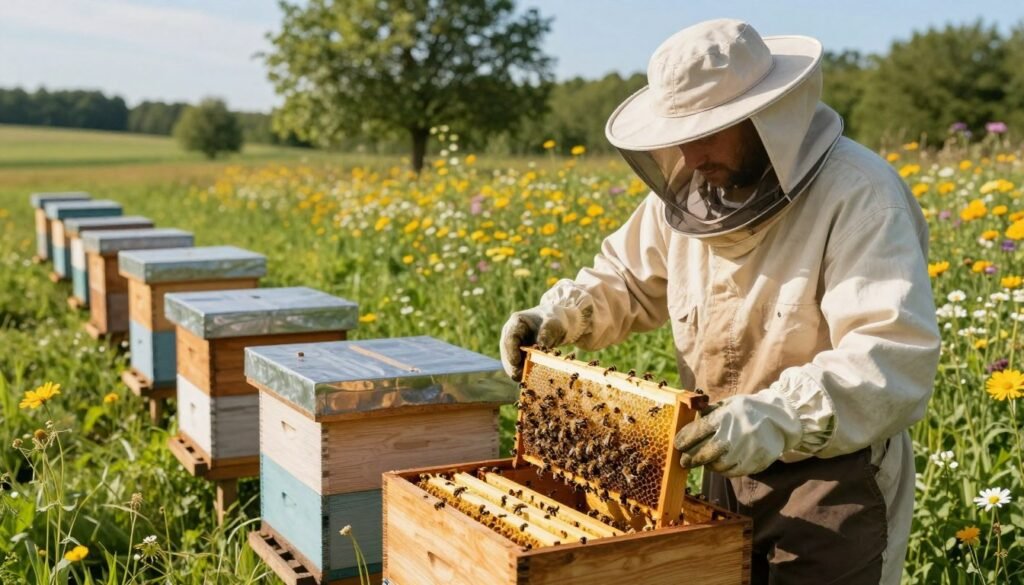
Track timing and location with a reliable tool like hive movement tracking to log each load and ensure all colonies reach the new site with minimal delay.
Avoiding Common Relocation Mistakes
Many relocation failures trace back to predictable mistakes a beekeeper can avoid with simple checks.
The most frequent error is moving a colony an intermediate distance that confuses bees but does not clear their orientation zone. That mistake causes lost foragers and weakens the hive quickly.
Ventilation matters. Failing to provide adequate ventilation lets heat and moisture build in the brood area. Overheating can kill brood and harm the queen in a few hours.
Do not transport during the day when many foragers are out. Day moves lead to thousands of worker losses and a long recovery time for the colony.
“Never move bees with open entrances; when the vehicle stops they can fly out in a frenzy.”
Secure every component with mesh and straps so boxes and frames stay aligned. A single separated box can crush comb and scatter a honey bee population at the wrong site.
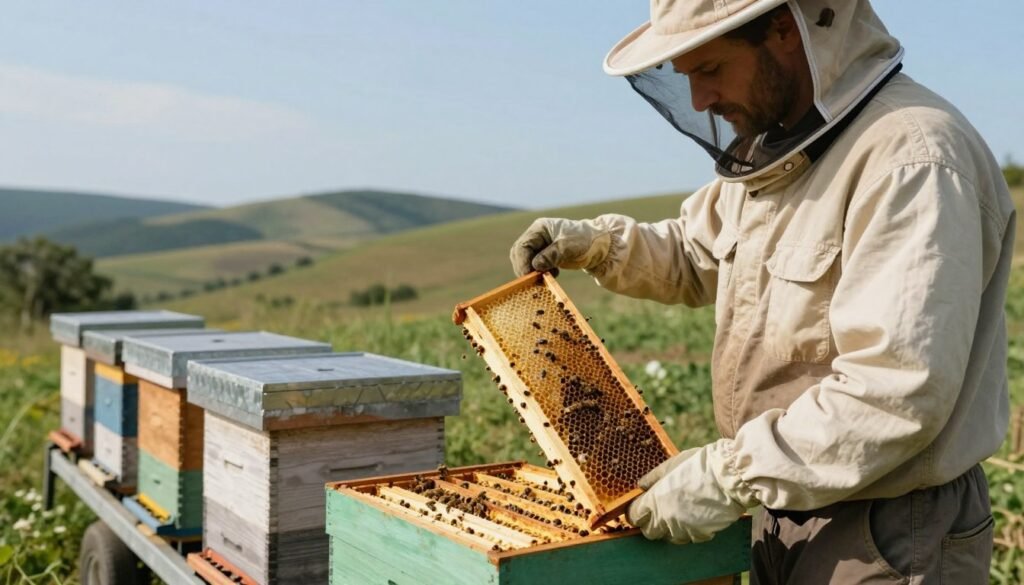
Run a quick pre-load checklist: straps, mesh, top ventilation, and a final check of the queen’s placement before you start the vehicle.
Protecting Yourself During the Move
Personal safety is as critical as colony safety when you lift and load beekeeping equipment. Always wear a full protective suit and veil during handling. This lowers sting risk and helps you work calmly.
Use mechanical aids whenever possible. A trolley or hand truck prevents back injuries and speeds the trip from the apiary to your vehicle. Plan each lift so you do not twist while carrying heavy boxes.
Keep a spare bee suit ready for helpers. If an assistant arrives without gear, you can outfit them quickly and avoid unsafe improvisation. Also confirm that the queen is secure before you lift any stack.
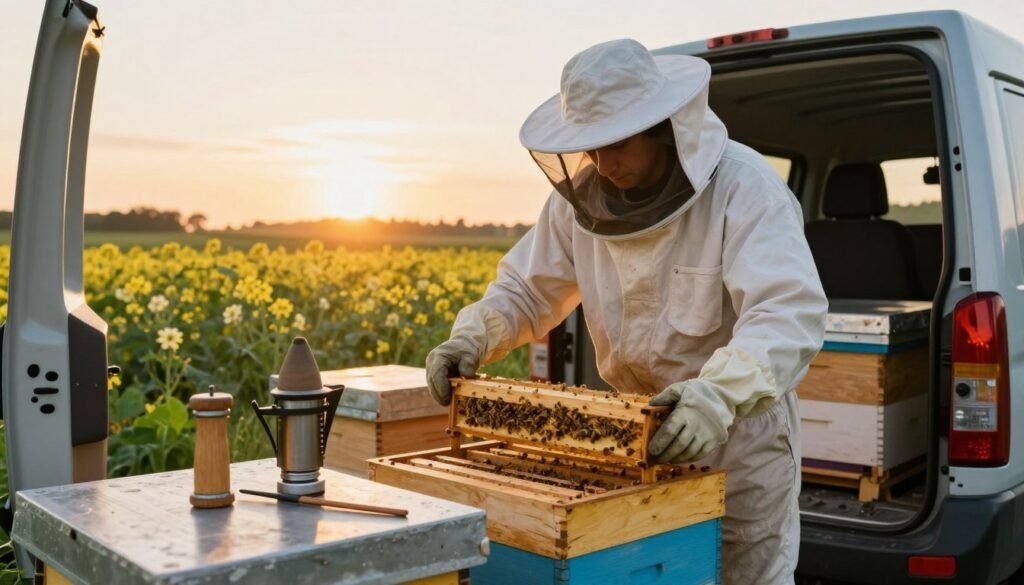
If bees escape, they often head toward the light of a window rather than target your head. Close vehicle windows or open a rear door to give them an easy exit and limit agitation.
- Wear full PPE whenever handling hives.
- Use a trolley to avoid strain and drops.
- Have spare suits for helpers and quick swaps.
These steps protect the beekeeper and the public. For related queen and nuc care tips, see first-year nuc care.
Conclusion
Finish each relocation with a calm, deliberate check. Confirm straps, ventilation, and that the queen is secure before you drive off.
Good planning saves colonies. Proper ventilation and clear cues help bees settle at the new site and reduce lost foragers the first day.
Keep safety top of mind. The beekeeper should wear protective gear and use mechanical aids when lifting heavy stacks of hives.
Consistency matters. Whether you move one hive or several colonies, attention to detail ensures a smoother transition and stronger colonies afterward.
Learn more practical tips at beekeeping topics to refine your process and protect both bees and the people who care for them.
FAQ
Why relocate a colony over three kilometers?
Moving a bee colony beyond roughly three kilometers reduces forager drift back to the old site. This distance helps prevent lost workers and lowers the risk of robbing from other apiaries. Plan the route so bees must reorient to new landmarks and forage fields.
When is the best time to transport boxes: night or day?
Night moves are usually safer because most bees are inside and calmer. If you must travel during daylight, choose cool, overcast hours and reduce hive entrances to limit flight activity. Avoid hot afternoons when heat stress and agitation increase.
How do I secure frames and honey to prevent damage?
Use frame spacers or straps inside the box to stop frames from shifting. Anchor supers with ratchet straps and check that lids and inner covers are snug. Properly secured comb reduces fractures and honey leakage during transport.
What ventilation steps prevent overheating in transit?
Provide screened vents at the top and front to allow airflow while limiting bee escape. Avoid sealing hives completely; heat buildup can kill brood and adults. Use breathable wraps like mesh that keep bees contained while promoting circulation.
Which vehicle works best to move colonies?
Pickup trucks, enclosed vans, and trailers with flat, level beds work well. Ensure the vehicle offers shade and minimal vibration. Position hives securely against movement and away from direct heat sources like engine compartments.
How should I load hives to maintain stability and safety?
Place hives on a level pallet or non-slip mat, stacking no more than two deep for road stability. Center weight over axles, brace boxes with ratchet straps, and drive smoothly to prevent jostling. Secure loose gear and water for the drive.
What is the gradual shift method to reorient bees?
Move the hive incrementally—about 25 feet daily—until you reach the final site, or relocate at least three kilometers in one go. Gradual shifts help returning foragers adjust their flight paths and reduce homing losses when nearby.
How do I set up a new apiary location for best results?
Choose a spot with morning sun, afternoon shade, wind protection, and nearby water. Ensure ample nectar sources and space between colonies. Position entrances away from public paths and level the stand for stability.
What steps minimize forager drift after placement?
Close entrances briefly, add unique visual markers, and orient hives consistently. Allow a few days for reorientation before intensive inspection. For multiple colonies, stagger arrivals and use contrasting paint or numbered tags.
How do I move several colonies at once without chaos?
Use uniform procedures: secure all boxes, reduce entrances, and transport colonies together. Label hives and keep records of queen lines. At the new site, open entrances gradually and monitor for aggression or robbing between colonies.
What common relocation mistakes should I avoid?
Don’t overpack supers, under-ventilate, or skimp on securing boxes. Avoid moving on windy, hot, or stormy days. Never leave hives in an unshaded vehicle for long; loss of brood and adults is common from heat stress.
How can beekeepers protect themselves during the move?
Wear protective gear, use smoke sparingly, and have an assistant if possible. Keep a first-aid kit with antihistamines and know emergency contacts for stings. Drive cautiously and stop in safe locations to check hive security.
What water and food considerations are there during transport?
Provide a water source at the new site and avoid feeding large syrup quantities right before the move to reduce leakage. If travel is long, arrange short stops to check ventilation and temperature; offer light feeds after settlement if nectar is scarce.
How do I protect queens and brood during relocation?
Place the queen excluder or inner cover securely and limit shaking of frames near the brood nest. Maintain cool, stable temperatures and avoid excessive movement. Inspect brood frames after settling but minimize disturbance for 24–48 hours.
Are there legal or safety permits needed for transport?
Check local and state regulations about moving hives, especially across state lines. Some areas require permits or health certificates to prevent disease spread. Contact your state apiary inspector for current rules and recommended practices.