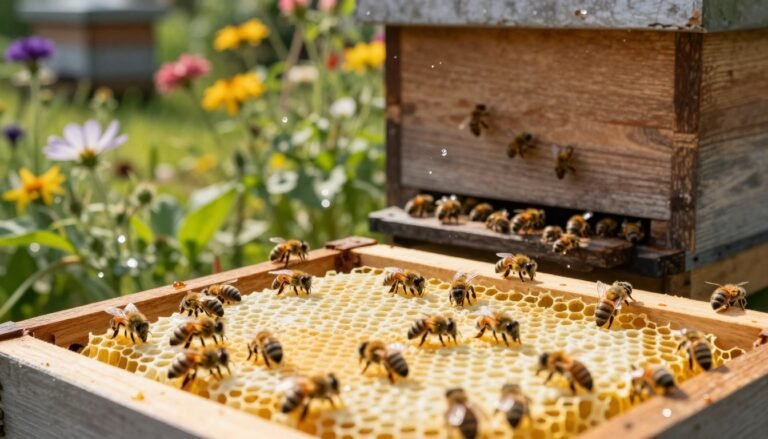
Healthy comb and stable frames are central to good beekeeping. Proper placement of a hive helps prevent sag and other structural problems, a point Georges de Layens highlights in Keeping Bees in Horizontal Hives.
Routine care means checking wax condition and frame strength every visit. Watch how bees build on a top bar; their natural way shows early signs of trouble.
A sound hive gives the queen room for eggs and lets bees store honey without strain. Use a steady method when handling bars and frames so heavy comb stays supported.
If you spot weak wax or odd gaps, act fast to shore up the structure and protect brood and stores. For practical handling tips and steps for cross-comb, review a focused guide on top bar handling and an article about correcting cross-comb issues.
Top bar handling tips and cross-comb correction offer clear, actionable advice.
Key Takeaways
- Hive placement matters: proper siting reduces sag risks.
- Check wax and frame stability every visit.
- Support bars when lifting; keep comb vertical.
- Maintain a small gap for ventilation and bee space.
- Correct cross-comb early to keep bars removable.
- Protect brood and honey by acting on signs of weakness.
Understanding the Causes of Comb Collapse
When interior temperatures climb, even well-built combs can lose strength fast. Heat softens wax and heavy honey-filled combs may sag, especially those farthest from the entrance.
The Role of Heat and Wax Softening
Wax softening is a primary structural risk on hot days. The process reduces stiffness in cells and makes bars work harder to support stores of honey.
Beekeepers should note that foundation in frames adds resistance to sagging. Top bar hives need careful attention so that new comb stays attached to the bar as bees build comb.
Risks of Small Hive Beetle Infestation
Small hive beetle larvae can ruin combs by feeding on brood and pollen reserves. Fallen combs and nooks give larvae shelter, and loss of the queen accelerates worker decline, making beetle control harder.
- Monitor for beetle signs and remove weak comb promptly.
- Support comb with frames or foundation when ambient heat is high.
- Protect brood areas; cocooned cells often hold up better under stress.
| Cause | Effect | Mitigation |
|---|---|---|
| High internal temperature | Wax softens; honey combs sag | Use foundation; shade hives |
| Small hive beetles | Larvae destroy brood and pollen combs | Inspect regularly; remove infested comb |
| Weak attachment in top bar hives | Combs tear away from bars | Manage build comb activity and support bars |
For practical steps on preventing loss and handling stray comb, see comb collapse prevention and guidance on removing burr comb.
How to Keep Comb From Collapsing During Inspections
Start at the back hive position and lift that frame first. This creates a safe working gap and lowers pressure on adjacent bars. Dawn_SD’s tip prevents squishing the queen and reduces sudden strain on fragile wax.

Use a J-hook or a proper hive tool to separate frames gently. A slow, steady pull avoids jolts that tear comb away from the top bar. Maintain correct bee space so bees do not build bridge comb between bars.
- Watch brood combs closely: the queen often rests there, so handle those frames with extra care.
- Look for sagging: early signs of detachment mean you should support the frame or replace weak wax.
- Practice regularly: controlled practice with your tool reduces mistakes and protects honey stores.
When you have a question about stability, pause and brace the frame. For a quick extra step specific to top bar work, see the linked guide on top bar inspection technique.
Environmental Factors and Hive Placement
Sun exposure and reflective surfaces can turn a hive into a heat trap in a single afternoon.
Site choice affects internal temperatures, bee behavior, and the long-term strength of wax. In Ohio, Langstroth and Root found white-painted boxes handled full sun well. In hotter states, shade is far more important.
The Importance of Shade
Partial shade mimics a forest edge and helps bees regulate the nest. Shade reduces solar gain and lowers the chance that wax will soften and sag.
On very hot days a galvanized roof in full sun can heat past 150°F. A small gap between the roof and an extra cover cuts heat transfer. Painting boxes white or using a light foundation reflects sunlight and lowers stress on frames and stored honey.
- Avoid reflective surfaces: pavement and metal raise ambient heat.
- Provide partial canopy: dappled shade is often best for active colonies.
- Observe bee behavior: agitated foragers or high entrance traffic can signal overheating.
- Consider simple methods: raised stands, shade cloth, or local vegetation help regulate the microclimate.
| Factor | Effect | Practical step |
|---|---|---|
| Full sun on metal roof | Rapid internal heat rise | Create a gap; add shade or paint white |
| Reflective ground (concrete) | Increased ambient temperature | Move hive to vegetation or add barrier |
| Lack of ventilation gap | Poor air exchange; stressed bees | Install screened bottom or small roof gap |
For compact setups that favor shaded placement and simple stands, see a practical guide on minimalist beekeeping setups.
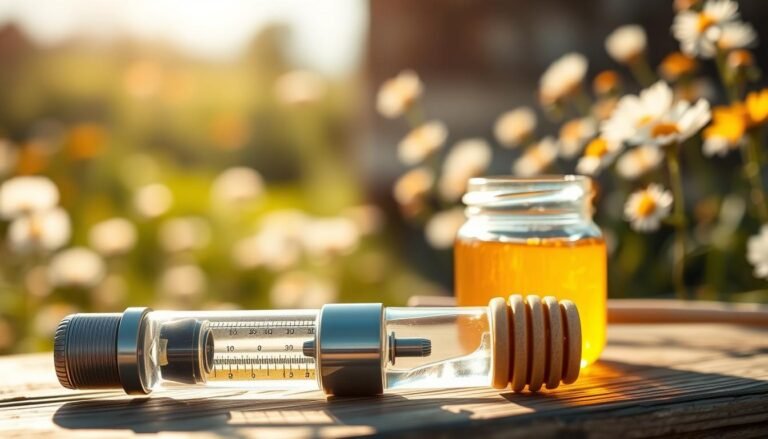
Managing Hive Temperature and Ventilation
Proper airflow and a steady water supply let colonies regulate temperature without overworking the bees.

Utilizing Insulated Hives
An insulated box built from 3/4″ material helps the brood and queen remain stable when days heat up. Uninsulated 3/4″ plywood hives often show severe bearding and wax softening on really hot afternoons.
Tip: leave a 1/4″ gap between the last frame and the wall. That gap allows warm air to rise and vent under the lid, easing stress on frames and combs.
Providing Reliable Water Sources
Bees need water within about 1/4 mile to use evaporative cooling effectively. Place a trough with wood chips or a shallow basin near the apiary so workers can collect water without long flights.
- Make sure bees have clean water close by for cooling and honey thinning.
- Fit a 1-1/4″ top entrance on hives exposed to 90°F-plus to boost circulation and reduce front bearding.
- Consider insulated boxes and sensible entrance sizing alongside correct frame spacing and foundation placement.
If you have a question about ventilation and frame arrangement, consider hive size and how many frames are in use. For guidance on storing and protecting frames, see the short guide on store frames.
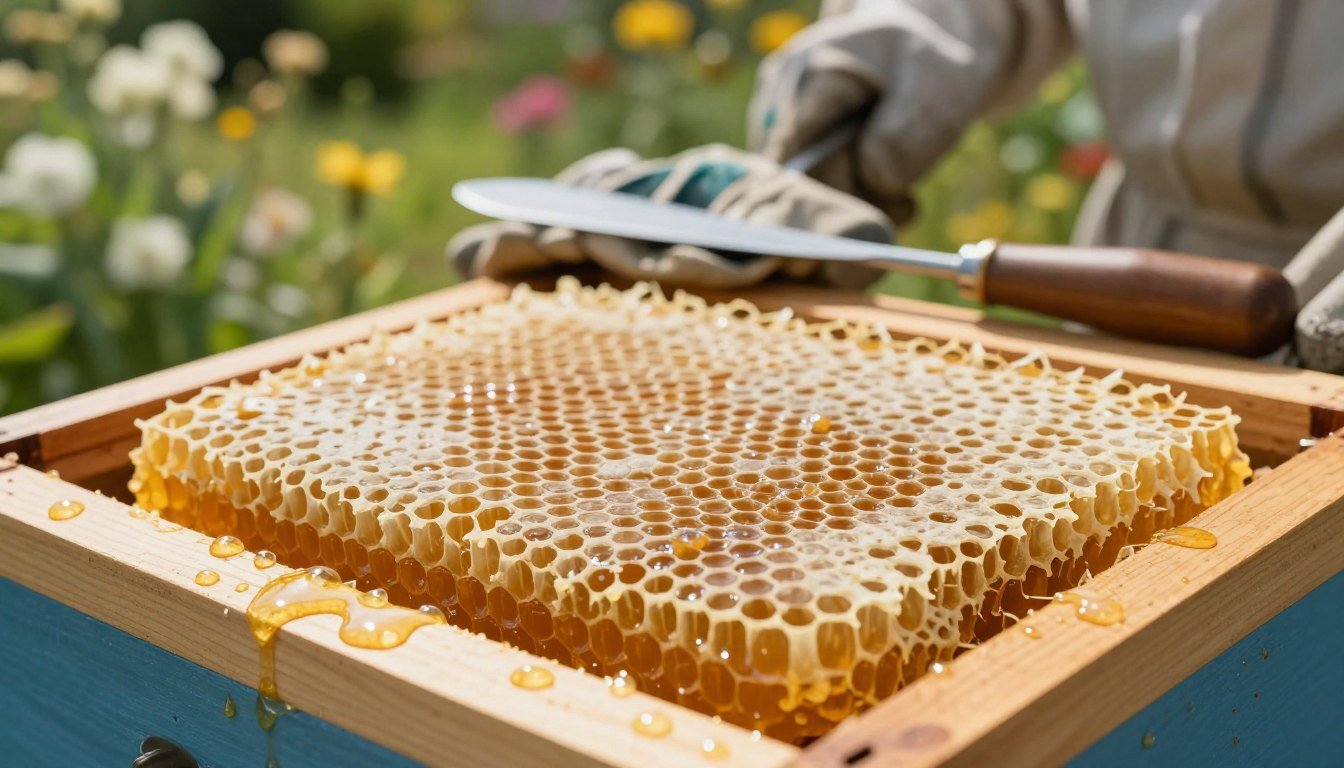
Best Practices for Frame Handling
Firm hands and deliberate moves protect fragile wax and make frame work safer for bees.
Keep a mini hive tool in your hand so you never need to set tools down. Use the curved end to lever a frame against its neighbor. That simple way reduces sudden tugs that tear wax and stress the colony.
When you lift a frame, give yourself enough space so adjacent bars do not scrape the comb. Align bars as you work so bee space stays consistent and bees do not build bridging connections.
- Use the correct end of the tool for gentle prying; avoid forcing a stuck bar.
- Mind the weight of honey-filled frames; a steady grip keeps the comb intact.
- Foundation adds support, but delicate cells still need careful handling.
- Practice returns each frame to its original position without harming the hive.
For spacing aids and simple gadgets that protect frames, see a recommended frame spacer guide at best frame spacer for 10-frame boxes.
Addressing Cross Comb Issues
A single uneven bar will sometimes trigger bees to build away from the intended bee space. Early detection avoids a large repair job and protects brood and stores.

Identifying improper construction
Look for bridges running across frames or odd sheets of wax linking bars. These signs mean cells are built outside the correct space and will restrict removal of a frame.
Techniques for correcting misaligned frames
Patience is essential. Cut large pieces carefully and reattach them to the top bar with rubber bands. This process saves wax and honey while keeping the nest intact.
- Work slowly so workers calm down and the queen stays safe.
- Scrape stray wax back to the proper frame when comb spans multiple bars.
- Use a fitted foundation or a level box to discourage repeat issues.
When to leave wax alone
If cross growth appears late in the season, do not force fixes that could harm the brood. Wait until spring when recovery is easier.
| Problem | Immediate action | Follow-up |
|---|---|---|
| Bridged sheets across frames | Cut and reattach with rubber bands | Monitor repair and return pieces if stable |
| Multiple frames joined | Carefully scrape and restore bee space | Check level and foundation fit |
| Late-season cross growth | Leave intact to protect brood | Plan corrective work in spring |
Make sure brood frames stay together and place any surplus honey at the nest edge. For more general maintenance guidance, see the hive maintenance guide.
Conclusion
Small, regular steps protect wax, bars and frames and extend the life of your equipment. A steady routine reveals weak spots in comb and allows early repair.
Prioritize the queen and brood when handling bars. Check hive health often. Regular inspections catch sagging, uneven build, or pest damage early.
This work helps bees stay strong. With good care, bees remain productive and honey yields rise over time. If disease risk appears, review guidance on when to discard comb after disease and act swiftly.
Consistent beekeeping habits pay. Well-managed hives reward patience and offer steady returns each season.