Protecting a frame of beeswax preserves hours of colony work and secures your winter investment. A single frame reflects roughly 102,000 bee-hours, so proper care matters.
This brief guide offers practical, professional tips on preserving valuable frames. We cover freezing protocols, chemical options, and drying practices that reduce the risk of pests.
Environmental factors shape outcomes. Temperature, humidity, and storage layout influence wax moth activity and frame integrity. Simple steps now save time and loss later.
Explore tested storage approaches and learn when to use airtight packing, criss-cross stacking, or sealed boxes. For further reading on specific techniques and timing, see our detailed note on frame storage methods.
Key Takeaways
- Value preservation: One frame equals significant bee labor; protect it.
- Freezing helps: Proper freezing times reduce wax moth risk.
- Dry first: Dried frames resist pests and deter mice.
- Choose method: Airtight, criss-cross, or sealed stacking fit different needs.
- Mind environment: Control humidity and temperature for best results.
Understanding the Importance of Drawn Comb
A single frame of beeswax represents a major investment of worker effort—about 102,000 bee-hours. That sheet of wax and cell structure forms the backbone for both honey storage and brood rearing in healthy hives.
For beekeepers, protecting this asset saves colonies from rebuilding the same foundation. When frames remain intact, colonies spend energy foraging and raising young rather than rebuilding wax.
Leftover honey or residue in frames will attract pests and weaken colony health. Good practice includes cleaning and arranging equipment to reduce that risk.
- Value: A ready frame saves thousands of worker hours.
- Function: Frames serve as storage and brood foundation.
- Risk: Sticky cells lure pests if neglected.
For practical guidance on keeping frames protected, review techniques on frame storage and tips from experienced frame protection guides.
Preparing Your Equipment for Long-Term Storage
Start with a simple wash and dry cycle to protect frames and boxes before packing for winter. Use a soft brush and mild soap to remove debris, wax, and propolis from each frame. Rinse and then allow all equipment to air dry completely in a shed or garage.
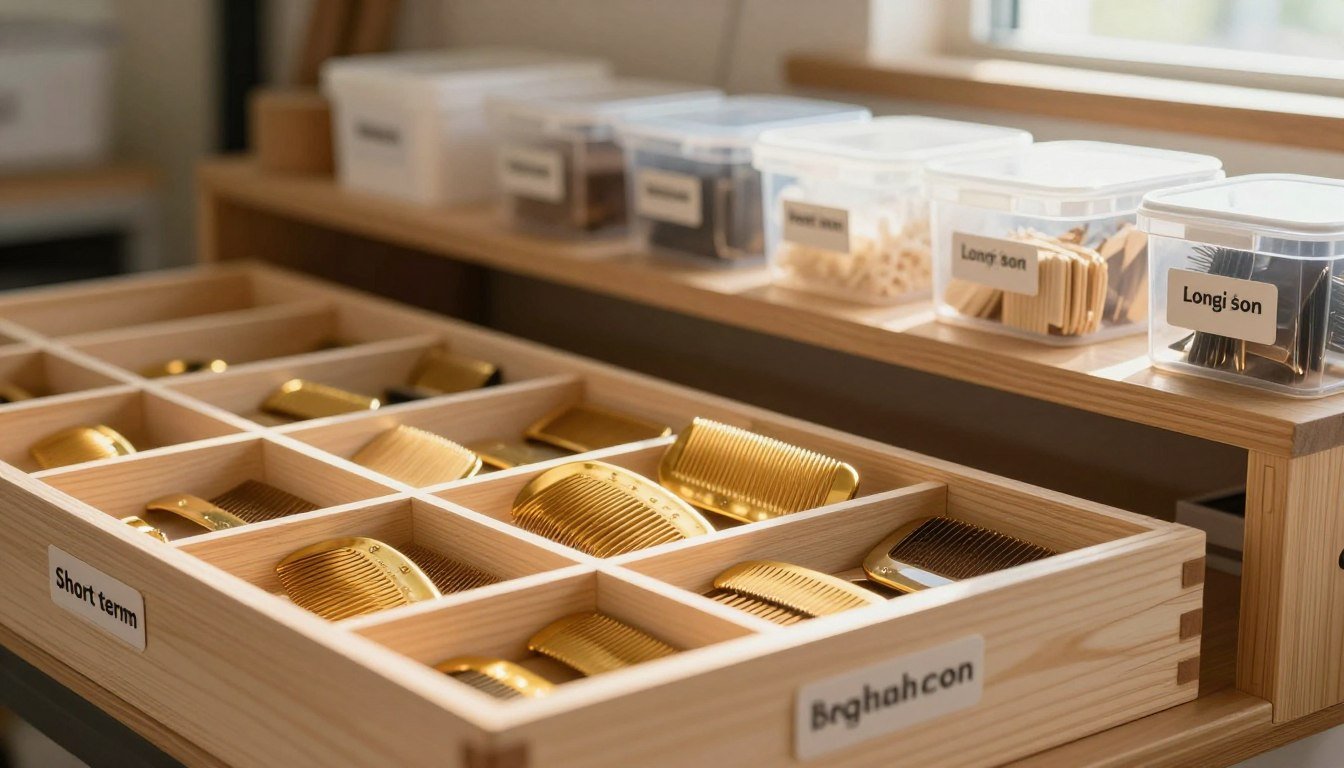
Disassemble and label parts so you save time next spring. Mark brood boxes, supers, and individual frames with contents and date. Store small screws, parts, and hardware in clear plastic containers to avoid loss and clutter.
Organize storage to limit mice and pests. Properly cleaned and dried equipment lowers the risk from wax moths and small hive beetles. Keep much space between stacks for airflow and to check boxes periodically.

Quick Reference
- Clean with soft brush and mild soap
- Air dry in a shed or garage
- Label boxes, frames, and parts for next spring
| Item | Action | Storage Tip |
|---|---|---|
| Frames | Brush, mild soap, air dry | Stack with air gaps; label date |
| Brood boxes & supers | Wash, dry, disassemble | Store off-floor in shed or garage |
| Small parts | Sort into plastic containers | Keep clear and labeled for fast access |
For guidance on replacing compromised material, check this note on discard comb after disease.
How Long Can Drawn Comb Be Stored Safely
Immediate action after harvest sets the clock for usable frames throughout winter. If you freeze frames right after extraction, you can protect the comb from pests and keep it intact until spring.
Practical capacity: a 3 cubic foot chest freezer will hold about 28 frames, which makes freezing a good option for many small-scale beekeepers.
Avoid thin trash bags and flimsy plastic wraps. Wax moths chew through light plastic, so use thicker barriers or dedicated containers. Store supers and boxes in a cool, dry space to limit humidity and pest pressure.
- Freeze frames when possible to freeze frames infestations.
- Keep storage boxes off the floor to reduce rodent access.
- Check stacks periodically for mice or damage and manage your time during post-harvest work.
For detailed pest prevention steps, review preventing wax moths to protect both frames and equipment before spring.
Freezing Techniques to Eliminate Pests
Putting frames into a chest freezer is a reliable step to protect beeswax, honey, and equipment from pests before winter. A controlled freeze removes larvae and small hive beetles without chemicals.
Temperature and time matter. Maintain 20 degrees F for five hours or 5 degrees F for two hours to kill wax moth larvae. Use a thermometer to confirm consistent degrees throughout the freezer space.
Allow frames to thaw fully before wrapping. Frost that melts inside sealed plastic invites mold and ruins comb. Leave enough space in the freezer so air circulates around frames and supers.

- Use a chest freezer: holds many frames and keeps a steady temperature for pest control.
- Defrost before sealing: prevents moisture damage to wax and honey.
- Protect boxes: correct freezing prevents webby mess from wax moths and saves cleanup time.
Temperature and Time Requirements
Expose a frame to the right degrees for the specified time to ensure no eggs survive. This method gives beekeepers peace of mind and keeps equipment ready for spring use.
Utilizing Airtight Storage Solutions
Sealing frames in airtight containers keeps pests out and moisture at bay. Use heavy-duty plastic totes or vacuum-sealed bags to protect drawn comb and other equipment during winter.
Freeze frames first in a chest freezer to kill larvae, then wrap or place in totes to remove the need for chemicals. This method suits beekeeping operations with limited garage or shed space.
“A tight seal prevents wax moths and small hive beetles from invading stored boxes.”
Choose thick plastic over thin trash bags; moths and mice chew through flimsy material. When you store supers in sealed containers, honey and wax resist humidity and mold.
- Tip: stack boxes only if each is airtight to stop pests from moving between layers.
- Label containers and leave a small air gap when using vacuum bags to avoid crushing comb structure.
- Inspect stored equipment mid-winter if you have much space constraints.
Implementing Open Air and Sunlight Methods
A simple shift to open-air racks brings light and motion to stored frames. Natural light and steady air make wax less attractive to pests.
Criss-cross stacking uses a 90° rotation for every other super. Rotate each box so sunlight and air reach the face of each frame. Space frames an inch or two apart to let light touch each surface.
Frame Rack Construction
Build a rack in your shed or garage that keeps equipment off the floor. Elevated racks reduce moisture and block mice access.
- Design tip: leave 1–2 inches between frames for airflow.
- Rotate supers every other layer 90° to expose faces to light.
- Inspect stacks regularly to spot wax moths or mice wax early.
This sunlight method is a practical, chemical-free way to protect wax and preserve value. For DIY plans and more detailed frame storage tips, see frame storage tips.

Managing Stacks with Chemical Treatments
A measured chemical protocol helps preserve supers and brood boxes when space is limited. Use p‑Dichlorobenzene crystals on a plate placed atop every third box in a closed stack. That pattern concentrates fumes where larvae hide and protects frames and other equipment.
Make sure you select p‑Dichlorobenzene formulated for apiary use. Moth balls and similar products are not approved for beekeeping and may contaminate beeswax and honey.
“Place a plate of crystals on every third box and seal the stack with top covers to keep fumes contained.”
- Sandwich the stack between two telescoping top covers to trap fumes where needed.
- Monitor treated stacks regularly for mice and wax moths and to ensure seals remain tight.
- After treatment, allow equipment to air out for several days in spring before returning frames to hives.
| Action | Placement | Benefit |
|---|---|---|
| p‑Dichlorobenzene plate | On top of every 3rd box | Kills wax moth larvae and protects comb |
| Seal stack | Use telescoping top covers | Contains fumes; limits mice access |
| Spring airing | Open in shed or well‑ventilated space | Removes residual chemical before use |
For related equipment cleaning tips before treatment or reuse, see this note on cleaning plastic foundation after colony loss.
Handling Old and Darkened Brood Comb
When brood wax darkens, it signals accumulation of debris and reduced brood quality. Old frames often hold cocoons, propolis, and other residues that shrink cell openings and slow colony growth.

Recycling old material restores clean foundation and helps young bees develop in healthy cells. A solar approach removes impurities without heat sources or heavy tools.
Solar Wax Melting
Solar wax melters separate pure wax from propolis and debris, leaving light yellow wax suitable for candles or foundation work.
- Darkened frames contain cocoons and sticky buildup that reduce cell size.
- Using a solar melter yields higher grade wax than boiling in a pot, with less mess.
- Regularly cycling out old frames promotes hive hygiene and boosts productivity.
For step-by-step notes on replacing and refreshing frames, see recycling old comb, or guidance on cleaning equipment before reuse at clean a deadout before reuse.
Protecting Your Investment from Rodents and Insects
Keep pests out of your winter stack with layered defenses that mix freezing, sealed bins, and quick inspections.
Start by freezing suspect frames to kill larvae and stop wax moths from spreading. Move frozen pieces into large plastic bins with tight lids to block mice and limit air movement.
Store honey supers and brood boxes off the floor. Elevation reduces rodents and allows light and circulation to reach stored equipment.
Check stacks regularly for shredding, droppings, or webbing. If you spot signs of wax moths, freeze affected frames again and clean nearby boxes.
- Use freezer treatment: eliminate larvae before packing.
- Choose heavy plastic bins: tight lids keep mice out of supers.
- Keep frames dry: dry wax and clean gear discourage small hive beetles in winter.

| Action | Why it works | Target |
|---|---|---|
| Freeze then pack | Kills larvae and halts infestations | frames, comb |
| Large plastic bins | Blocks rodents and limits humidity | supers, boxes |
| Routine inspection | Find problems before loss | equipment, beeswax |
“A small investment of time now saves years of rebuilding later.”
Conclusion
A careful end-of-season routine protects frames and saves work next year.
Proper storage keeps your equipment ready through the cold winter months and eases the spring restart. Regular checks, drying, and the freeze–then–pack approach reduce pest risks and mold.
Consistent care of boxes and supers pays off for beekeepers. Whether you prefer freezing, airtight bins, or open-air racks, the aim is a clean, usable supply of frames each season.
For tips that improve honey yield and overall hive health, review these methods to increase honey production. Use the steps here to protect your investment and keep your beekeeping operation productive year after year.