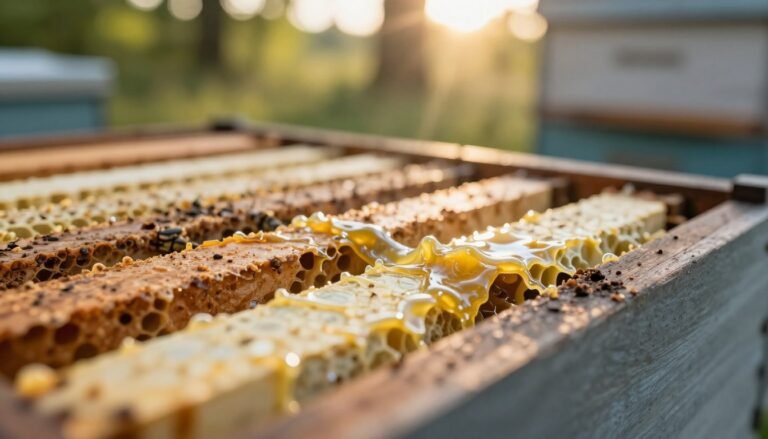
Targeted removal of drone brood is a low-cost mechanical method that helps beekeepers cut parasite levels without overusing chemicals. This approach uses specific frames near the brood nest to attract developing drones and their parasites, then removes sealed cells before adults emerge.
Research and guidance show this technique can lower reproducing Varroa numbers by roughly 40–50% in a season when combined with regular checks. The National Bee Unit offers a concise fact sheet on drone brood removal guidance with timing and steps.
Timing is critical: sealed cells must be removed before the roughly 24-day development ends. Practical notes and check intervals are summarized in a useful guide on practical trapping steps, which complements this integrated pest approach.
Key Takeaways
- Drone brood removal is an effective integrated pest tactic to reduce parasite reproduction.
- Proper frames near the brood nest trap higher-risk cells and boost control success.
- Remove capped cells before about 24 days to prevent parasite escape.
- Combine this method with season-long monitoring to protect colony health.
- Documented reductions of 40–50% are achievable in a single active season.
The Science Behind Drone Comb Placement for Mite Management
A longer post-capping period in male cells drives much higher reproductive success for Varroa. Female parasites enter sealed male brood and can produce more mature offspring per cycle than they do in worker cells.
“Research shows mites appear 5 to 12 times more often in male brood than in worker cells.”
Understanding Mite Biology
Reproductive rates differ by host: mites in worker cells average about 1.3–1.4 offspring, while those in male cells average roughly 2.2–2.6 per cycle. This gap matters across the season.
Why Drones Attract Varroa
Male brood is capped around 18 days and emerges near day 24. That extra time sealed inside the cell boosts parasite production and raises the colony’s overall population during summer.
Practical note: targeted use of a specialized drone brood frames or a plastic foundation helps concentrate the highest-risk cells so beekeepers can remove them before adults emerge.
- Focusing on male brood exploits the parasite’s biology to lower numbers without chemicals.
- Regular checks during the active year are essential to keep colonies healthy.
- Combine mechanical removal with other controls and consider natural remedies as part of an integrated plan.
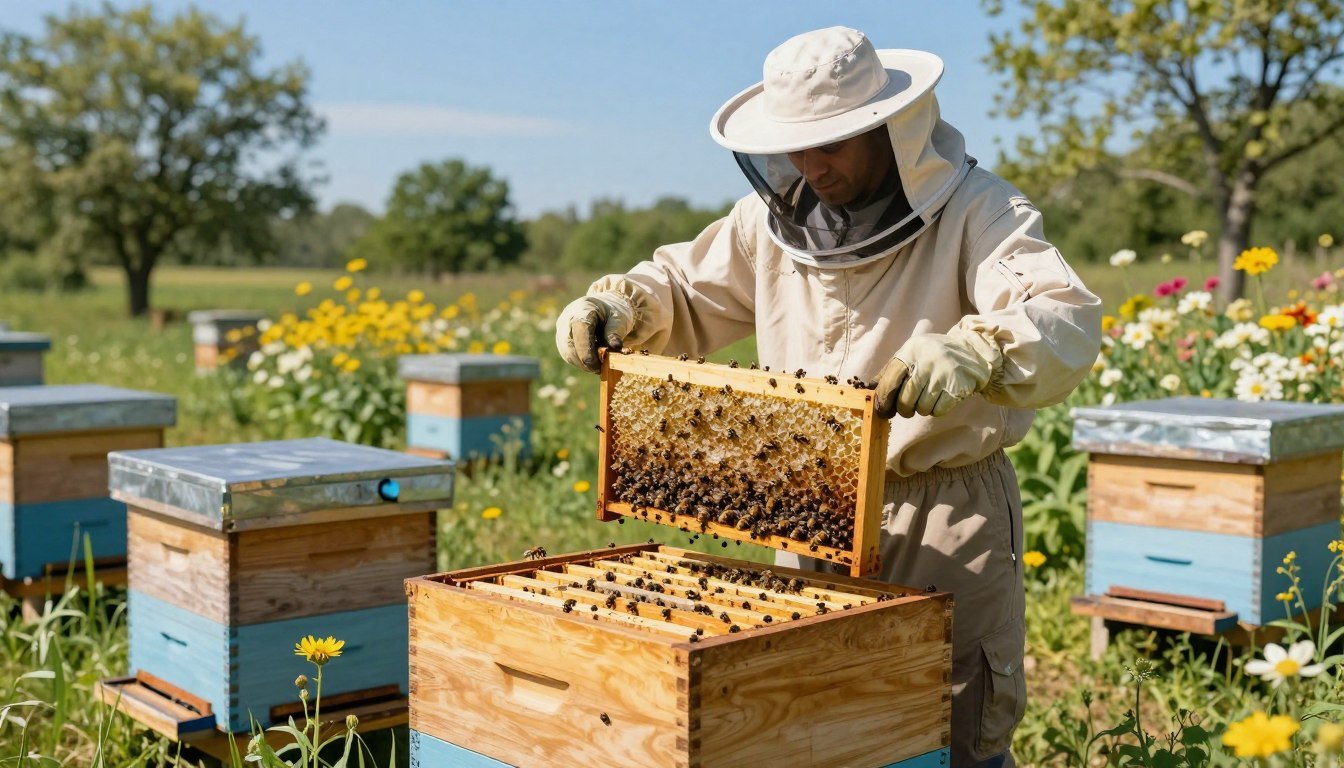
Implementing Drone Brood Removal in Your Apiary
Use two removable frames per colony to run a continuous trap-and-replace cycle during the active season. Insert a beeswax-coated plastic foundation into the brood nest, ideally in the second or third position, so the queen will lay quickly.

The Pierco frame is popular: its bright green color makes inspections faster. When most cells are capped, pull that frame and swap in the spare. Process the removed brood promptly—freezing is an effective disposal option to stop parasite return.
- Keep one frame in the hive while the other is being treated off-site.
- Rotate frames every cycle to sustain low parasite population in summer.
- Do not leave removed brood uncovered; exposed comb can trigger robbing and disease spread.
“A steady rotation and prompt disposal let beekeepers reduce pressure without heavy chemical use.”
For practical timing and steps, review a concise drone brood removal guide. Also consider colony signals and seasonal risks detailed in a short piece on how to tell if your hive is preparing to.
Best Practices for Frame Rotation and Maintenance
Good timing and routine care make removal cycles effective without harming colony productivity.
Optimal timing matters: check frames when most cells near the center of the brood nest are capped. Remove sealed drone brood after about 18–24 days of development but before emergence to stop parasites from leaving the cell.
Freezing and Disposal Methods
Standard method: freeze the removed frame for at least 48 hours. This kills pupae and the parasites within the comb.
If freezer space is limited, scrape capped cells into a sealed container and take them away from the apiary. After freezing, return the frame; the bees will clean out dead pupae and recover protein.
Managing Colony Strength
Rotate two frames per colony in a steady cycle during summer to trap successive generations. Research shows this removal method does not reduce adult population, hive weight, or honey production when done correctly.
- Keep one frame in while the other is processed off-site.
- Place the drone frame near the brood nest so the queen will lay drone brood quickly.
- Monitor if frames stay undrawn; lack of nectar flow or a small colony may be the cause.
| Action | Timing | Benefit |
|---|---|---|
| Swap frames (two-frame rotation) | Every 2–3 weeks in active summer | Continuous trapping of high-risk cells |
| Freeze removed frame | 48 hours minimum | Guaranteed kill of pupae and parasites |
| Scrape & dispose off-site | When freezer unavailable | Prevents mites and robbing near apiary |
| Return cleaned frame | After bees remove debris | Restores comb and feeds colony protein |
For detailed protocols on biotechnical tactics and frame storage, see a practical guide on biotechnical tactics and tips on how to store frames.
Conclusion
When timed and repeated across brood cycles, brood removal can sharply cut reproductive rates and help colonies thrive. Implement a steady rotation of a dedicated frame, check often during the active season, and remove capped cells before emergence. This non-chemical control protects hive strength and supports queen and worker health.
Research-backed guidance and practical calendars help pace work in the apiary—see the SARE project summary and the monitoring calendar for timing tips. Start a small program, keep records, and adapt cycles to local conditions to sustain low population levels and long-term colony resilience.