Determining the ideal winter wrap ventilation gap size helps protect your home from heat loss and condensation. This short guide explains how an effective air gap and the right insulation material work together to control heat flow in roofs, ceilings, and walls.
Pure aluminum foil insulation reflects radiant heat—about 97% reflectivity—so pairing foil with proper air space and quality installation boosts performance. Choosing the correct product and placing the top surface of insulation correctly can reduce energy waste year-round.
We also cover how spray foam and other materials interact with air gaps to form a durable thermal barrier. For a deeper review of insulation types and materials, see thermal insulation materials for winterizing.
Key Takeaways
- Air gap quality is crucial for insulation effectiveness.
- Foil insulation performs best with a clear reflective space above it.
- Proper installation limits condensation and long-term damage.
- Spray foam and other materials affect heat flow differently.
- Correct setup improves energy efficiency in roofs and ceilings.
Understanding the Role of Air Gaps in Building Envelopes
Air movement within wall and roof assemblies controls moisture and keeps insulation effective. A clear air space acts as a capillary break and lets damp air escape before it harms structural materials. This simple design choice supports long-term performance.
The Science of Airflow
Air channels behind cladding create a steady path for air to move. This movement reduces trapped moisture and lowers the risk of condensation on the top surface of sheathing.
Even when spray foam is used, understanding how air flows helps prevent hidden humidity problems that can weaken roof and ceiling systems.
Benefits of Proper Ventilation
- Protects insulation by keeping fibers dry and maintaining R-value.
- Helps foil and radiant barrier products reflect heat more reliably.
- Prevents condensation that can rot framing or stain ceilings.
- Improves indoor air quality by moving moisture out of the building.
“A consistent air gap is one of the most cost-effective ways to extend the life of an assembly.”
For practical tips on surface preparation and coating to support thermal performance, see hive painting tips for better insulation.
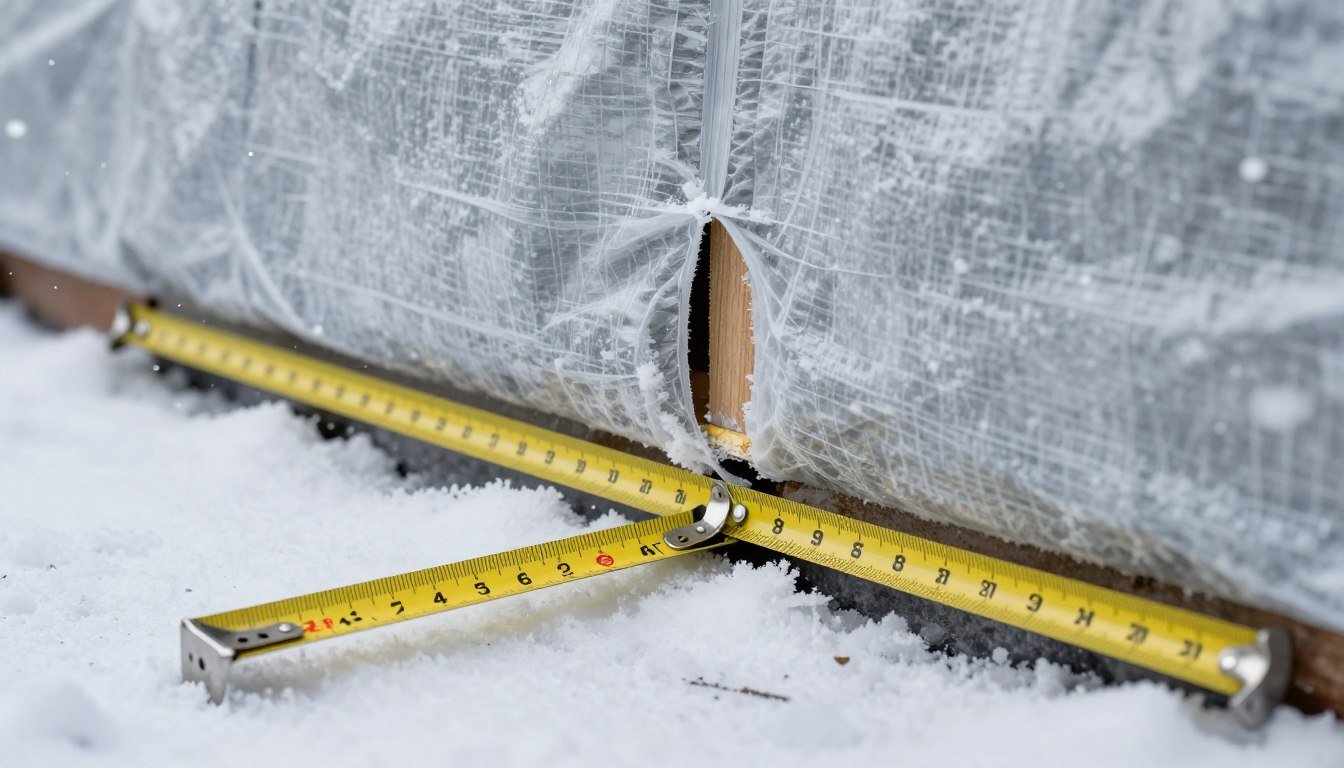
Determining the Optimal Winter Wrap Ventilation Gap Size
A consistent air channel behind the barrier helps insulation manage heat and moisture. Small changes in that clear space can affect performance across roofs, walls, and ceilings. Keep runs uniform so the top surface of the insulation stays dry and reflective.

Practical guidance matters: builder Jake Bruton of Aarow Building recommends a gap between 1/4 inch and 3/8 inch for effective rainscreen ventilation. That range often balances airflow with installation ease in many building types.
- Match the channel to the material: foil insulation and radiant barriers need a steady air gap to reflect heat efficiently.
- Watch for condensation: too small a space can trap moisture and reduce effectiveness.
- Consider climates: colder regions sometimes call for slightly larger channels to ensure proper airflow.
Whether you choose spray foam or traditional batting, plan the system so air moves and moisture escapes. For details on how air gaps interact with foil products, read more about air gaps.
“A small, consistent channel often provides the best balance between airflow and thermal control.”
How Radiant Barriers and Foil Insulation Function
A reflective foil layer stops radiant heat by sending energy back toward its source rather than absorbing it.
Radiant barriers rely on low-emissivity surfaces to reduce heat transfer. The foil reflects most radiant heat, so less energy crosses a roof or ceiling assembly.
Reflective Properties of Foil
The reflective layer works best when there is an air space between the foil and the adjacent surface. That air gap acts as an extra insulating layer and boosts the product’s performance.
- In summer, foil helps prevent heat from entering your home.
- In cold months, the same barrier helps retain warmth inside conditioned spaces.
- Proper installation keeps the top surface clean so the foil remains effective over time.
- Even with foam or other insulation types, a small air gap helps the foil perform as intended.
“A clean reflective surface paired with a stable air channel gives the best long-term results.”
The Impact of Air Gaps on Thermal Resistance
Small pockets of still air significantly boost the R-value of an assembly. In practice, a dedicated air channel next to insulation traps air and cuts heat flow through a roof, wall, or ceiling.
Each centimeter of air space acts like another layer of protection. That buffer reduces conductive loss and supports the reflective performance of foil insulation.
A proper air gap also lowers condensation risk. When the top surface stays dry, materials keep their rated performance and last longer.

Using spray foam or loose-fill products requires planning so the cavity stays clear and unobstructed. Correct installation preserves the barrier effect and keeps heat loss to a minimum.
- R-value improves when trapped air is stable and continuous.
- Foil plus a clear air channel enhances protection against radiant heat and conductive transfer.
- Well-planned materials and installation prevent moisture and maintain long-term effectiveness.
“A consistent buffer zone helps stabilize indoor temperatures and reduces strain on heating and cooling systems.”
For a focused review on how an air gap works with foil products, see air gaps with foil insulation.
Managing Moisture and Condensation Risks
Moisture trapped inside wall and ceiling cavities can quickly undermine insulation performance and building fabric. Trapped humidity leads to mold, reduced R-value, and rotten timber if left unmanaged.
A properly designed air gap lets damp air move out of the cavity. This free flow keeps insulation dry and preserves the top surface of foil and other barriers.
Follow building codes: UK Building Regulations Part C require walls to prevent moisture passage and avoid harmful condensation within assemblies. Meeting those standards protects your home over decades.
Key actions include providing a continuous air channel, checking that foil insulation stays clear of wet surfaces, and combining breathable materials with the correct installation method.
“Protect the top surface of insulation from moisture buildup to maintain thermal performance.”
For technical background on moisture control, see moisture and condensation guidance. For related practical tips on keeping cavities ventilated, review these practical hive ventilation hacks.
Best Practices for Wall and Ceiling Installations
Good wall and ceiling installs start with a clear plan that keeps insulation layers continuous and dry.

Wall Cavity Considerations
Design the cavity so the air channel is continuous and unobstructed. Keep wiring and pipes tidy to avoid compressing insulation or creating cold spots.
For foil-faced products, leave a small clear space between the foil and the plasterboard so the reflective surface can perform. This protects the top surface and helps manage radiant heat.
Plasterboard and Insulation
Secure the plasterboard without pressing directly on the insulating material. A tiny separation preserves the barrier effect and reduces condensation risk.
- Match material to the assembly: roofs and ceilings often need different treatments than walls.
- Keep air paths uniform: uniform channels help steady heat flow and reduce cold spots.
- Careful with spray foam: when foam is used, control thickness so the intended air channel remains intact.
Practical tip: document where the top of each insulation product sits so future work does not block the channel. Proper installing insulation protects your home and keeps energy use low.
“A continuous air channel and correct placement of insulation are the simplest ways to protect performance.”
For a related product guide, review this best hive wrap for cold climates.
Specialized Requirements for Roof Ventilation
A proper roof design often calls for a noticeably larger air channel than wall assemblies to handle moisture and heat. In many roofs the recommended air gap is about 50mm (2 inches). This larger space helps move air across the top of insulation and prevents condensation from forming on the underside of roofing.
Good airflow through the roof space keeps the building cooler in summer and reduces ice-dam risk in cold spells. When foil insulation or spray foam is used, that clear zone lets the product perform without trapping humidity against the top surface.
Different roof materials and product warranties can require specific clearances. Keep the top of the insulation free of debris and blockages so air can flow uninterrupted. For professional guidance on managing wind and airflow around a structure, see windbreak strategies for apiaries.
“A consistent, adequately sized air channel in roofs protects materials and extends insulation life.”
Addressing Insect Intrusion and Airflow
Insects often seek narrow cavities, so controlling air movement is the first line of defense in wall systems. Design that encourages steady upward flow uses the stack effect to move warm, moist air out of the assembly. That same movement helps keep insects from settling in the air space behind cladding.

Stack Effect and Natural Barriers
The stack effect creates a gentle draft that discourages pests and supports moisture control. In many cases, a continuous air gap and free flow act as a passive barrier that reduces nesting opportunities.
Some builders add insect screening at terminations for extra protection. Others rely on uninterrupted flow alone. Both approaches have merit; choose based on climate, local pests, and maintenance access.
- Design with access in mind: inspect ceilings and wall junctions to prevent insect entry.
- Keep channels clear: avoid compressing insulation or blocking the air space with obsolete materials.
- Consider screening: small mesh at inlets or outlets can block pests while preserving flow.
“A consistent air channel is the best passive defense against moisture and pests.”
For technical prevention guidance, see the prevention guidance on air and water infiltration.
When Insulation Materials Do Not Require a Gap
Certain insulation types bond to a surface and form a continuous thermal seal that removes the need for a separate air channel.

Closed-cell spray foam and some rigid boards are designed to be applied tight to a roof or wall. These products act as both insulation and a vapor barrier. That means no additional space is needed for the reflective layer to work.
Always follow the manufacturer’s guidance for each insulation material. Proper installation matters; seams and penetrations must be sealed so the thermal barrier stays continuous.
| Material | Needs Air Gap? | Primary Benefit |
|---|---|---|
| Closed-cell spray foam | No | Seals air and moisture; high R-value |
| Rigid foam board | Typically no | Stable thermal layer; low moisture risk |
| Foil insulation / radiant foil | Yes | Needs a clear air channel to reflect radiant heat |
In cold or humid climates, foam can reduce condensation risk because it limits air movement into cavities. By matching product properties to the climate and assembly, you preserve effectiveness and long-term performance.
Conclusion
A clear plan and the right materials deliver long-term gains. Careful placement of foil insulation and other products cuts energy use and reduces the risk of condensation. Small design choices at installation time matter.
Document where each component sits so future work preserves the intended air channel. Selecting suitable materials and following manufacturer guidance keeps your building durable and efficient.
For field evidence on covers and colony energy outcomes, see the winter covers study. When in doubt, consult a licensed professional to ensure the assembly meets local codes and performance goals.
FAQ
What is the recommended air space for an optimal winter wrap ventilation gap?
For framed walls and most roof assemblies, a continuous air space of about 3/8″ to 3/4″ (10–20 mm) behind a foil or reflective barrier typically provides effective airflow. This gap allows convective flow that helps control heat transfer and reduces condensation risk while remaining narrow enough to fit standard batt and rigid insulation installations.
How does an air gap affect heat flow and insulation performance?
An air space increases thermal resistance by limiting conductive heat flow and enabling reflective surfaces to reduce radiant heat transfer. When combined with foil or radiant barriers, the air gap amplifies the barrier’s reflective properties, improving overall energy performance of walls, ceilings, and roofs.
Do radiant barriers and foil insulation need a specific clearance to work correctly?
Yes. Reflective foils require an adjacent air space on at least one side to be effective. Direct contact with insulation or structural sheathing reduces reflectivity. Maintain the manufacturer’s recommended clearance—often 3/8″ to 1″—and follow product instructions for best results.
Can sealing gaps with spray foam improve performance instead of leaving an air space?
Spray foam provides excellent air sealing and increases R-value, but it changes how a system manages moisture and radiant heat. Closed-cell foam can remove the need for a reflective air space because it blocks airflow, yet it may trap moisture if improperly installed. Use spray foam where continuous thermal and air barriers are required and follow best practices for vapor control.
How do air gaps influence condensation and moisture buildup?
Properly designed air spaces promote airflow that carries moisture out of assemblies, lowering condensation risk. If the gap is too narrow, blocked, or lacks ventilation paths, moisture can accumulate. Include vents, baffles, or drainage planes and ensure vapor control layers are placed per climate-specific guidance.
What are best practices for installing an air space behind plasterboard or drywall?
Keep the air gap continuous and unobstructed across studs, use resilient furring strips or baffles to maintain spacing, and avoid compressing insulation. Install vapor-permeable membranes where needed and seal penetrations to prevent bypass airflow that undermines thermal performance.
Are there cases where no gap is required between insulation and a wall or roof surface?
Yes. Certain insulation types like closed-cell spray foam and rigid board with a sealed face can be applied directly to sheathing without a reflective air space. In these systems, the material itself provides thermal resistance and air sealing, eliminating the need for a separate ventilation cavity.
How should roof assemblies be ventilated differently from walls?
Roofs often need continuous intake and exhaust ventilation—soffit vents at the eaves and ridge or gable vents at the top—to drive airflow through the attic air space. Use baffles to keep the air channel clear between insulation and roof deck, and size vents according to net free area guidelines in building codes.
What role does the stack effect play in airflow and insect intrusion?
The stack effect moves warm air upward through gaps and cavities, increasing airflow in tall assemblies. Proper sealing at lower and upper levels controls unintended movement. To deter insects, use mesh over vents and detail joints; this maintains ventilation while preventing pests from entering the cavity.
How do I balance ventilation, thermal resistance, and moisture control in different climates?
Follow climate-specific strategies: in cold climates prioritize air sealing and vapor control on the warm side, with a ventilated cavity to limit condensation. In mixed and hot-humid climates favor permeable layers, drainage planes, and reflective barriers with shaded airspaces. Always adhere to local codes and manufacturer guidance for materials like foil insulation, batts, and rigid boards.