Keep colonies healthy by learning simple, proven steps. Reverend Lorenzo Langstroth set the bee space standard that helps prevent erratic wax build-up. Good spacing and routine checks cut the chance that pests or pathogens take hold.
Act quickly when you spot odd wax growth. Excess structures can block frames and hide trouble, so safe removal matters for long-term apiary health.
Start with clean equipment and steady inspections. Removing unwanted deposits reduces strain on your bees and supports clear, efficient management of your hives. For repair advice on damaged boxes, see a practical guide on repairing damaged hive boxes.
Key Takeaways
- Follow Langstroth spacing and regular checks to prevent excess wax.
- Remove unwanted structures promptly to limit disease spread.
- Keep equipment clean and repaired to discourage chaotic comb.
- Use safe removal techniques that protect bees and frames.
- Consistent maintenance leads to a more productive season.
Understanding the Causes of Burr Comb
A clear grasp of bee spacing explains many unexpected wax structures. Reverend Lorenzo Langstroth established the 3/8″ bee space that prevents bees from building extra material between parts. This simple rule remains a cornerstone of modern beekeeping.
The Concept of Bee Space
When frames, foundation, or the box edges leave gaps larger than the standard, bees will build additional comb to fill that space. That behavior creates cross comb and other awkward formations that complicate hive inspections.
Common Locations for Excess Wax
Excess wax often shows up on the top of frames or along interior walls of the hive. If frames are not snug, the colony will build comb in those gaps, and brood or honey may end up in hard-to-clean places.
“Maintain 3/8-inch spacing and inspect every 7–10 days to catch early development of unwanted structures.”
| Location | Typical Issue | Why It Happens |
|---|---|---|
| Top of frames | Cross comb forming across frames | Frames left loose or uneven foundation |
| Interior walls | Burr structures along box sides | Extra space between box and frames |
| Between frames | Combs welded to adjacent frames | Frames not pushed together during inspections |
Early identification of these problem spots helps protect brood and keeps your apiary healthy. For more on management and profitable practices, see a practical post on managing unwanted comb and a step guide at removal best practices.
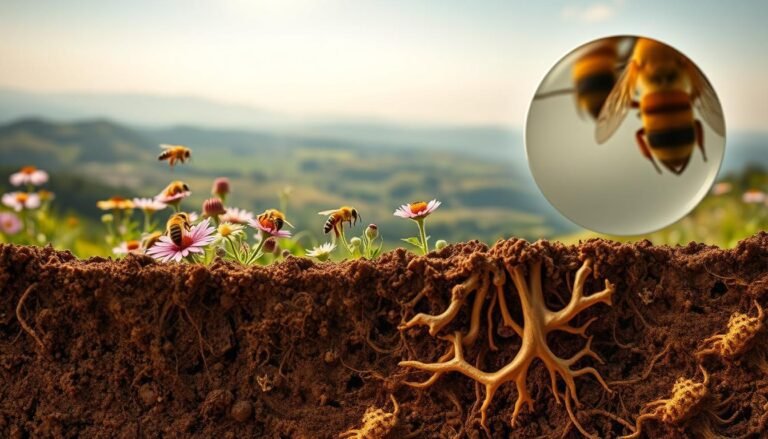
Why You Must Remove Burr Comb from Diseased Hives
Unwanted wax structures act as hidden nests for pests and must be addressed quickly.
Hive beetles and wax moths use extra wax as breeding ground. That activity can weaken the hive and lead to structural collapse.
Removing burr comb is a necessary, protective step. Left in place, excess wax can cement frames together and block inspections. When frames bind, beekeepers lose control of brood placement and hive flow.
Acting during routine checks preserves the bee space and limits pathogen buildup. Clearing bridges of wax protects honey stores and reduces stagnant pockets where disease thrives.
If brood appears in unwanted wax, remove it without delay. This prevents loss of young bees and keeps the colony stable.
For guidance on replacing old foundation and recycling wax after removal, see a practical comb care post.

“Clearing excess wax keeps hives manageable, protects brood, and defends honey from pests.”
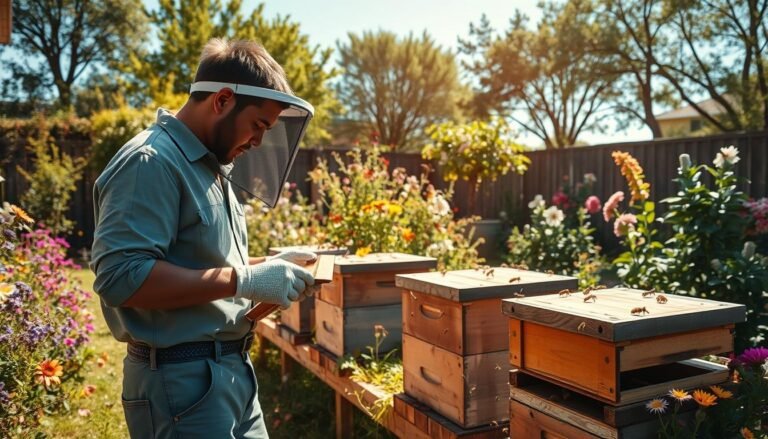
Essential Tools for Hive Inspections
A tidy work area and ready tools make inspections quicker and less stressful for both you and the colony.
Preparing Your Smoker and Workspace
Pack the smoker fully. Use fuel that burns steady so smoke remains consistent for the whole session. A steady stream helps keep bees calm while you lift frames.
Set a folding table near the entrance. That gives a clean spot for tools and frames. Lay out a wet rag and a dry rag. The wet rag handles sticky wax. The dry rag keeps wood and hands clean.
- Pack enough fuel to last the inspection time.
- Use the table to stage frames and the box parts.
- Keep rags, hive tool, and gloves within reach.
Organized tools give you the space to work without rushing. This helps maintain correct bee space and reduces stress on the colony. Using proper equipment aids beekeepers in finding and removing unwanted combs early.
| Tool | Purpose | Best Practice |
|---|---|---|
| Smoker | Calm bees during checks | Pack with steady-burning fuel; stoke as needed |
| Folding table | Organize frames and tools | Place at comfortable height near hive entrance |
| Wet & dry rags | Clean wax and dry hands | Keep one damp, one dry; replace when soiled |
“Preparation saves time and protects brood during careful inspections.”
Learn practical hive tool techniques at hive tool techniques.
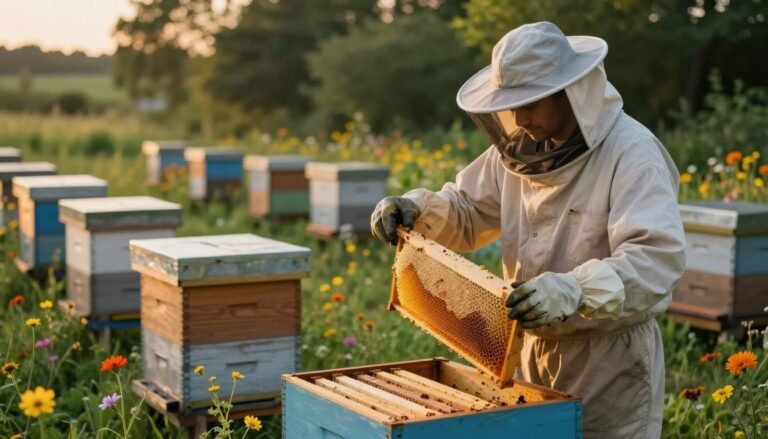
How to Handle Burr Comb from Diseased Hives
Work methodically from one side and cut at each joint where wax links two pieces. Use a sharp hive tool or thin knife and free the comb at the junction with the frame. Move slowly to avoid tearing and to protect any brood or worker bees tucked in the structure.
Cutting and Scraping Techniques
Start at an end and slice where the wax meets wood. Keep the blade flat and pry gently; let the tool do the work. If comb spans frames, cut at the joints rather than pulling—this saves frames and reduces stress on the colony.
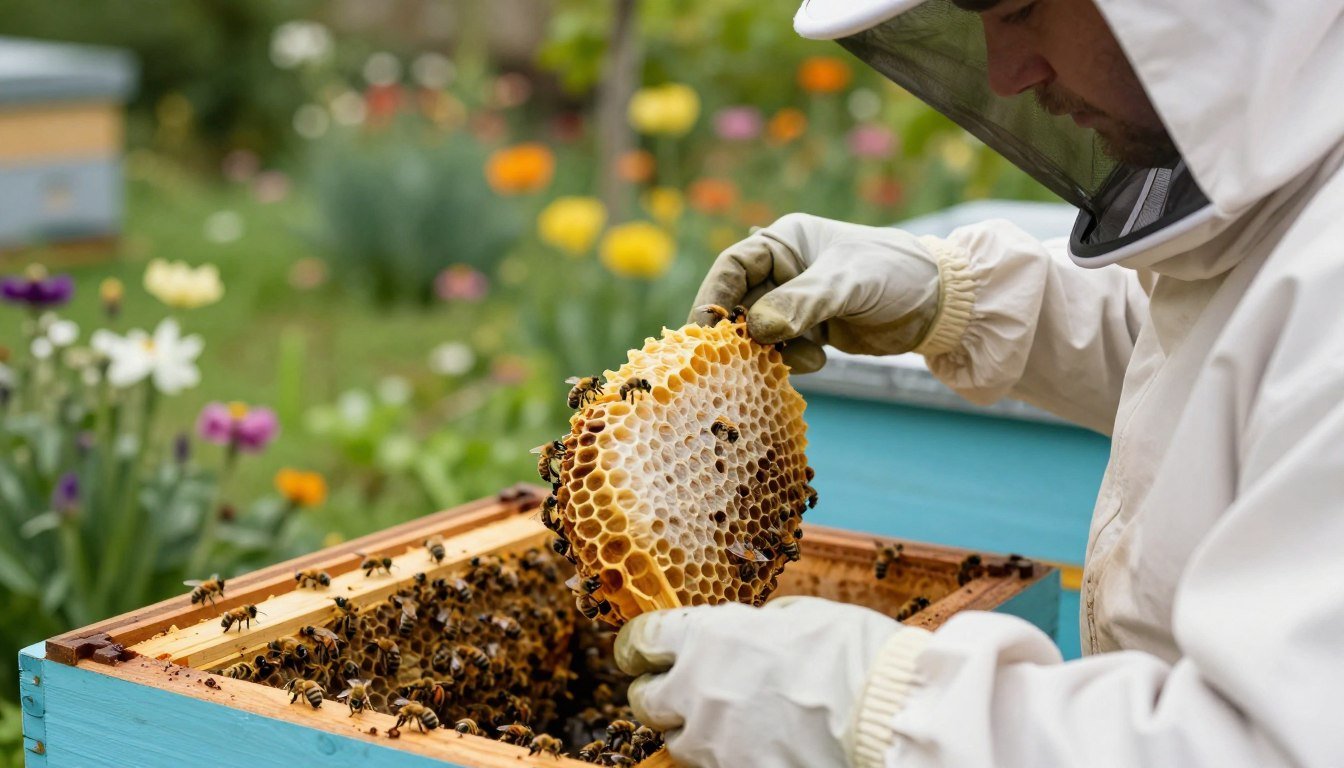
Handling Contaminated Wax
Inspect removed wax for brood or signs of disease. If eggs or brood appear, be extra gentle and replace frames as needed to keep the queen safe. Small clean batches of wax can be processed using the crush and strain method to recover honey and clear the box.

Proper Disposal Methods
Never leave debris near the apiary; scents attract pests and predators. Burn or securely bag contaminated wax, or heat-process it off-site. This prevents raccoons, skunks, and bears from homing in on your yard.
“Clear the top of frames to restore bee space and reduce repeat building on unwanted areas.”
- Cut at joints where wax meets frames; scrape with care.
- Process small amounts with crush and strain to salvage honey.
- Dispose of waste away from apiary to avoid attracting pests.
| Step | Action | Reason |
|---|---|---|
| Start at joint | Cut where comb meets frame | Prevents tearing and frame damage |
| Check for brood | Handle gently; avoid queen injury | Protects colony stability |
| Process wax | Crush and strain small comb | Recover honey and keep box clean |
| Dispose safely | Bag or burn away from site | Stops pests and predators |
For more on recycling old foundation and comb care, see comb care and recycling. For cross comb techniques in alternate systems, consult this cross-comb guide.
Managing Risks to the Queen and Brood
Protecting the queen and brood during an inspection means moving slowly and watching every cell.
Work gently when separating comb bridges. Pause at each junction and check for the queen before cutting. A sudden tug can injure her or crush young brood.
Examine removed comb for signs of varroa mites. These parasites favor drone cells; look for reddish spots on larvae that suggest mite damage. If you spot suspect larvae, treat promptly to protect the colony.
Keep clear space on frames so the queen lays in proper cells, not in stray comb inside the box. Worker bees will often fill gaps, and crowded conditions raise the risk that brood ends up in awkward places.
When you must remove excess wax, move with steady hands and a calm smoker. Check brood cells one at a time. This reduces accidental harm and keeps the hive stable through the season.
“A slow inspection preserves brood health and protects the queen from accidental injury.”
For clear procedures on inspecting, see inspecting hives, and for treatment options, review varroa control methods.
Conclusion
Conclusion
Consistent inspections and tidy frames save time and prevent much of the extra comb that slows a hive.
Maintaining proper bee space is the most effective way to prevent unwanted burr comb and keep your colony healthy. Regular checks let you remove stray wax before it binds frames or hides brood and queen cells.
Always look for signs of varroa mites in the brood and act quickly if mites appear. These checks protect brood health and keep honey stores secure.
Follow these professional guidelines and your apiary will stay productive. New beekeepers may find calm advice helpful; see practical tips for beginners at keeping backyard bees, and consult proven fixes for cross comb at cross-comb repair.
Thank you for reading — may your inspections be steady and your boxes clear today.
FAQ
What causes excess wax and cross construction in a hive?
Bees build extra wax when bee space is reduced, frames shift, or foundation is missing. Crowding between boxes, warped frames and gaps around inner covers encourage cross comb and burr growth. Seasonal nectar flows and strong colonies also increase wax production.
What is bee space and why does it matter?
Bee space is the 3/8 inch gap bees naturally leave for movement. Maintaining that gap between frames, boxes and covers prevents builders from filling voids with irregular comb. Proper frame alignment and using full-depth equipment help preserve that space.
Where does unwanted comb most often appear?
Extra comb shows up along box edges, between frames, under inner covers and on top bars. It also forms where supers meet brood boxes or along crownboards. Inspections reveal problem spots so you can block or realign them.
Why remove irregular comb in colonies with disease concerns?
Irregular comb can trap pests, brood and pathogens. Removing contaminated wax limits spread of mites, American foulbrood or other infections, and helps you inspect brood and queen health. Clean comb improves hive hygiene and management.
What basic tools should I bring for a safe inspection?
Bring a hive tool, smoker, bee brush, protective gear and a sharp scraper or spatula. Carry a bucket or sealed container and labels for removed wax. Good lighting and a flat work surface reduce handling time and stress to the colony.
How should I prepare my smoker and workspace?
Light smoker with clean fuel so it produces cool, steady smoke. Position your work area upwind and close to the hive. Clear debris and have containers ready for removed comb so you can work efficiently and minimize hive disruption.
What’s the safest way to cut and scrape irregular comb?
Use a sharp hive tool or knife and cut comb back to the nearest frame or foundation. Work slowly, support loose comb with your other hand, and avoid crushing bees. Remove small pieces first, then address larger bridges between frames or boxes.
How should contaminated wax be handled during inspections?
Place suspect wax into sealed containers for disposal or heat treatment. Avoid mixing contaminated comb with clean stores. Mark and isolate material suspected of carrying pathogens or heavy mite loads for proper eradication.
What are recommended disposal methods for infected comb?
Burn heavily contaminated comb where local regulations allow, or render wax with heat to sterilize before reuse. Some beekeepers store comb in sealed bags for incineration or deliver it to approved biohazard facilities.
How do I protect the queen and brood when removing comb?
Check for the queen before cutting. Work around brood areas and avoid isolating large brood patches. If you must remove comb near brood, move sections gently into frames with foundation or a nuc box so brood remains protected.
Can wax with varroa or other pests be reused?
Reusing wax tied to varroa or disease risks re-infesting colonies. Sterilize by rendering at high temperatures or avoid reuse. New foundation or certified sanitized wax is safer for rebuilding comb in sensitive hives.
When is it better to consult an expert instead of removing comb myself?
If you suspect American foulbrood, chronic disease, heavy mite outbreaks, or a missing queen, contact your state apiary inspector or an experienced beekeeper. Professionals can diagnose, advise legal disposal and suggest treatment plans.
How can beekeepers prevent recurring comb problems?
Maintain correct frame spacing, use properly sized equipment, replace old or warped frames and install foundation where needed. Regular inspections, prompt repairs and good record keeping reduce repeat construction and improve colony health.
What records should I keep after removing contaminated comb?
Note date, hive ID, reasons for removal, visible symptoms and disposal method. Track follow-up treatments and queen status. Clear records help with regulatory reporting and future management decisions.