HONESTBEE supplies pro-grade beekeeping equipment to help hobbyists and commercial apiaries succeed in honey production. This short guide shows how quality materials and correct adhesives extend the life of your bee hive and tools.
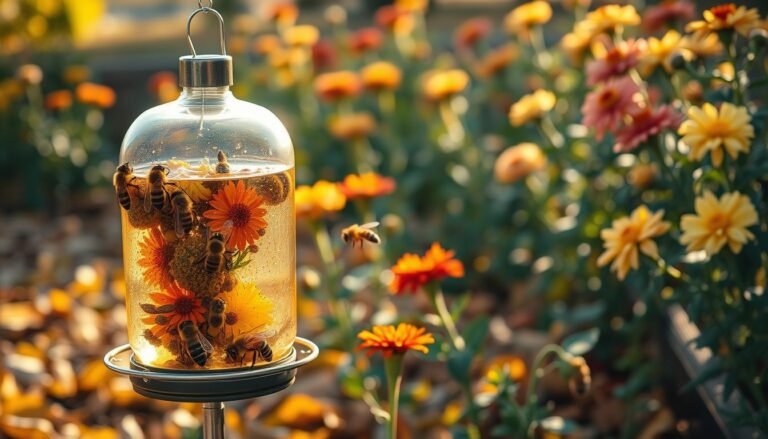
Using food grade components and stainless steel beekeeping parts keeps contact surfaces safe for the colony and the honey. A well-built frame and secure hive body protect the queen bee and queen excluder during storms and heat.
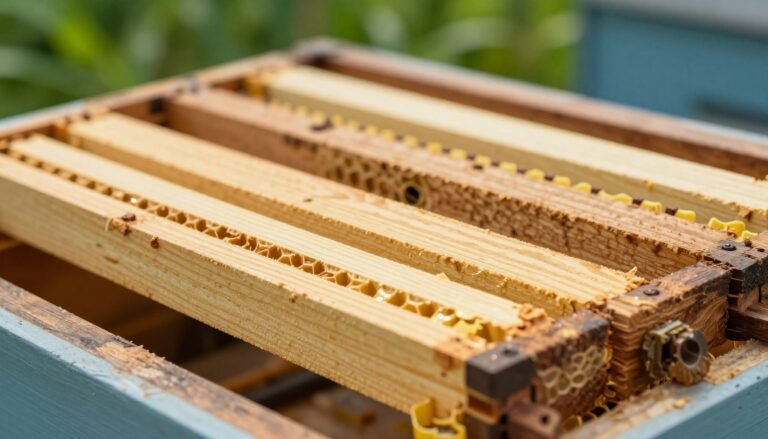
Many kept bees years ago with nails alone. Today, modern practice pairs durable joints with reliable equipment like a honey extractor, uncapping fork, and a beehive stand to improve honey harvesting and colony care.
Choose materials that work long term. Strong bonds and quality stainless steel honey tools reduce repairs and make maintenance easier.
Key Takeaways
- Professional-grade beekeeping equipment improves honey production and hive stability.
- Use food grade adhesives and stainless steel parts to protect bees and honey.
- Secure frames and hive bodies shield the queen bee and queen excluder.
- Modern tools such as a honey extractor and uncapping fork streamline harvesting.
- Upgrading old methods used years ago reduces long-term repairs and downtime.
Why Glue is Essential for Hive Longevity
A bonded corner resists the pull of seasonal expansion better than a stack of nails. When wood swells and shrinks, a chemical bond keeps parts unified so the structure holds its shape over time.
Structural Benefits of Chemical Bonding
Wood glue creates a true joint by joining surfaces at a molecular level. That change turns two boards into one structural element and helps the bee colony stay secure for many years.
“According to research, properly glued corners can remain solid for more than 10 years.”
Preventing Environmental Gaps
Unlike nails that rely on friction, adhesive seals stop drafts and moisture from entering. A sealed hive protects honey stores, reduces pest entry, and lowers the need for frequent repairs.
Tip: Prioritize quality wood glue when you assemble frames and boxes to protect expensive equipment like a beehive stand or your stainless steel hive tool. You can click expand your knowledge with insulation and maintenance tips.
Selecting the Best Glue for Assembling Hive Boxes
The adhesive you pick impacts joint strength, weather resistance, and long-term upkeep.

David Cushman and other authorities stress matching adhesive type to your materials and goals. PVA wood glue forms a thin film and bonds well on flat seams, but it does not fill gaps. That matters when boards are uneven or soft.
RAB notes that gorilla glue can expand as it cures. That helps fill small voids, though it costs more and needs careful clamping. Choose based on the joint and the expected wood movement.
Practical tip: inspect frame edges, test a sample joint, and consider how the assembled box will work with your honey extractor, queen excluder, and other beekeeping equipment.
“Evaluate your beekeeping goals before you commit to a permanent bond.”
To learn step-by-step assembly guidance, see how to assemble a hive body and click expand options for top bar or standard constructions.
Understanding Wood Movement and Joint Integrity
Seasonal moisture and heat make softwoods expand and contract, which tests every joint. Softwoods like hoop and radiata pine are common in beekeeping because they balance weight, cost, and durability.
Wood reacts to humidity. It swells, then dries and contracts. If you rely only on nails, the seams will loosen over the years and let drafts or pests into the hive.
Managing Softwood Expansion
Use a chemical bond to lock parts together. Applying reliable wood glue fills small voids and keeps the joint unified when boards move.
- Hoop and radiata pine change size with moisture; plan joints accordingly.
- Beekeepers years ago often used only nails; that approach lets gaps form over time.
- High-quality options like gorilla glue can fill pores and reduce movement.
- Even with stainless steel fasteners, a proper bond improves long-term integrity.
“A properly glued box prevents pests and protects honey and the colony.”
Observe equipment across seasons and learn about preparing new wooden equipment. You can also click expand gear for U.S to see how material choice affects joint life.
Professional Techniques for Applying Adhesive
How you ready surfaces and control curing time determines the strength of every joint. Follow simple steps to make sure each frame and box lasts through seasons and years.

Surface Preparation
Clean all mating faces. Remove dust, old residue, and oils so the wood glue soaks into fibers. Light sanding helps uneven pieces seat evenly.
Tip: Wipe surfaces with a dry cloth and test fit before you apply any adhesive. This reduces alignment errors and speeds work on multiple hive bodies.
Clamping Requirements
Apply an even bead with a small brush to cover the joint. Use clamps to press mating pieces for the full cure time.
Clamping ensures the glue penetrates and the joint forms properly. Even with stainless steel fasteners, clamps hold parts while the bond develops.
Curing Times
Follow the adhesive label. Products like Selleys Aquadhere Exterior cure to a heat-resistant bond up to 230°F and need steady time to reach full strength.
Plan work in stages: allow curing before you move on to frame assembly or use of the beehive stand. If you need quick handling, test a sample joint first — gorilla glue can expand and fill gaps but needs controlled clamping.
| Step | Action | Typical Time |
|---|---|---|
| Prep | Clean, sand, dry | 10–30 minutes |
| Apply | Brush bead on mating faces | 5–15 minutes |
| Clamp | Hold until initial set | 30 minutes–2 hours |
| Cure | Full strength before load | 12–24 hours |
Mastering these techniques protects your tools and the colony. For installation tips and setups, see beehive installation guidance.
Compatibility with Wax Dipping and Finishing
Wax dipping exposes wood to very high temperatures that can challenge common adhesive choices. Temperatures near 300–320°F may soften some bonds and reduce long-term joint strength.
Check heat resistance on the adhesive label before you dip any frames or box parts. If you use stainless steel beekeeping parts or a honey extractor, verify the bond will survive the process.
Paint while warm to help finishes soak into wood pores. Many beekeepers use a brush immediately after dipping to improve penetration. Cedar may be left exposed if you cannot finish right away.
“Verify the heat tolerance of adhesives before wax dipping to protect your equipment and the colony.”
- High-temp dipping can weaken bonds; choose adhesives with adequate thermal ratings.
- Apply paint with a brush while the wood is hot to improve uptake.
- Use food grade finishes on boxes and frames to keep honey safe.
| Process | Risk | Mitigation |
|---|---|---|
| Wax dipping (300–320°F) | Adhesive softening, joint loss | Use heat-rated adhesive; test sample joints |
| Post-dip painting | Poor penetration if cold | Brush while wood is warm |
| Stainless steel components | Bond failure at edges | Confirm compatibility with equipment like a honey extractor |
For hands-on reports and community experience with hot-wax dipping, see an observation account at wax-dipped hive forum post. To compare equipment options before finishing, consult choosing beekeeping equipment.
Trade-offs Between Permanent Assembly and Repairability
Deciding to bond a wooden hive permanently changes how you repair and manage equipment down the road.

Permanent bonds give long-term strength to frames and joints. They resist weather and keep honey stores safer. A glued box can protect the queen bee and queen excluder for many years.
But there is a cost. You cannot easily remove a single board when a part fails. That reduces field repair options and can raise service time and expense.
“Many who used nails years ago now choose permanent joins for stability, even if it limits disassembly.”
- Permanent assembly increases structural life but limits disassembly.
- Some beekeepers avoid adhesives on double stands to keep access easier.
- Using stainless steel fasteners with a permanent bond still improves durability.
| Consideration | Permanent Bond | Removable Assembly |
|---|---|---|
| Durability | High — years of service | Moderate — needs periodic repairs |
| Repairability | Low — hard to replace single boards | High — parts swap quickly |
| Field maintenance | Requires more time/tools | Faster fixes with simple tools |
| Protection of colony | Better seal against drafts and pests | Variable, depends on fastening quality |
Weigh your priorities: long-term protection of honey and the bee queen, or ease of servicing a beehive stand and hive tool. You can click expand to review why many choose permanent bonding and how it fits different beekeeping goals.
Conclusion: Investing in Your Apiary Infrastructure
A resilient apiary starts with sound joints and durable materials that stand up to seasons.
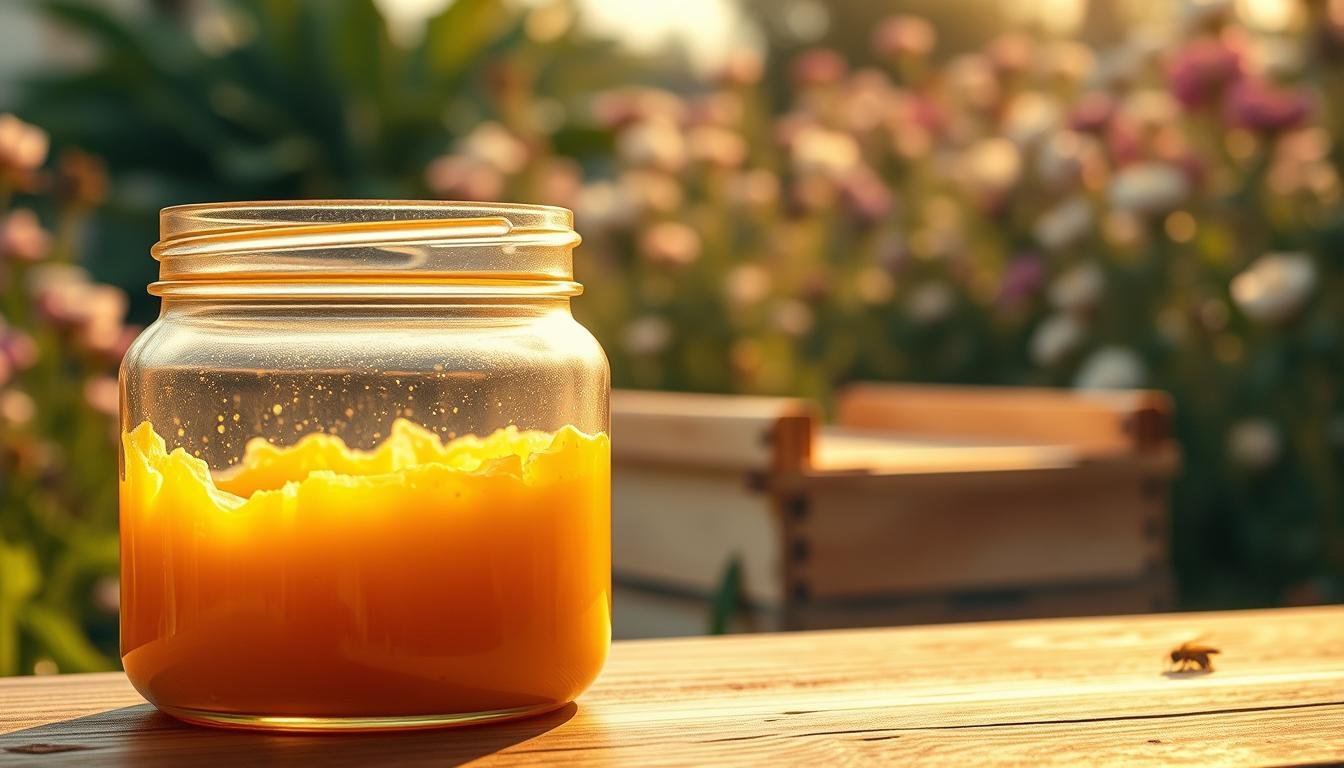
Investing in the right glue today protects your frames, stainless steel tools, and overall honey production for years. A solid build reduces repairs, improves honey harvesting, and keeps every bee safer during peak activity.
Choose food grade adhesives and match materials to the task. That preserves stainless steel beekeeping parts like a honey extractor and uncapping fork, and it lowers downtime in a busy season.
Explore our range of beekeeping equipment to align tools, smoker beekeeping gear, and construction choices with your long‑term goals.
FAQ
What types of adhesives are safe to use when assembling hive boxes?
Use food‑safe, water‑resistant wood adhesives labeled for indirect food contact. PVA (polyvinyl acetate) wood glue and aliphatic resin glues are common choices because they bond well to pine and other softwoods, resist moisture, and do not off‑gas harmful chemicals that could affect honey or bees. Avoid construction adhesives that contain solvents or non‑rated additives.
Can I rely on glue alone, or should I use fasteners as well?
Combine adhesive with mechanical fasteners for long‑term strength. Glue creates a continuous bond across joints, reducing gaps and wood movement, while nails or stainless steel screws provide immediate clamp pressure and shear resistance. Use stainless steel or galvanized fasteners to prevent corrosion near honey and wax.
How does adhesive help prevent gaps and pest entry in hive bodies?
A proper bead of adhesive seals mating surfaces and fills small voids, limiting draft and entry points for wax moths, small hive beetles, and other pests. Sealed joints also keep moisture out, which reduces rot and extends the service life of frames and boxes.
What surface prep steps ensure a strong bond on hive components?
Clean surfaces of dust, resin, and old finish. Lightly sand end grain and mating faces to promote adhesion, then remove sanding dust with a brush or tack cloth. Apply glue to both mating surfaces for best coverage, and spread evenly with a small brush or roller if needed.
How long should I clamp hive box joints and what clamp pressure is appropriate?
Clamp until the adhesive reaches handling strength—usually 30–60 minutes for PVA and up to several hours for some resins. Full cure can take 24 hours. Use moderate pressure to close joints without squeezing out all adhesive; even pressure across the joint ensures a consistent bond.
How does seasonal wood movement affect joint integrity, and how can I manage it?
Softwoods expand and contract with humidity. Use water‑resistant adhesives that retain flexibility, design joints with a small amount of tolerance, and avoid overly rigid lap joints that resist movement. Proper sealing and exterior paint or wax dipping reduce moisture swings and slow movement.
Are there trade‑offs between permanently glued assemblies and repairability?
Permanent bonds increase durability but make later disassembly harder. If you expect to replace parts or reuse hardware, consider partial mechanical assembly with spot glue or use screws that can be removed. For commercial hives intended to last years with minimal maintenance, full adhesive bonding offers superior longevity.
Is adhesive compatible with wax dipping and other finishing methods?
Yes, most food‑safe wood glues accept surface finishes once cured. Allow full cure before wax dipping or painting. Wax dipping helps seal wood and complements glued joints by reducing moisture uptake, but ensure any finish is compatible with beeswax and labeled safe for beekeeping equipment.
What curing times should I expect for common wood adhesives used on hives?
PVA glues typically reach handling strength in under an hour and full cure in 24 hours. Aliphatic resin glues may set faster with similar full cure times. Epoxy systems cure fully in 24–48 hours depending on formulation and temperature. Follow manufacturer guidelines and avoid exposing fresh joints to moisture during cure.
Can I use exterior construction adhesives like polyurethane or construction-grade products on hives?
Avoid construction adhesives that emit solvents or are not rated for food contact. Polyurethane adhesives bond well and are water‑resistant, but you must confirm they are safe for indirect food contact and fully cured before putting hives into production. When in doubt, choose wood glues explicitly recommended for beekeeping or food‑adjacent use.
Do I need special tools when applying adhesive to frames, box joints, or top bars?
Basic tools suffice: a small brush for spreading, clamps for pressure, a damp rag for cleanup, and a sharp chisel or plane for fitting. For repeatable production, a glue dispenser or notched spreader speeds application. Keep a hive tool and stainless steel fasteners on hand for adjustments and reinforcement.
How do adhesives affect honey harvesting and honey equipment like extractors?
Properly cured, food‑safe adhesives do not affect honey flavor or safety. Ensure boxes and frames are fully cured before adding bees. When assembling supers or extracting, maintain clean surfaces and use stainless steel equipment—extractors, uncapping forks, and strainers—to avoid contamination and corrosion.
Are there recommended brands commonly used by beekeepers?
Many experienced beekeepers use well‑known wood glue brands like Titebond (aliphatic resin) and Gorilla PVA for general assembly, as they offer good moisture resistance and strong bonds. For specialty needs, select a food‑safe epoxy or polyurethane after confirming cure and safety data. Always check label specifications related to water resistance and food safety.