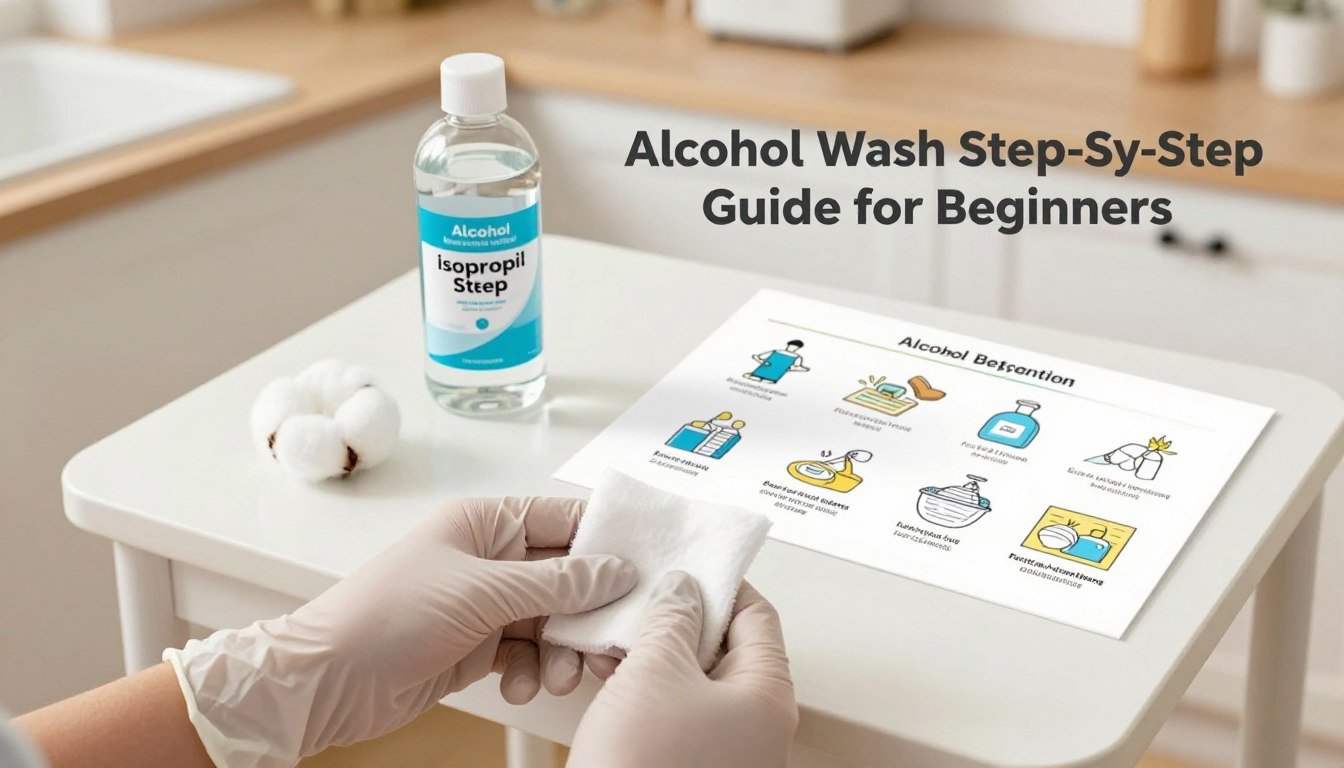
Starting a craft distillation project requires care and clear technique. A clean wash is the base of quality spirits and must be cleared before using internal heating elements. This prevents sediment from scorching and harming flavor.
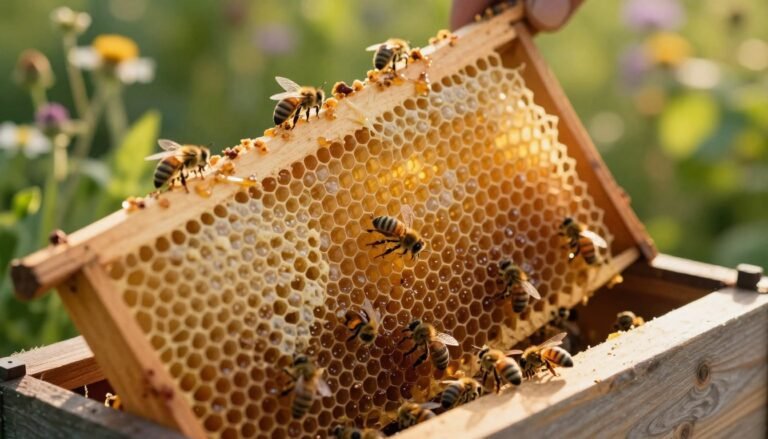
Sanitation matters. Make sure your fermentation container is spotless to avoid contamination. Use measured sugar and water, monitor yeast activity, and track temperature to protect final alcohol content.
Take your time learning the process. If the first run does not meet your goal, you can redistill the product to refine the spirit and adjust flavor.
Key Takeaways
- Clear the wash before heating to avoid scorching with internal elements.
- Sanitize the fermentation container to prevent contamination.
- Control temperature and time to protect alcohol content and flavor.
- Measure ingredients precisely—sugar, water, and yeast matter.
- You can always redistill the product to improve the spirit.
Understanding the Alcohol Wash Process
Knowing what yeast does and how temperature affects activity is essential to success.
Yeast is a living organism that converts sugar into alcohol. Choosing the right strain affects final alcohol content and flavor. Dextrose is a common source when you want a neutral spirit, while fruit or grain add character.
Fermentation is a natural process that usually takes 4–6 weeks from initial mixing. Use a hydrometer to track specific gravity and confirm that sugar is converting at the expected rate.
Sanitation and environment matter. Use a primary fermenter with enough volume to handle bubbling. Store the fermenter in a cool, dark place to keep temperature steady and let yeast perform well.
“Consistent temperature and careful monitoring are the best tools to protect your product and achieve the target ABV.”
- Select yeast type to match desired flavor and alcohol yield.
- Measure sugar and water precisely and test with a hydrometer.
- Sanitize equipment and maintain stable temperature during each stage.
Essential Equipment and Ingredients for Beginners
Good equipment and pure ingredients set the foundation for successful fermentation.
Selecting the right yeast
Selecting the Right Yeast
Choose a strain that matches your target spirit and tolerance. Lightning Turbo Yeast can push a sugar wash to about 23% ABV, while Distillery Series yeasts often top out near 15%.
Read the yeast instructions on the packet. Each type needs different water volume and sugar content. Use a thermometer to keep the water close to 35° C (95° F) when activating yeast.

Preparing Your Fermentables
Use dextrose when you want a neutral spirit like vodka. Pick a sugar source that suits rum or gin if flavor matters.
- Ensure water is chlorine-free; chlorine harms yeast activity.
- Use a hydrometer to measure gravity and estimate potential alcohol content.
- Follow packet directions and monitor temperature during fermentation.
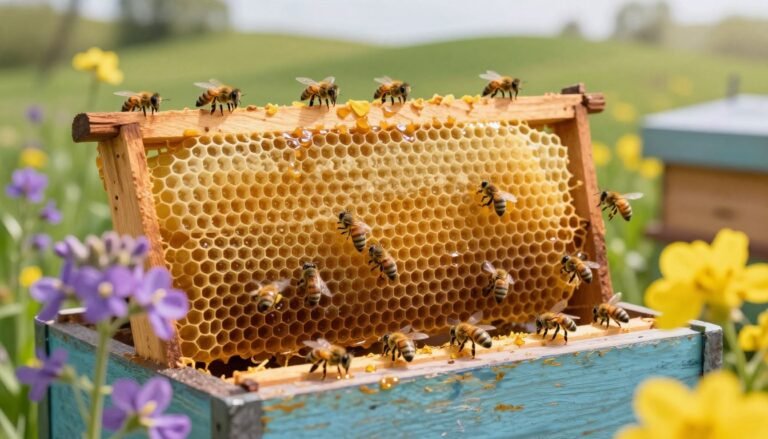
Small choices in gear, sugar, and yeast produce big differences in yield and flavor. Check environmental notes such as humidity effects on honey curing when storing fermenters to protect quality.
Mastering the Alcohol Wash Step by Step for Beginners
Only move to the still when the liquid is free of heavy sediment and equipment is sealed. This protects heating elements and keeps off-flavors out of the final spirit.
Transferring the Wash
Use a siphon to move the fermented sugar wash into the kettle. Leave sediment in the fermenter to avoid scorching and tainting the product.
Removing Foreshots
Discard the foreshots immediately. Collect at least 4 ounces (125 ml) or stop when the thermometer reads 175°–176° F (79.5°–80° C).
Collecting Hearts and Tails
Begin collecting hearts when temperature reaches 195°–196° F (90.5°–91° C). Continue until about 202° F (94.5° C). After that, switch to tails until roughly 207°–208° F.
- Monitor temperature with a reliable thermometer throughout the run.
- Keep a separate container for hearts—the cleanest portion you will keep.
- Ensure the distiller stays sealed to prevent vapors from entering the air.
| Run Portion | Temperature Range | Action |
|---|---|---|
| Foreshots | Up to 175°–176° F (79.5°–80° C) | Discard first ~4 oz (125 ml) |
| Hearts | 195°–202° F (90.5°–94.5° C) | Collect in a clean container; retain |
| Tails | 202°–208° F (94.5°–98° C) | Collect separately to recover remaining alcohol |
Follow these clear instructions and monitor content with a hydrometer or thermometer to manage alcohol content and quality. For deeper guidance on preparing a high-strength base, see this high alcohol wash guide.
Managing Temperature and Safety During Distillation
A reliable thermometer and continuous condenser water are the cornerstones of a safe distillation. The boiling point of ethanol is 173° F (78° C), so vapors can remain dangerous even after heat is cut.
Keep coolant running until you are sure no vapor is produced. Residual heat in the kettle can still force alcohol into the air if the condenser is idle.
Filter any visible sediment from the wash before transfer. Sediment can burn, ruin flavor, and increase fire risk around internal heating elements.
Maintain steady temperature control to avoid pulling unwanted compounds. Good airflow while cooling prevents vacuum formation that could stress the equipment.
- Use a thermometer to track internal temps continuously.
- Keep cooling water flowing until vapors cease.
- Check seals and vents to avoid pressure shifts in the kettle.
| Risk | Sign | Action |
|---|---|---|
| Residual vapor | Warm distillate or hissing | Continue condenser water; monitor thermometer |
| Burned sediment | Charred smell in spirit | Filter wash; discard solids before heating |
| Pressure issues | Bulging or popping seals | Allow airflow and cool slowly; inspect gear |

Refining Your Spirit Through Blending and Aging
Blending and gentle aging reshape a raw distillate into a refined bottle with depth and balance.
Proofing down is often done after aging. Many producers bring the spirit to just over 60% ABV (about 120 proof) when using oak casks or chips. This concentration extracts flavor compounds efficiently and helps wood chemistry develop.
Techniques for Proofing Down
To proof down, add clean, cool water slowly while stirring and measure frequently. This releases aromas and softens high-proof harshness so the spirit drinks smoother.
- Blend collected hearts to tune sweetness, texture, and character—use small trials until the profile matches your goal.
- Age in a cool, dark place; oak alternatives like chips or staves work well in smaller containers.
- Keep a sanitized storage container to preserve quality and avoid contamination.
- Save leftover heads and tails to add into a future sugar wash or distillate blend to avoid waste.
“Careful tasting and gradual dilution are the final crafts that turn a raw distillate into a balanced spirit.”
When refining is complete, taste and decide if you need more dilution or another brief rest in oak. For a practical primer on distillation techniques, consult this distillation guide, and review packaging and labeling notes at packaging resources.
Conclusion
D small actions repeated over time lead to consistent, high-quality results. Mastering a sugar wash requires patience, clear technique, and steady attention to sanitation and temperature.
Sanitation, temperature control, and yeast choice form the pillars of a safe and successful fermentation. Manage sugar and water carefully, make clean cuts during collection, and refine the product through blending or aging to improve the spirit.
If you want a concise primer on fermentation fundamentals, consult this fermentation guide. Keep practicing, respect safety, and your home efforts can produce spirits that rival commercial options.