Excess moisture inside a hive can kill more bees than cold air. Wet bees lose insulation, chill, and burn honey faster. This short guide explains the physics behind condensation and offers simple fixes you can apply this year.
Bees produce heat and water vapor as they metabolize honey. Warm, humid air rises and can hit cold top surfaces, then condense and drip onto the cluster.
Controlled ventilation and moisture-absorbing layers break that cycle. Techniques include a small upper vent, a quilt or absorbent board, slight forward tilt, and proper equipment fit. Over-sealing traps humidity; unchecked drafts chill the cluster.
Regional weather matters: damp coastal areas often pair vents with quilts, while cold, dry zones favor heavier top insulation and minimal venting. For practical examples and field observations, see this expert note on moisture and hive health.
Key Takeaways
- Moist air rises: condensation forms on cold tops and can drip onto the cluster.
- Use small top vents and a moisture quilt to absorb vapor without losing heat.
- Tilt hives slightly forward to direct water away from bees and the entrance.
- Tailor methods by climate—wet regions need vents plus absorbents; dry regions need insulation.
- Monitor early and adjust ventilation or insulation on mild days to protect the colony.
Why Moisture Kills More Colonies Than Cold
“Winter clusters hold heat at their core while releasing water vapor into the hive air.”
Warm, active clusters keep the core near 64–97°F depending on brood status. That heat creates humid air that rises toward the top of the hive.
Warm clusters, wet bees: the deadly combo
The moment that rising air meets a cold inner cover or lid, condensation forms. Water collects, then runs or drips back toward the cluster.
Wet bodies lose insulation quickly. Damp bees shiver more, burn extra honey, and raise both temperature and humidity—starting a harmful feedback loop.
Condensation 101: warm moist air, cold surfaces, and drip-back
In practical terms: warm air rises, hits a cold top, condenses, and spreads along the top or walls before dripping. That is why managing the top surface matters more than sealing every gap.
Ventilation versus drafts: releasing moisture without chilling the cluster
Controlled vertical venting gives humid air a small, high exit so vapor leaves without a chilling current through the cluster or along walls. In contrast, lower horizontal drafts from gaps or an oversized entrance pull cold air through living space and stress the colony.
“Let air escape at the top, reduce cold surfaces there, and keep walls and entrance sealed against side drafts.”
- Core heat plus metabolism makes humidity; small temperature differences at the top become water.
- Wet bees lose insulation and consume more stores, worsening the problem.
- When brood returns, heat and humidity rise—top management becomes critical.
For detailed venting options and designs, consult this practical ventilation guide.
Core Principles: Ventilation, Insulation, and Controlled Airflow
Directing humid air upward and away is the core principle of a dry, healthy hive. A small top exit encourages vertical flow and prevents cold lateral drafts across the cluster.
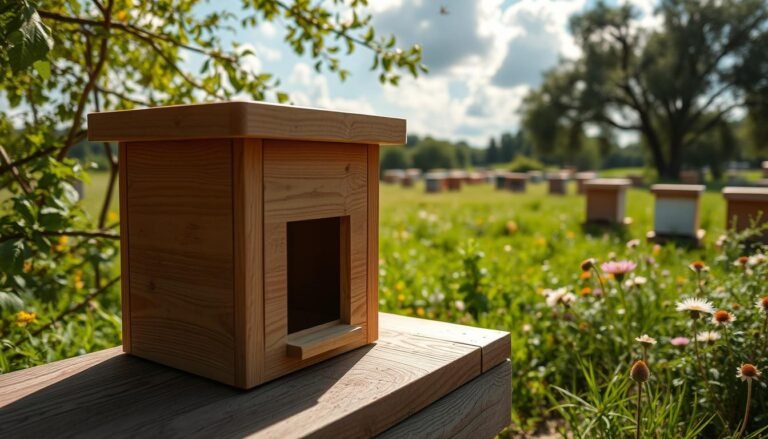
Upper venting: fit an inner cover notch or a 3/4–1″ hole on the same side as the main entrance. Place the opening high so warm air exits without pulling cold air along the sides.

Quilt and top insulation
Use a shallow quilt box above a screen filled with absorbent material like wood shavings or burlap. This layer captures vapor and raises the top surface temperature.
Quilt boxes reduce the cold surface area and provide a controlled path for air to leave under the outer cover.
Bottom and tilt choices
Screened bottom boards can stay open in milder climates to aid exchange, or be fitted with an insert in windy, cold areas to block drafts.
Tilt the hive slightly forward so any condensation drains toward the entrance, not onto brood or the cluster.
“Small, well-placed openings plus absorbent top fill keep air moving vertically and surfaces warmer.”
| Component | Recommendation | Reason |
|---|---|---|
| Top exit | Inner cover notch or 3/4–1″ hole (same side as entrance) | Encourages vertical air escape without side drafts |
| Quilt box | Shallow box with screen + wood shavings or burlap | Absorbs vapor and insulates top surface |
| Bottom board | Screen open (mild) / insert closed (cold windy) | Control lower drafts while allowing needed exchange |
| Hive tilt & cover | Slight forward tilt; snug but not airtight outer cover | Directs condensate toward entrance; avoids cold top surface |
Seal unintended gaps at the sides and entrance so air rises through the top exit instead of cutting across the brood area. For detailed designs and venting options, see this practical hive ventilation guide.
How to Prevent Hive Moisture in Winter
A fall tune-up gives colonies a controlled path for warm, humid air before cold sets in.
Start early: before the first frost, square and align each box, close unintended cracks along the sides and walls, and set a small, high exit using an inner cover notch or a drilled hole. This encourages upward flow without sideways drafts.
Build a quilt box as a shallow box with a screen bottom filled with clean wood shavings or similar absorbent material. The quilt box sits above the inner cover, captures vapor, and raises the top hive surface temperature.
Practical setup and materials
- Fit a moisture or ventilation board above the inner cover with small holes or channels to let vapor escape under the outer cover.
- Keep the outer cover snug but not airtight—leave a protected micro-gap for air movement without direct weather intrusion.
- Add a slight forward tilt so any condensation flows toward the entrance, not over brood or the cluster.
- Decide bottom settings by climate: insert a board for cold, windy sites or leave partial opening in milder areas.
| Item | Specification | Benefit |
|---|---|---|
| Quilt box | Shallow box, screened base, wood shavings fill | Absorbs vapor and warms the top hive interface |
| Top exit | Inner cover notch or 3/4″ hole | Promotes vertical ventilation without side drafts |
| Outer cover | Snug with micro-gap | Allows controlled air release; blocks rain and wind |
| Bottom board | Insert in windy/cold; open in mild climates | Controls lateral drafts while permitting exchange |
As a final check, feel for a gentle upward draft at the top vent and confirm absorbent material stays dry on inspection days. For additional design notes, see controlling moisture in hives.
Adapting to Climate: Match Your Method to Your Region
Site exposure and humidity levels determine which winter setup works best. Read local weather and make small, measured changes rather than big, risky ones.

High-humidity winters (Pacific Northwest)
Combine upper ventilation, a quilt or moisture board, and a screened bottom. Check quilt fill mid-season and replace damp media so vapor does not saturate the top board.
Cold, dry regions
Use lighter ventilation and thicker top insulation. A smaller winter box helps the cluster keep temperature near brood and reduces wasted stores.
Wind exposure and tight fits
Close screened bottoms with an insert, add entrance reducers, wraps, and windbreaks. Ensure box and cover fit well so side drafts do not cross the cluster.
“Match board, cover, and bottom settings to local wind and humidity for steady results.”
| Region | Primary action | Secondary action |
|---|---|---|
| High humidity | Upper vents + quilt | Screened bottom; replace damp fill |
| Cold dry | Thicker top insulation | Smaller winter box; minimal vents |
| Windy sites | Entrance reducer; wraps | Bottom insert; tight box fit |
For a focused note on cluster insulation, read the winter cluster insulation discussion.
Mistakes, Monitoring, and Midwinter Adjustments
Small mistakes now can push a colony from steady to stressed before brood rearing starts. Watch for common setup errors that trap warm, wet air and create a long-term problem.
Common pitfalls
Over-sealing boxes without a reliable top path often causes condensation on the inner cover and wet comb.
Impermeable tops, misaligned boxes, or large gaps that force lateral air movement put the cluster at risk.
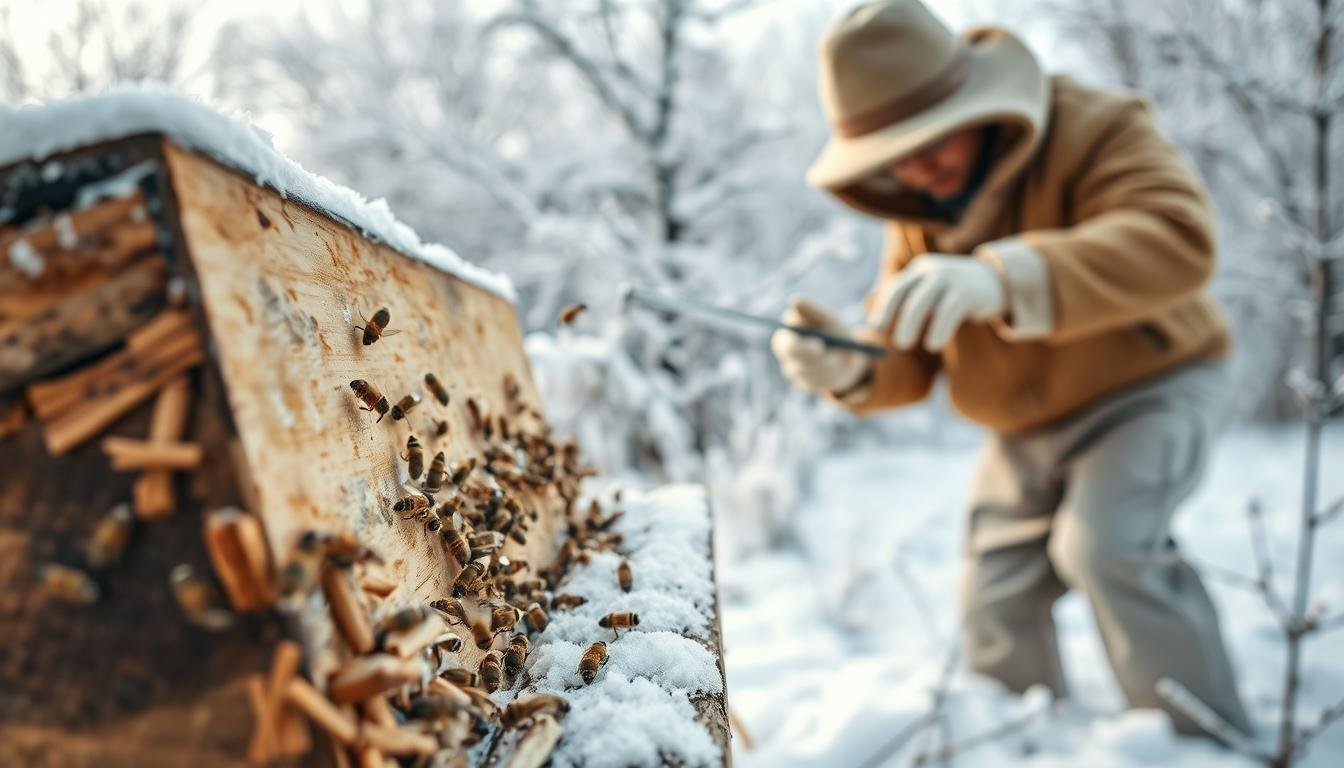
Quick diagnostics and signs
Inspect on a mild day. Look for mold on comb, a wet inner cover, or a damp quilt — these are early red flags.
Track honey use. A sudden rise in consumption usually means bees are burning stores to fight chill and trapped moisture.
“Open small upper vents, refresh saturated quilt fill, and avoid any adjustment that creates drafts over the brood.”
- Align top exits with the main entrance and keep entrance reducers in place.
- Use a screen insert at the bottom during cold snaps to limit under-hive airflow.
- During late winter and early spring, recheck vents as brood and temperature rise; adjust carefully.
- Include mite checks and stores assessment in midwinter rounds to avoid stacking stresses.
Conclusion
Start from the top: a small, controlled upper exit or warm insulation limits condensation and keeps the cluster dry. This simple choice saves honey and preserves heat while letting humid air escape safely.
Use a quilt or quilt box with absorbent material, set a slight forward tilt, and match bottom and entrance settings to local weather. Fit boxes tightly so air flows upward, not across brood or comb.
Check the top area on a mild day and refresh damp media. For seasonal tasks and timing, see seasonal beekeeping tasks. Combined moisture control, adequate stores, and low mites give colonies the best chance to thrive in spring.
FAQ
Why does humidity kill more colonies than cold?
Wet bees lose insulation value and chill faster than cold, dry bees. Condensation forms on cold surfaces, drips back onto the cluster, and soaks comb and wood. That extra moisture raises stress, increases energy use for heating, and can lead to mold and disease.
How does condensation form inside a hive?
Warm air from the cluster holds moisture. When that moist air hits a colder surface — usually the inner cover or outer walls — water condenses. Over time those droplets coalesce and drip back down, wetting bees and stores.
What’s the difference between ventilation and drafts?
Ventilation lets humid air escape without creating cold streams through the cluster. Drafts force cold air across the brood area and waste heat. Aim for controlled airflow: upper vents or a small top entrance, not large side gaps.
Should I add upper ventilation or just leave the inner cover notched?
Provide a modest upper exit for moist air, such as a small notch or an upper entrance. That gives warm, wet air a path upward without exposing the cluster to cold breezes. Combine with absorbent material above the inner cover for best results.
Do quilt boxes and wood shavings really help?
Yes. A shallow quilt box filled with dry wood shavings or other absorbent material traps condensation before it reaches the cluster. Change the media if it becomes saturated to maintain effectiveness.
What about screened bottom boards in winter?
Screened bottoms improve ventilation but can also increase chill if used improperly. Use a winter insert or partial screen to reduce direct airflow while still allowing moisture to escape through the top when coupled with an upper vent.
How should I set up the hive in the fall for winter moisture control?
Check fit and seal against side drafts, add a quilt or moisture board, set a small upper entrance, and ensure frames are well-placed to prevent air gaps. Leave access for bees to move upward toward heat and stores.
What materials and depths work for a quilt box?
A 3–6 inch deep quilt box filled with dry wood shavings, straw, or hemp works well. Avoid materials that hold too much moisture; the media should absorb some condensation but remain airy so heat can pass upward.
How should I manage hive tilt and cover strategy?
Tilt the hive slightly forward (just a few degrees) so any internal condensation drains away from the brood. Use an inner cover or telescoping outer cover and protect the top from wind to keep top surfaces from getting too cold.
How do I adapt methods for high-humidity regions like the Pacific Northwest?
Combine an upper vent with a deeper quilt and more frequent media changes. Consider slightly larger top ventilation and use materials that dry quickly. Monitor often for dampness and swap out wet shavings.
What should I do in cold-dry climates?
Reduce ventilation compared with humid areas, increase top insulation, and use smaller winter boxes so bees can maintain cluster warmth with less energy. Keep a modest upper exit for moisture to avoid trapping air.
How can I protect hives exposed to strong wind?
Use entrance reducers, windbreaks, hive wraps, and snug box fit to prevent horizontal drafts. Position hives with a wind buffer such as a fence or hedge to reduce wind chill on the top and sides.
What are common mistakes that increase winter dampness?
Over-sealing the hive so moisture has no escape, using impermeable tops that cause heavy condensation, and leaving large side gaps that create chilling drafts are frequent errors. Each disrupts proper airflow and increases wetness.
How do I diagnose moisture problems midwinter?
Look for mold, a wet or icy inner cover, a saturated quilt, or unusually high honey consumption. If frames or the top box feel damp, act: add dry absorbent media, adjust ventilation, or replace soaked materials.
When should I change quilt media or moisture boards?
Check media in late fall and again midwinter if accessible. Replace it when it becomes damp or compressed. In wet regions, plan on at least one change during winter to keep the material effective.
Can honey and stored food affect moisture control?
Yes. Good stores let bees maintain cluster heat and reduce internal humidity spikes. If bees must consume a lot of honey to stay warm, they produce more water vapor; ensure adequate food to reduce movement and stress.
Are certain woods like cedar better for hives regarding moisture?
Cedar sheds moisture and resists rot, but all woods can condense water on cold surfaces. Focus on hive design, ventilation, and absorbent quilts rather than relying solely on a wood type to solve moisture issues.
Will small additional holes or upper entrances attract pests or increase mite risks?
Small, well-placed upper exits rarely increase mite problems. They do invite more airflow, which is beneficial. Always use screened or controlled openings to prevent mice and minimize pest entry during cold months.