
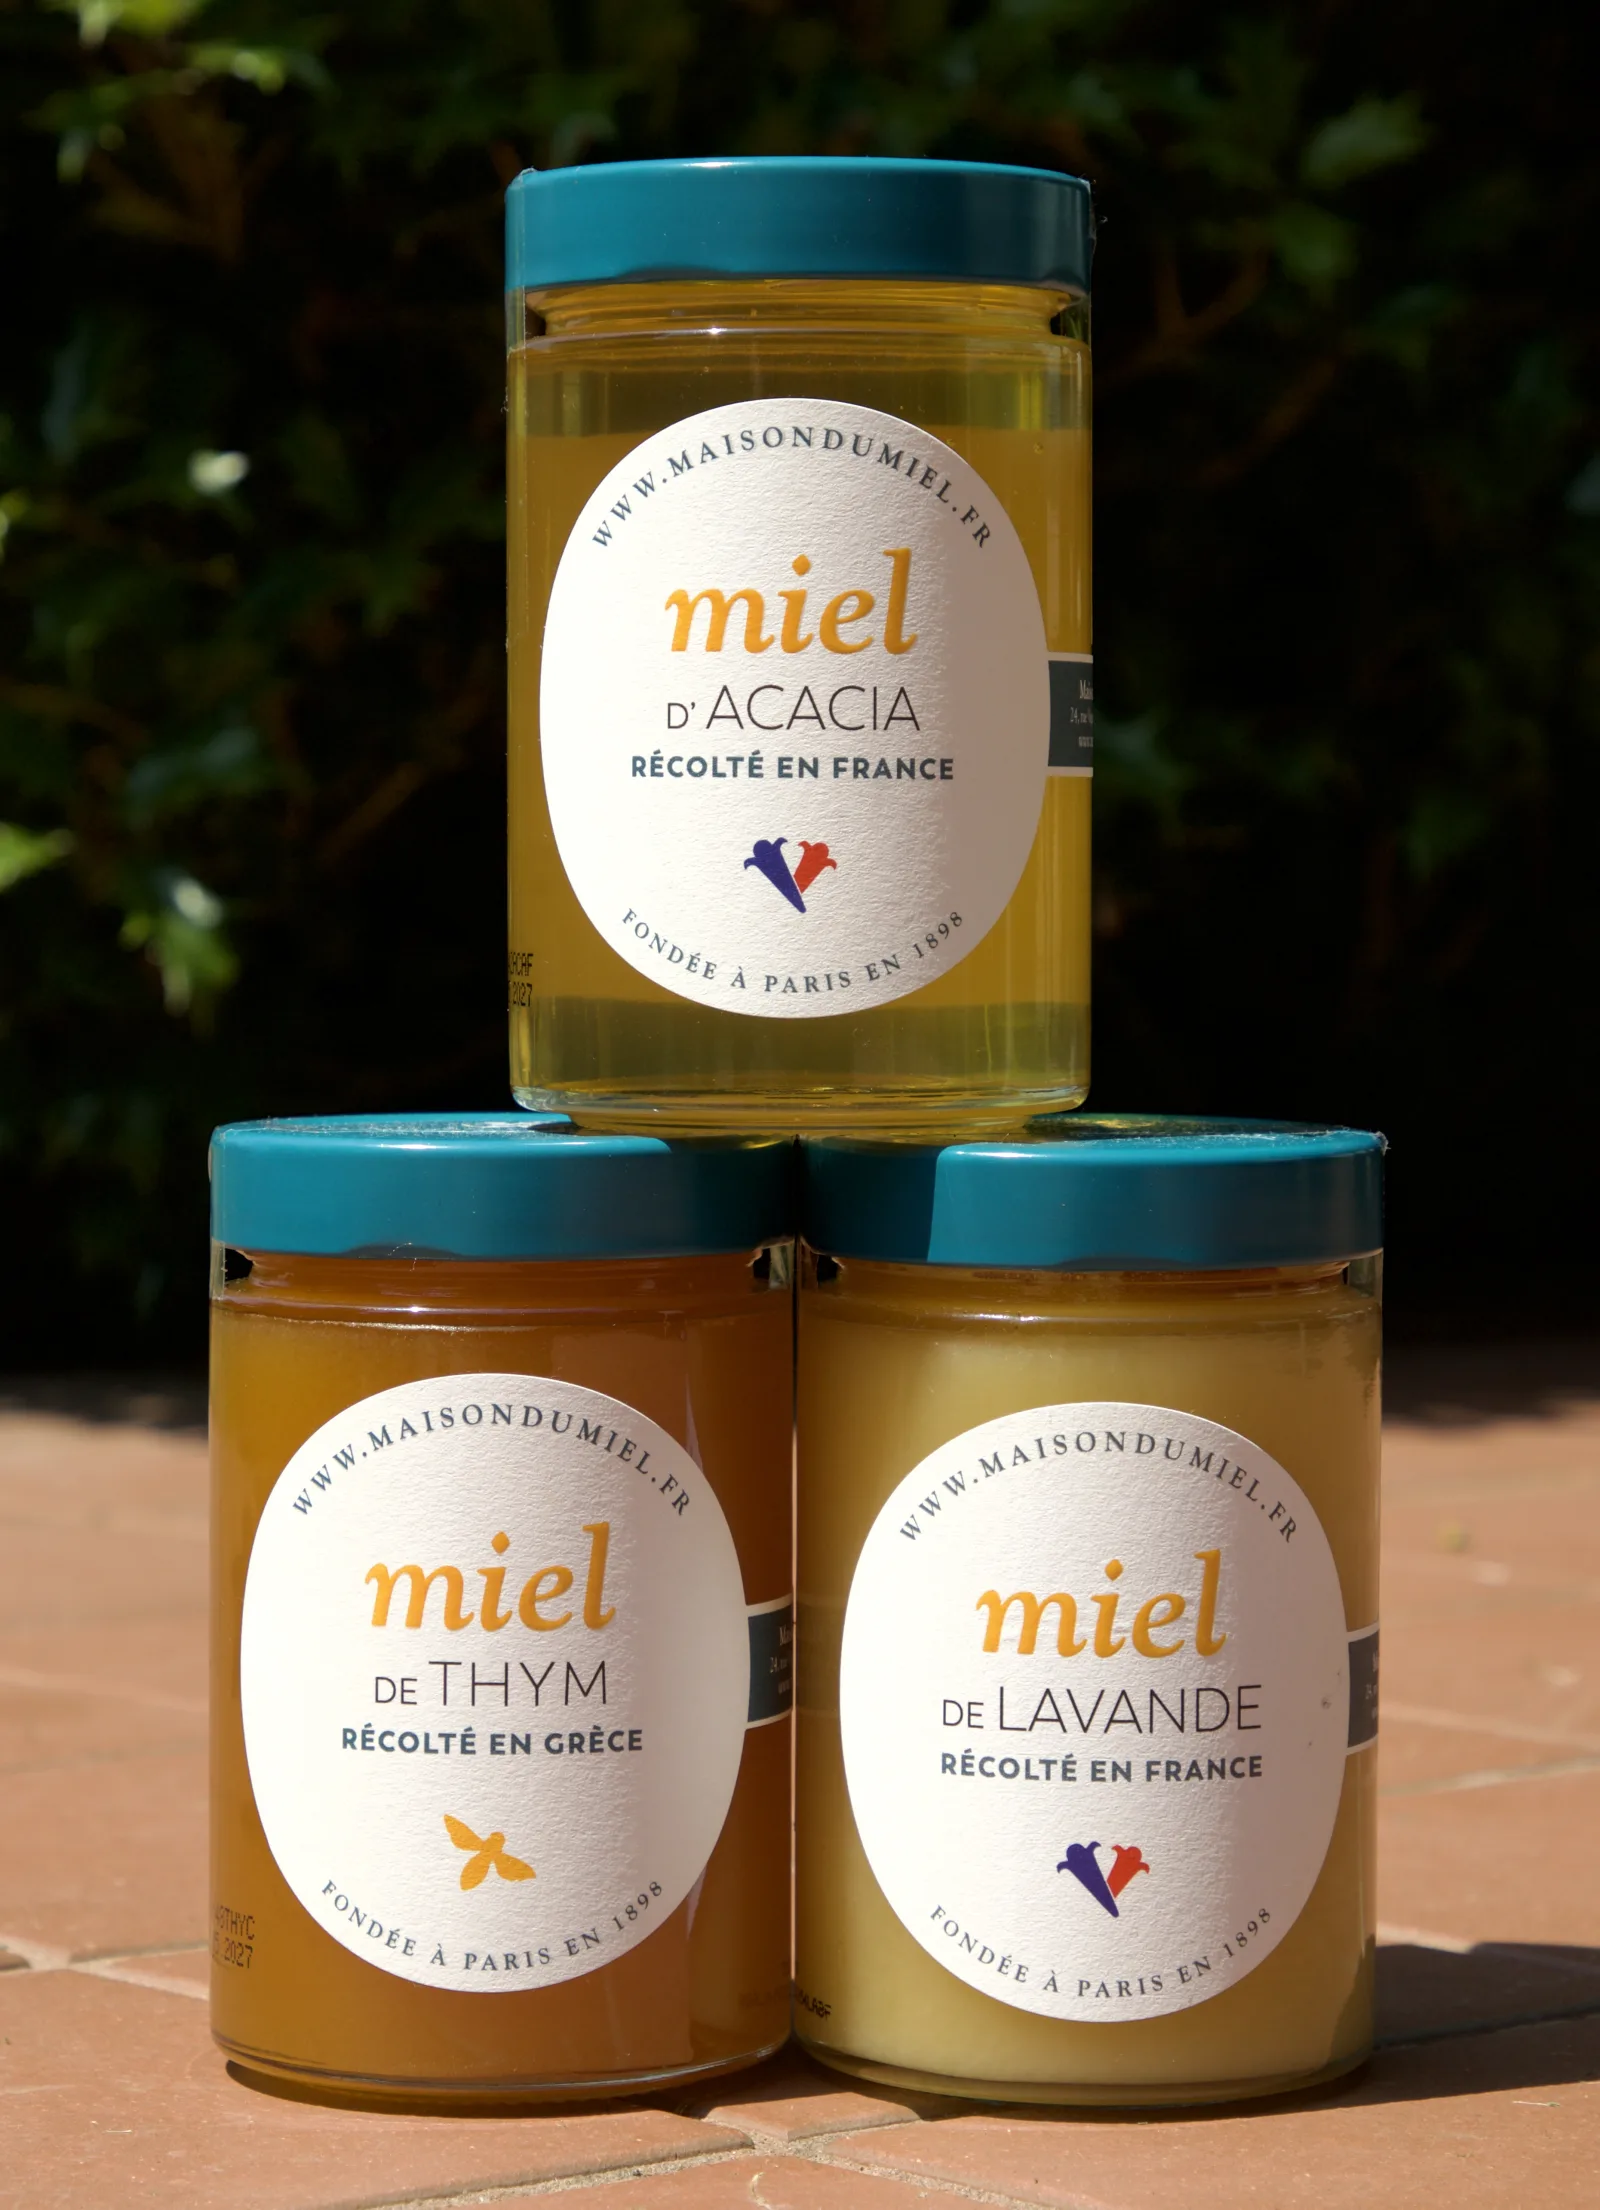
A honey tasting flight works the same way a wine or whiskey flight does: three to six single-origin honeys, tasted side by side from lightest to darkest, so the differences in color, aroma, and finish that are easy to miss tasting one jar at a time become obvious. You can build one entirely from honey you already own, buy a curated sampler set built for exactly this purpose, or combine both — this guide covers how to run the tasting itself and which real sampler products are actually worth buying if you don’t want to source five single-origin jars yourself.
Most “how to pair honey” content on this site and elsewhere focuses on pairing honey with food. This is different: it’s about tasting honey on its own terms, the way a sommelier tastes wine, and it’s a genuinely fun, low-cost thing to host that most people have never tried despite having strong (if untested) opinions about “clover honey” versus “wildflower honey.”
Key Takeaways
- Taste light-to-dark: mild varietals like acacia or clover first, bold ones like buckwheat or chestnut last, so a strong honey doesn’t numb your palate for a delicate one.
- Room-temperature honey on a plain cracker or spoon shows true flavor better than honey on strongly flavored bread or stirred into tea.
- A palate cleanser (plain water, unsalted crackers) between each honey matters as much as the honey selection itself.
- Real single-source sampler sets exist from small producers (Ames Farm’s Single Source line, for example) specifically built around this tasting format, if you’d rather buy a curated set than source varietals yourself.
- Take notes as you go — flavor memory fades fast, and a simple sheet is the difference between “I liked the third one” and actually remembering which varietal it was next time you shop.
How to Actually Run a Tasting
Set out 3–6 honeys in small individual dishes or spoons, each clearly labeled with its floral source (not brand name — the source is what actually varies the flavor). Arrange them in order from lightest color to darkest; color roughly (not perfectly) correlates with flavor intensity, and tasting this way avoids a strong dark honey overpowering your ability to taste subtler notes in a lighter one that follows it.
For each honey: look at the color and clarity first, smell it before tasting (aroma carries a surprising amount of what you perceive as “flavor”), then taste a small amount plain — off a spoon or a plain unsalted cracker, not toast or anything else with a competing flavor. Notice the initial taste, how it changes as it sits on your tongue, and the finish after swallowing — floral, fruity, earthy, or minerally notes often only show up in the finish, not the first taste. Cleanse your palate with plain water and an unsalted cracker between each sample.
A Realistic Starter Flight (5 Honeys, Light to Dark)
- Acacia or clover — very light color, mild and clean, a good baseline “this is what most people think honey tastes like” reference point.
- Orange blossom — light amber, distinctly citrus-floral aroma that’s often more noticeable in the smell than the taste.
- Wildflower — medium amber, more complex and variable since it reflects whatever was blooming near the hive that season — a genuinely different product from month to month or region to region.
- Tupelo or basswood — medium-dark, often described as having a slightly minty or woody edge depending on the specific source.
- Buckwheat — very dark, strong, almost malty or molasses-like — the honey equivalent of a peaty whiskey, and a genuinely polarizing “love it or hate it” varietal to end on.
If you keep your own bees or buy from a single local producer, you likely only have one or two varietals on hand at a time — see our guide on finding and vetting real local honey for sourcing more than one from local producers, or consider a sampler set (below) built specifically to solve this problem in one purchase.
Buying a Ready-Made Sampler Instead
If sourcing five genuinely different single-origin honeys yourself sounds like more work than you want, several small producers sell tasting-format sampler sets built for exactly this use case rather than as a single retail size. Minnesota’s Ames Farm sells single-source honey variety packs specifically framed around tasting different floral sources side by side — a reasonable model for what to look for regardless of which producer you buy from: honeys labeled by specific floral source and harvest, not a generic “assorted” grab bag. Other small producers sell similar flight-style boxes that pair several regional varietals with a tasting spoon or guide card, which is a genuinely useful add for a first tasting since it removes the guesswork of what to compare against what.
Whichever you buy, check that each jar is actually labeled with a specific floral source rather than just “raw honey” repeated five times with different lot numbers — a sampler’s entire value is the labeled variety, and some lower-effort gift sets skip this. For background on evaluating varietal claims specifically, our guide on raw vs. Manuka vs. local honey covers how to sanity-check whether a labeled source is plausible for your region and season.
Taking Notes That Are Actually Useful Later
A simple sheet with columns for color, aroma, initial taste, finish, and a 1–5 preference rating is enough — the goal isn’t a professional cupping sheet, it’s having something concrete to look back on the next time you’re standing in front of a honey display trying to remember whether you liked the darker or lighter one better. If you want a more structured format for tracking varietals over time (useful if you’re doing this regularly, not just once), our honey tasting notes template was originally built for producers logging their own harvests, but the same column structure works fine for a home tasting flight.
Pairing After the Fact
Once you’ve identified favorites from a blind or semi-blind flight, that’s the right time to explore food pairings — trying to pair honey with food during the tasting itself muddies which flavor notes are coming from the honey versus the pairing. Our dedicated guide on pairing honey with cheese and wine picks up exactly where a tasting flight leaves off.
Frequently Asked Questions
How much honey do I actually need per person for a tasting?
About half a teaspoon per honey per person is plenty — the point is comparing flavors in small amounts, not eating a full serving of each. A standard 8 oz jar of each varietal comfortably serves a tasting for 10–15 people.
Does temperature affect how honey tastes?
Yes — honey served straight from the refrigerator tastes noticeably muted compared to room temperature, since cold suppresses volatile aroma compounds. Set honey out at least 30 minutes before a tasting.
Is crystallized honey bad for a tasting?
No — crystallization is a natural process, not spoilage, and some tasters actually prefer the texture and slightly different flavor perception of a softly crystallized honey. Gently warming a crystallized jar in warm (not hot) water restores a liquid texture if you prefer that for the tasting.
What’s the difference between a tasting flight and just buying an assorted honey gift box?
A gift box is built to be a pleasant present; a tasting flight is built around structured comparison — labeled floral sources, a light-to-dark tasting order, and note-taking. Many gift boxes work fine as tasting flights if the jars are individually labeled by source, but not all are — check before assuming.
A honey tasting flight costs less than a bottle of decent wine and takes about twenty minutes to set up, yet most people who claim to love honey have never actually tasted more than one or two varietals side by side — it’s one of the easiest ways to turn a pantry staple into a genuinely interesting tasting experience.


