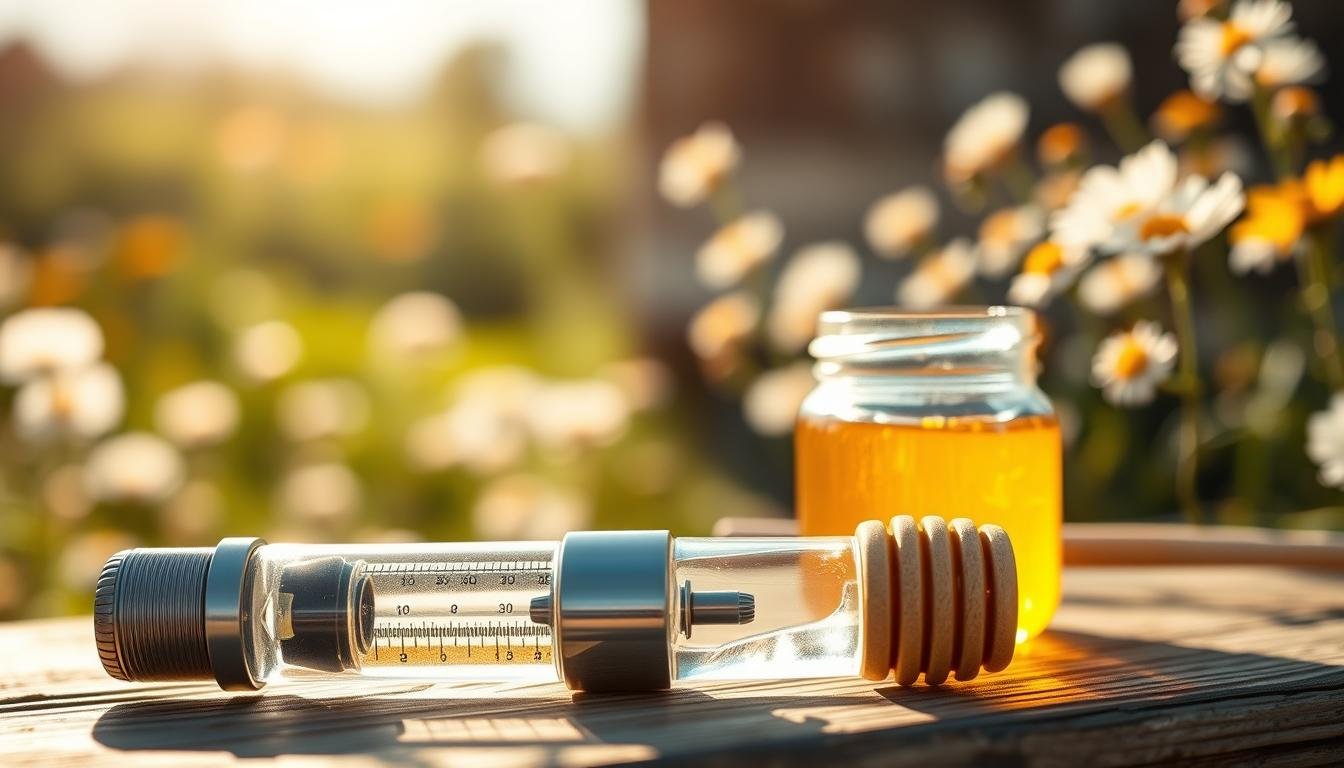
Accurate moisture content matters when you harvest and store your crop. A compact steel refractometer like the model from Blythewood Bee Company offers rugged construction at an affordable price—$39.95—and weighs just 0.55 lbs.
Portable and precise, this tool measures moisture levels quickly in the field. Its 8.0625 x 3 x 2.125 inch size fits easily in a kit or pocket. Fast shipping makes it simple to get started today.
Use the device to track moisture and protect your product from fermentation or poor set. For guidance on selecting a unit with the right scale and range, see this practical guide on picking the right instrument: get the right refractometer. To learn sampling and calibration tips, review this step-by-step moisture testing resource: how to test hive moisture content.
Key Takeaways
- Measure moisture to avoid fermentation and ensure shelf stability.
- Lightweight, durable tools help you check frames during harvest.
- Choose instruments with the proper scale for high-sugar readings.
- Calibrate and sample correctly to get reliable results.
- Fast shipping gets the device into your hands quickly so you can act today.
Why Moisture Control is Essential for Your Hive
Monitoring moisture lets you know when frames are truly ready for extraction. Aim for an ideal moisture content of 17–18%. Keep it under 20% to avoid fermentation and loss.
Preventing Fermentation
Harvesting too early leaves high moisture that feeds yeast. That creates off-flavors and can spoil a whole batch.
Use a simple test to measure moisture content before you extract frames. Reliable checks during harvesting season cut the risk of fermentation.
Ensuring Customer Satisfaction
Consistent moisture control yields a shelf-stable, well-cured product your customers expect. Poor control leads to returns and lost trust.
“Maintaining correct moisture is the difference between premium jars and spoiled stock.”
- Why it matters: Levels above 20% cause rapid fermentation and product loss.
- Practice: Measure moisture level honey during harvest to confirm frames are cured.
- Outcome: Stable jars, fewer complaints, repeat customers.
| Moisture Range | Risk | Recommended Action |
|---|---|---|
| ≤ 17% | Ideal — long shelf life | Extract and bottle |
| 17–18% | Optimal cure | Proceed with confidence |
| 18–20% | Borderline — monitor closely | Allow extra curing time |
| > 20% | High risk — fermentation | Delay harvest; dry frames more |
Learn practical testing tips and sampling methods at this guide on why testing matters and read about humidity effects during cure at how humidity affects curing.
Selecting the Best Honey Refractometer for Beekeepers
Choose a field-ready instrument that combines rugged steel construction with reliable moisture readings.
Durable construction matters. A sturdy steel body resists knocks and the damp conditions around hives. That longevity makes the device a trusted tool season after season.

Precision counts when you measure moisture content. Look for a unit that reads from 12% to 27% so you can spot borderline frames before harvesting.
- Portable design: feather-light and easy to carry to the hive.
- Clear instructions: Blythewood Bee Company bundles comprehensive guidance to speed accurate testing.
- Customer confidence: consistent readings help ensure jars meet quality standards.
For tips on protecting texture during extraction, consult the guide to avoid overheating during extraction. Fast shipping and reliable construction let you act today with confidence.
Mastering the Use of Your Refractometer
Readings are fast and clear when you prepare samples the right way. This short guide shows how to get reliable moisture checks and use results to time extraction in the harvesting season.
Preparing the Sample
Extract a small honey sample from capped cells. Place a drop on the prism and close the cover plate.
Keep the prism clean. Dirt or bubbles will scatter light and skew results.
Reading the Scale
Hold the tool to bright light and read the boundary line on the scale. The device uses light refraction to show sugar and water ratios.
Interpreting Results
Know your target: use the reading to decide if frames need more cure or are ready for harvest.
- Follow the Blythewood comprehensive instructions to avoid mistakes.
- Practice applying samples to prevent air bubbles and misreads.
- Consistent checks help you maintain the ideal moisture level across jars.
For step-by-step sampling tips, see this refractometer guide and this practical method to test without instruments at how to test honey moisture.
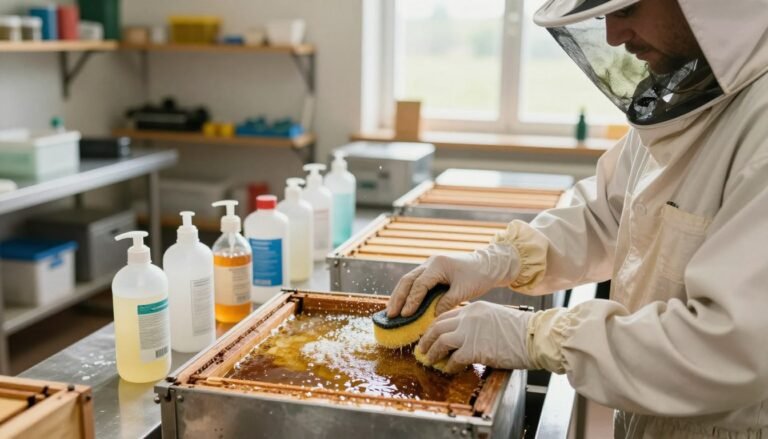
Maintaining Accuracy and Calibration
Keep readings accurate by verifying the instrument with a certified calibration fluid before each use.
The role of calibration fluid is simple but crucial. A fluid made for refractometers sets a known reference so you can confirm the scale reads correctly. Do this whenever you suspect drift or after temperature changes.

Clean the prism after every sample. Wipe away residue with a soft cloth and approved cleaner. Residue scatters light and will bias your moisture content readings.
- Use a formulated calibration fluid to verify precision of your honey refractometer.
- Clean the prism thoroughly after each use to prevent buildup and inaccurate readings.
- Calibrate regularly during harvesting season to keep measurements reliable.
- Care for the optics even with rugged steel construction; internal parts need attention.
For a quick reference on field-ready units and maintenance tips, see this gear guide.
Conclusion
Accurate readings let you plan harvests with less guesswork and fewer spoiled batches.
Investing in a quality honey refractometer secures consistent moisture content across jars and helps prevent fermentation. Calibrate regularly and follow simple sampling steps to keep results reliable.
Tools from Blythewood Bee Company deliver durable construction and clear instructions that support professional beekeeping during harvesting. Order your kit today to benefit from fast shipping and be ready when frames reach the right cure.
For more on why this device is essential and how to use it, see the honey refractometer guide.
FAQ
What moisture level should I target before harvesting?
Aim for a moisture content below 18% to reduce the risk of fermentation during storage and shipping. Monitor frames across the hive; a reading consistently under 18% indicates the batch is ready to extract and bottle.
How do I prepare a sample for measurement?
Collect a small, representative amount from capped cells or freshly extracted comb. Place a thin drop on the prism surface, close the cover, and wipe clean between tests. Work quickly to avoid temperature shifts that can skew readings.
How do I read the instrument scale correctly?
Set the device on a stable surface, point the ocular toward a light source if using an optical model, and align the boundary line with the scale. For digital units, allow the display to stabilize before recording the moisture value.
How often should I calibrate the tool?
Check calibration before each harvesting season and after heavy use or impact. Also verify after cleaning or if results seem inconsistent. Regular calibration preserves precision and protects product quality.
What calibration fluid should I use and why?
Use a certified calibration fluid with a known refractive index near typical syrup concentrations. This fluid ensures accuracy across the measuring range and helps confirm the device matches published standards.
Can ambient temperature affect measurements?
Yes. Temperature changes alter refractive index readings. Use instruments with automatic temperature compensation or allow samples and the device to reach the same ambient temperature before testing.
How do I avoid measurement errors during the harvesting season?
Use clean, dry prisms; apply samples evenly; avoid air bubbles; and perform multiple readings from different areas of the batch. Record values and average them to reduce sampling error.
What construction and features should I look for in a durable unit?
Choose a model with sturdy housing, scratch-resistant prism glass, reliable seals, and clear scale markings. Long-lasting construction and precise optics improve day-to-day use during extraction and shipping prep.
How should I store the device between uses?
Keep it in a padded case away from direct sunlight, extreme temperatures, and corrosive substances. Clean the prism and cover after each use and store calibration fluid sealed and labeled.
Is there a difference between optical and digital models?
Optical units are rugged and simple, while digital devices offer quick readouts and often include automatic temperature compensation. Choose based on precision needs, budget, and how fast you need to process samples.
How can I ensure compliance with customer quality expectations?
Track moisture data for each extraction batch, label shipments with production details, and maintain calibration logs. Transparent records and consistent testing help build trust with buyers and retailers.
What are common troubleshooting steps if readings seem off?
Clean the prism thoroughly, check for air bubbles or leftover residue, verify sample temperature, and run the calibration fluid test. If problems persist, consult the manufacturer’s support or replace worn parts.
Can I use the instrument in the field during a hot day?
You can, but minimize temperature-induced error by shading the unit, bringing samples to ambient temperature, and using models with temperature compensation for more reliable readings.
How many samples should I test per hive or batch?
Test multiple spots: at minimum three to five samples per hive or extraction lot. More samples give a better picture of overall moisture distribution and reduce the chance of missing high-moisture pockets.
Where can I find detailed instructions and quick-start guides?
Most manufacturers include comprehensive instructions and maintenance tips with the product. Look for online resources, videos, and community forums for hands-on advice during harvesting season.