
A beeswax fire starter is nothing more than a wick material — cotton balls, jute twine, wood shavings, or dryer lint — saturated with melted beeswax, and it works because wax burns slowly and steadily while soaking into fibers that catch a spark or flame easily on their own. It’s one of the simplest things a beekeeper can make from leftover cappings wax or old comb that’s no longer fit for the hive, and unlike the lip balms, candles, and food wraps this site has already covered in detail, a fire starter asks almost nothing of the wax’s purity or appearance — which makes it a genuinely good use for wax most other projects would reject.
Key Takeaways
- Beeswax fire starters work by combining a fibrous wick material with wax that burns slowly, giving a spark or match flame several extra minutes of sustained heat compared to lighting dry tinder alone.
- Cosmetic flaws that would rule wax out for candles or lip balm — off-color, bits of propolis, old comb debris — don’t matter for a fire starter, making this one of the best uses for wax otherwise headed for the scrap or slumgum pile.
- Cotton balls, jute twine, dryer lint, cardboard egg cartons, and wood shavings all work as the fiber base; each burns at a slightly different rate and length, which matters more for camping or backup fire-starting than for a one-time bonfire.
- Wax should be melted using a double-boiler setup, never direct heat on a stovetop burner — the same fire-safety rule that applies to every other beeswax project on this site.
- Finished fire starters store indefinitely at room temperature, don’t degrade the way commercial paraffin-based starters can, and take up minimal space in a camping kit, vehicle emergency kit, or home wood-stove supply.
Table of Contents
- Why This Works
- What You’ll Actually Need
- The Basic Method
- Which Wick Material to Use
- Safety Notes Specific to This Project
- Storage and Use
- Frequently Asked Questions
Why This Works
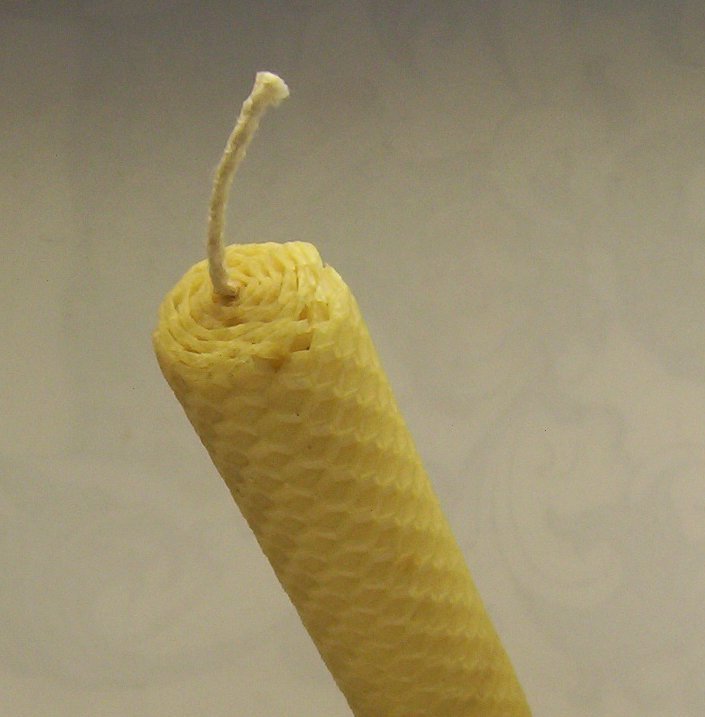
Dry tinder — a cotton ball, a wad of lint, a handful of dry grass — catches a spark easily but burns out in seconds, often before it’s actually built enough heat to ignite kindling around it. Straight beeswax is the opposite problem: it melts and burns steadily once lit, but a solid block of wax is hard to ignite directly with a match or spark in the first place. Soaking a fibrous material in melted wax combines the two properties usefully — the fibers still catch a flame or spark easily, but the wax coating them then burns for several minutes rather than seconds, giving a fire-starter enough sustained heat to actually get damp or marginal kindling going. It’s the same basic principle behind a candle wick, just packaged for outdoor use instead of a candle holder.
What You’ll Actually Need
- Beeswax — rendered cappings wax, old comb, or scrap wax left over from other projects; this is genuinely one of the few uses where wax that’s too dark or debris-laden for candles or cosmetics is still perfectly usable.
- A wick material: cotton balls, jute twine, dryer lint, cardboard egg carton cups, or dry wood shavings.
- A double-boiler setup — a heatproof bowl or dedicated wax-melting pot set inside a pot of simmering water, never a wax container placed directly on a burner.
- Tongs or a fork for dipping and turning the wick material without burning your fingers on hot wax.
- Wax paper or a silicone mat to cool the finished starters on.
The Basic Method
Melt the beeswax gently in the double boiler — this site’s guide to safely recycling old beeswax comb covers the rendering and melting basics in more depth if you’re starting from raw comb rather than already-clean wax. Once the wax is fully liquid, use tongs to dip each piece of wick material — a cotton ball, a length of twine, a wad of lint — fully into the melted wax, making sure it’s saturated rather than just coated on the surface. Lift it out, let the excess wax drip back into the pot for a few seconds, then set it on wax paper to cool and harden completely before handling or packing it away. A batch of a dozen or so takes well under an hour once the wax is melted, and there’s no meaningful skill curve — the only real failure mode is undersaturating the wick material, which is easy to avoid by giving each piece a few extra seconds fully submerged.
Which Wick Material to Use
The choice of fiber changes burn time and packability more than it changes the basic method:
- Cotton balls are the easiest starting point — cheap, absorbent, and they hold a compact round shape that’s simple to light directly.
- Jute twine, wound into small coils before dipping, burns longer per piece and packs flat, which makes it a better fit for a slim camping or vehicle kit than bulkier cotton balls.
- Dryer lint is free and endlessly available for anyone doing laundry regularly, though it burns faster than cotton or jute and works best packed into something with a bit of structure, like a cardboard egg-carton cup.
- Cardboard egg carton cups, filled with wax-dipped lint or sawdust and left in the carton, double as their own small fire-starting cup — you can light the cardboard directly and let the wax-soaked filling take over.
- Dry wood shavings give the longest sustained burn of the common options, which suits a wood stove or fireplace more than a quick campfire start.
Safety Notes Specific to This Project
Beeswax has a flash point well above normal melting temperature, but it is still a flammable material, and the same double-boiler rule that applies to every other beeswax candle or craft project on this site applies here without exception — never melt wax directly over a burner, and never leave melting wax unattended. Keep a lid nearby that fits the melting container in case wax ever overheats and needs to be smothered rather than doused with water, which can cause hot wax to splatter. Finished fire starters are, by design, meant to ignite easily — store them somewhere dry and away from open flame or heat sources, the same way you’d store any other fire-starting material.
Storage and Use
Finished beeswax fire starters store at room temperature indefinitely — beeswax doesn’t go rancid or degrade the way some plant-based waxes can, so a batch made today will still light reliably years from now if kept dry. A small tin or resealable bag keeps a set together and protects them from dust and moisture in a backpack, glovebox, or wood-stove kit. To use one, nest it under kindling the way you would any other tinder, then light the exposed fiber directly with a match, lighter, or spark — the wax coating will catch within a few seconds and burn for several minutes, giving kindling well above it time to catch even in damp or windy conditions.
Frequently Asked Questions
Can I use beeswax that’s too dark or dirty for candles?
Yes — this is one of the few beeswax projects where cosmetic flaws, off-color wax, or bits of old comb debris don’t matter, making it a good use for wax that other projects would reject.
What’s the best material to soak in the wax?
Cotton balls are the simplest starting point. Jute twine packs flatter for a camping kit, dryer lint is free but burns faster, and dry wood shavings give the longest burn for wood-stove use.
Do beeswax fire starters go bad in storage?
No. Beeswax doesn’t degrade the way some other waxes can, so fire starters stored dry at room temperature will still light reliably even after years in storage.
Is it safe to melt beeswax on the stovetop directly?
No — beeswax should always be melted using a double-boiler setup, never direct heat on a burner, the same safety rule that applies to every other beeswax project.
How long does one fire starter typically burn?
It varies by wick material, but most wax-saturated fire starters burn for several minutes, long enough to ignite kindling that a bare match or spark alone often can’t get going, especially if the kindling is slightly damp.
For more background on this, see National Candle Association.


