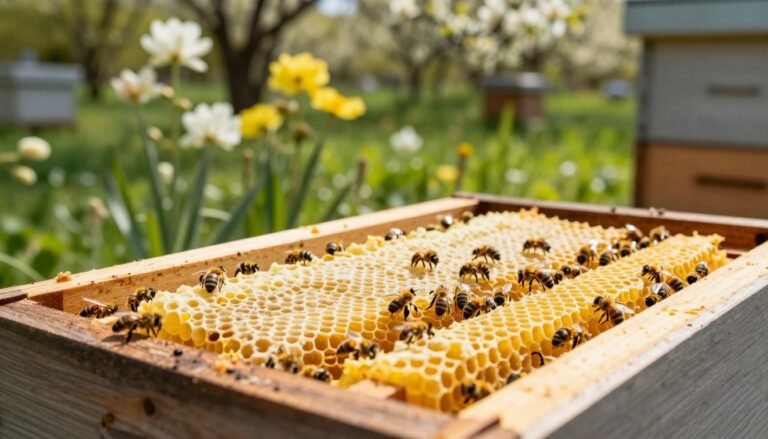
Maintaining clean equipment preserves honey quality and keeps operations smooth. This brief guide highlights practical steps to identify and remove deposits that block flow paths and harm metal contact points on your gear.
Routine care prevents small deposits from becoming bigger problems. Inspect seating areas, remove sticky deposits gently, and check metal parts for early signs of wear.
Professional beekeepers recommend using sturdy tools and a controlled scraping approach to avoid damaging wax or comb. For detailed scraping techniques and tool guidance, see a trusted resource on propolis scraping methods.
Key Takeaways
- Inspect seating and contact points regularly to avoid blocked flow.
- Use durable tools and gentle pressure to protect comb and wax.
- Clean metal parts to prolong equipment life and preserve honey quality.
- Collect scrapings and store them properly if you plan to process them later.
- Schedule light maintenance each season to keep hives productive.
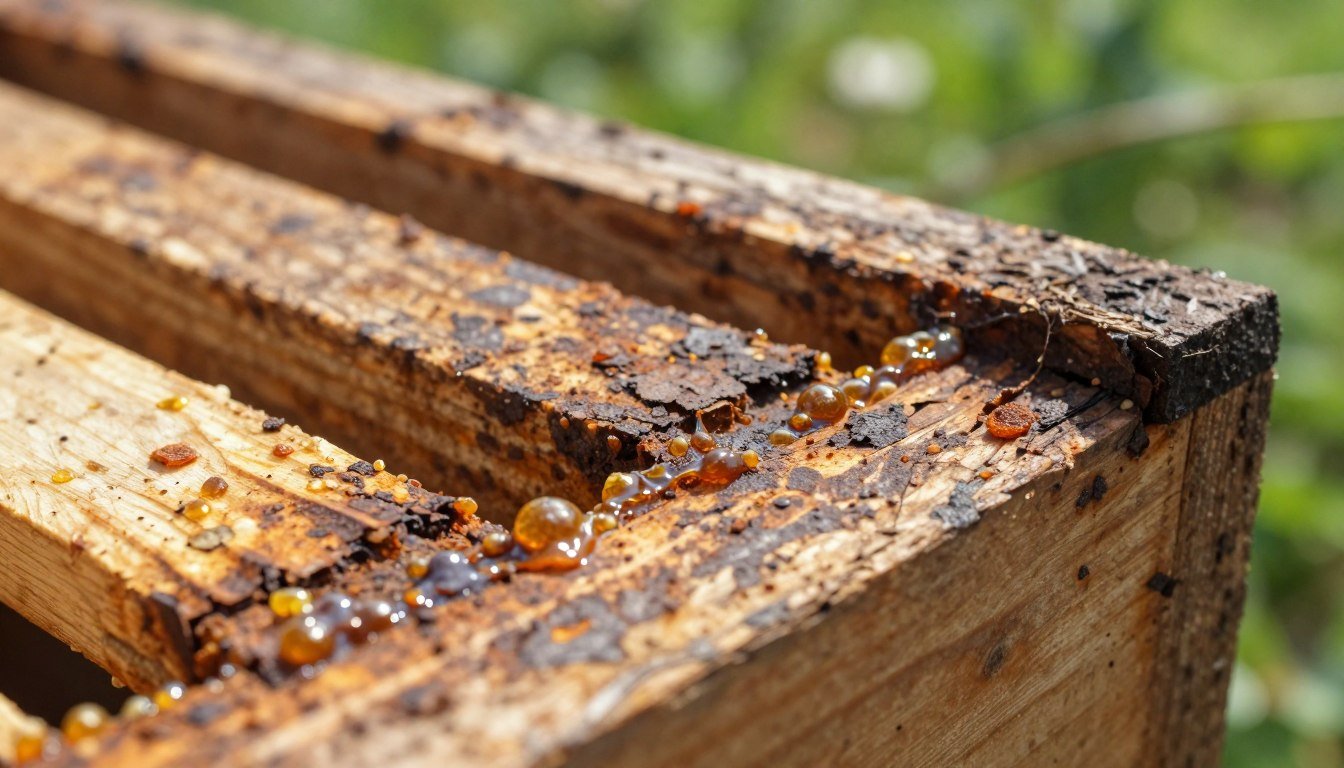
Understanding Frame Rest Corrosion and Propolis Buildup
Bees coat gaps with a resin that can quickly harden and affect equipment fit. This material is a complex, resinous mix collected from plant buds and tree exudates. It helps colonies seal small openings, but it also sticks to contact surfaces.
The Nature of Propolis
Propolis is soft and pliable between 25°C and 45°C. Above 45°C it becomes gummy and harder to remove. That temperature behavior makes timing crucial for cleaning tasks.
Causes of Metal Corrosion
High moisture in the hive box speeds metal breakdown at seating areas. Sticky residues trap moisture and acids, which accelerates wear on metal parts.
- Resin collects on frames and in corners, interfering with fit.
- Plastic pieces can degrade if sticky wax and resin are left in place.
- Blocked flow paths reduce honey movement during extraction.
| Issue | Typical Spot | Impact |
|---|---|---|
| Resin accumulation | Frames, box corners | Harder seating, reduced flow |
| Metal wear | Contact points on metal parts | Loss of fit, faster replacement |
| Plastic degradation | Plastic frames and fittings | Surface damage, brittle parts |
Tip: For details on how components interact during inspection, see how a frame rest functions, and consult the best hive tool for sticky colonies when planning maintenance.
Identifying the Signs of Hive Equipment Degradation
Small shifts in how bees draw comb often point to hidden wear on hive parts. Watch for brittle comb that crumbles when handled. Check each set of frames for excessive debris or dark, brittle wax.
Spotty brood patterns can signal a stressed queen or equipment problems. If the queen lays unevenly, inspect contact areas and seating for damage that limits proper fit.
A colony that fills gaps with sticky resin instead of new wax may be avoiding damaged surfaces. This behavior can block the flow of nectar inside the hive and limit honey movement during harvest.

Regular inspections reveal subtle changes early. Note any warped frames, heavy debris, or areas where bees avoid building comb. Keep brief records during checks so trends are visible over time.
- Look for brittle comb and damaged frames that affect fit.
- Check brood patterns to rule out queen or colony stress.
- Inspect for blocked flow paths inside the hive and in frames.
For practical cleaning tips and caring for plastic components, consult an equipment care guide and the clean plastic foundation resource.
Essential Tools for Apiary Maintenance
Choosing the right tools makes routine hive care faster and reduces accidental damage to delicate components.
Start with a compact kit that lets you work confidently on frames and flow systems without stressing the colony. Include a reliable hive tool, a sturdy scraper, and a narrow lifter for tight seating points.
Selecting the Right Hive Tool
Pick a hive tool with a thin, tempered tip to ease apart tight boxes and loosen stuck frames. A curved hook and flat edge in one tool helps avoid extra movements that disturb bees.
Choose corrosion-resistant metal if you clean often. For hives with plastic parts, use a softer touch and a tool designed to protect surfaces while removing sticky deposits.
- Versatility: One hive tool that lifts, scrapes, and pries saves time.
- Control: Ergonomic grip keeps motions smooth near the queen and brood.
- Care: Proper tools preserve frames and reduce damage to the box over seasons.
Safe Techniques for Removing Propolis from Flow Frames
Removing sticky deposits from flow systems works best when you match the method to material and temperature. Below are three safe approaches that protect honey quality and extend the life of plastic components.
Freezing Methods
Freezing frames for 24 to 48 hours makes wax and resin brittle. Once cold, chips come off cleanly with minimal scraping. Use short passes with a knife or a hive tool so you do not damage the plastic structure.
Tip: Collected wax can be sold — Peter48 sells cleaned wax for $27/kg to a local bee shop, turning cleanup into extra income.
Mechanical Scraping
Mechanical scraping is hard work but often essential after long low-nectar periods when bees heavily seal parts. Work in small sections and keep motions shallow to avoid gouging. Take breaks to limit time near brood or the queen.
Solvent Rinsing
Use solvent rinsing only as a final step. Rinse thoroughly and allow complete drying before returning frames to the hive. Residue can affect honey and bee health, so confirm all traces are gone.
Quick comparison:
| Method | Best for | Notes |
|---|---|---|
| Freezing | Brittle wax on plastic | Fast, preserves parts |
| Scraping | Heavy sealing | Requires effort, manual control |
| Solvent rinse | Final clean | Must remove all residue |
For step-by-step guidance on removing burr comb and sticky deposits from a top-bar style unit, see this handy resource: how to remove burr comb and.

Managing Wax Accumulation in Hive Components
Managing wax early keeps hives tidy and preserves room for the queen to lay and the colony to grow.
Excess wax on frames and in a frame slot can block movement inside the hive. This forces the bee team to clean instead of making honey, which lowers seasonal yield.
Regular light cleaning removes debris that may host pests or cause structural faults. Use a dedicated tool suited for plastic or wood parts so you do not gouge surfaces.
Keep comb clear: clear comb encourages proper bee space and healthy brood patterns. If the queen cannot access areas because of wax, the colony will compact and productivity falls.
Follow a simple schedule: inspect boxes each season, scrape small deposits before they harden, and dry-clean where possible. For guidance on combining mechanical work with chemical steps, see the recommended mechanical cleaning process.
The Role of Temperature in Cleaning Bee Equipment
Heat-based cleaning cuts time and effort, but only when applied within safe limits for hive parts. Knowing melting points helps you choose the right method for frames and plastic pieces.
The key fact: propolis becomes liquid around 60°C to 70°C; some samples melt near 100°C. Use water or steam that reaches the softening range, not higher. Too much heat will warp a frame, damage comb, or deform plastic.

Keep steps simple: warm water loosens wax and resin, then use a knife or a gentle tool to remove softened deposits. A sharp, steady knife reduces scraping time and lowers risk to the queen area during quick maintenance.
- Set temps to the softening range (60–70°C) and monitor closely.
- Work fast: proper heat shortens cleaning time and preserves parts.
- Use manual help for heavy soiling; a strong colony handles minor cleaning itself.
Preventing Future Buildup Through Hive Management
Good space control keeps bees focused on honey, not sealing gaps. Optimize how you add equipment so the colony expands naturally. This reduces the need for heavy cleaning later.
Optimizing Hive Space
Start with a clear step: only add a flow super when the brood area and adjacent frames are 80–90% full. Rodderick’s guideline helps avoid early additions that trigger sealing behavior.
When the hive reaches that capacity, the colony will draw comb fast and fill new frames with nectar rather than wax. This means less sticky material on contact points and fewer visits with a scraping tool.
Monitor local nectar flow. If sources are active, add a box; if flow slows, delay additions. A well-timed move cuts wasted effort by the queen and worker bee team.
- Rule of thumb: 80–90% full before adding a super.
- Watch nectar flow: time additions to blooms in your area.
- Keep inspections light: intervene only when comb or wax blocks movement.
Assessing the Impact of Propolis on Honey Quality
A slight resin overlay on comb cells can change the taste of harvested honey.
Bitter notes may appear if sticky material contaminates the jars. When bees seal cells with resin, storage space on frames shrinks and extraction becomes harder.
Clogged cells reduce flow during processing. That means lower yield from each frame and extra work to clean comb before sale.
A healthy colony focuses on nectar and honey, but a cluttered hive forces workers to seal gaps instead. Inspect brood areas near the queen for signs that storage is compromised.
Decide early: if resin covers multiple frames, remove and clean those frames before harvest to protect product quality. Small, routine cleaning keeps wax and comb tidy and lowers the risk of off-flavors.
For growers new to managing young colonies, review first-year nuc care for practical steps to balance hygiene with colony health: first-year nuc care.

Best Practices for Storing Hive Frames
Simple steps now save time later when the colony needs clean equipment for nectar flow.
Before storage, use a good hive tool to remove loose wax and debris from each frame. Work gently to protect comb edges and keep parts intact.
Store frames upright in a dry, ventilated space. Elevate racks off concrete to cut moisture exposure. Proper air circulation helps prevent mold and warping of plastic flow pieces.
If you find mold, treat affected frames with a 1:10 bleach-to-water solution, rinse, and allow ample airing time outdoors before returning them to use.

- Protect plastic parts: avoid heavy stacking to keep flow fittings from deforming.
- Label storage: note which frames held honey or brood so you can rotate use by season.
- Inspect before spring: quick checks reduce surprises and save time at first inspection.
For tips on repairing damaged boxes and keeping equipment ready, see a short guide to repair damaged hive boxes.
Balancing Colony Energy with Equipment Hygiene
Managing how much dirty equipment you give a hive determines how the colony uses its labor.
Keep inspections practical. Give frames that need only light cleaning to a strong group of workers. This saves the queen energy and keeps brood rearing on schedule.
Forcing heavy cleanup pulls bees away from making honey and caring for brood. Assess each frame before you return it. Think about the time the colony must spend on removal tasks versus nest growth.
When in doubt, clean off major deposits yourself. A quick hand-clean saves days of bee work and reduces stress on the hive.
Simple steps help: remove loose comb, check contact points, and use proper tools. For safe tool hygiene between uses, learn how to sanitize hive tools between colonies.

- Protect productivity: limit the colony’s cleaning load.
- Support the queen: let her focus on laying.
- Plan work: return only minimally soiled frame to the field.
When to Replace Damaged Hive Parts
Routine checks save time—replace any parts that no longer fit squarely before problems spread.
Know the signs. Cracked plastic frames, moldy wax comb, or warped pieces reduce storage space for honey and stress the colony. Replace such parts rather than patching when contamination is heavy.
Use a hive tool to test strength. Pry gently at corner joints. If a section bends, flakes, or breaks under light pressure, it’s reached the end of service life. A weak piece invites pests.
Watch the queen’s behavior. She may avoid damaged cells. That creates spotty brood patterns and a weaker bee population over the season.
- When to swap: visible cracks, heavy mold, fractured plastic, or loose fittings.
- Why replace: preserves honey quality, prevents disease spread, saves time later.
- Quick tip: label replaced parts so rotation and inventory stay simple.

Conclusion
, Simple, regular care of hive parts saves time and preserves crop quality over the long term.
Consistent maintenance of your frames and hive components prevents heavy deposits and keeps bees productive. Inspect often, clean small spots promptly, and replace damaged pieces before they fail.
Good beekeeping protects honey quality and your investment. For tool hygiene and safe sterilization tips, see how to sterilize hive tools. Implement these steps now to support a strong colony and better harvests in the seasons ahead.