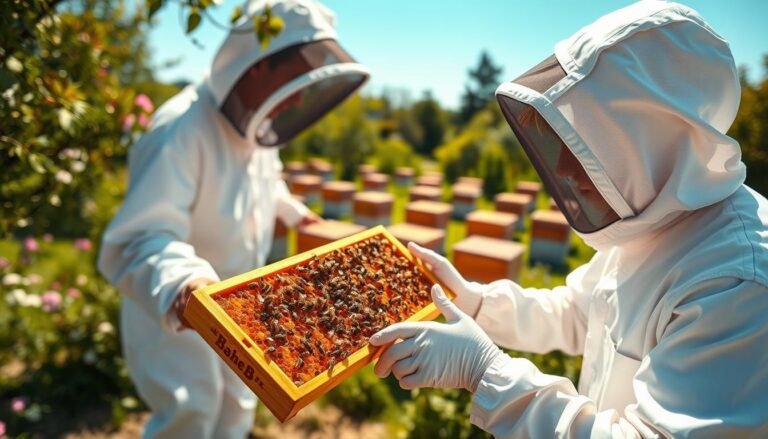
Moisture and drip-back, not cold, are the top winter threat to a hive. In regions with steady precipitation, warm, humid air from the winter cluster rises and condenses on a cold lid. That water then drips back and chills the bees, often causing losses even when temperatures are moderate.
This guide explains the physics behind the problem and offers practical steps beekeepers can apply now. You will learn site selection to avoid frost pockets, how to build large local colonies, and why minimizing disturbance after mid-fall matters.
We’ll also cover moisture-smart fall setups: top insulation, quilt boxes, moisture boards, and controlled upper ventilation that lets humid air escape without blowing drafts across the cluster. Small fixes—like a slight forward tilt or a clear entrance—help water exit instead of dripping on the bees.
Goal: dry bees, steady heat retention, controlled air movement, and strong colonies that emerge ready for spring.
Key Takeaways
- Top threat is condensation dripping from a cold lid, not low temperature.
- Warm cluster air rises; control that moisture with top ventilation or absorbent layers.
- Choose a protected, elevated site and use local stock to build resilient colonies.
- Minimize late-season disturbance and avoid late fall syrup that adds internal moisture.
- Simple equipment changes—quilt boxes, upper entrances, inner-cover notches—reduce drip-back.
Why Moisture, Not Cold, Threatens Winter Colonies
The winter cluster generates both heat and humidity as bees metabolize honey. Core temperatures run about 77–97°F when brood is present and about 64–70°F when broodless. This warm, moist air naturally rises toward the top of the hive.
The winter cluster, heat generation, and how moist air rises
Warm, humid air moves upward because warm air is lighter. As bees produce heat and moisture, that moist air seeks the highest point under the cover.
Condensation physics: cold lids, drip-back, and chilled bees
When moist air meets a cold inner surface, condensation forms. Water droplets fall back onto the cluster, matting bee hairs and stealing body heat. Wet bees burn more honey and can starve even if outside temperature seems mild.
Ventilation versus drafts: releasing moist air without chilling the cluster
Upper ventilation lets moist air escape before it condenses. By contrast, horizontal drafts blow across the cluster and force extra heat loss. Two valid strategies exist: provide a controlled top escape path for moist air, or use heavy top insulation so the cover stays warm and condensation forms away from the cluster.
“Preventing drip-back above the cluster is the single most important winter decision for beekeepers.”
- Prevent condensation directly overhead.
- Ventilate high and modestly — avoid side drafts.
- Monitor during winter to confirm no dripping or chilling occurs.
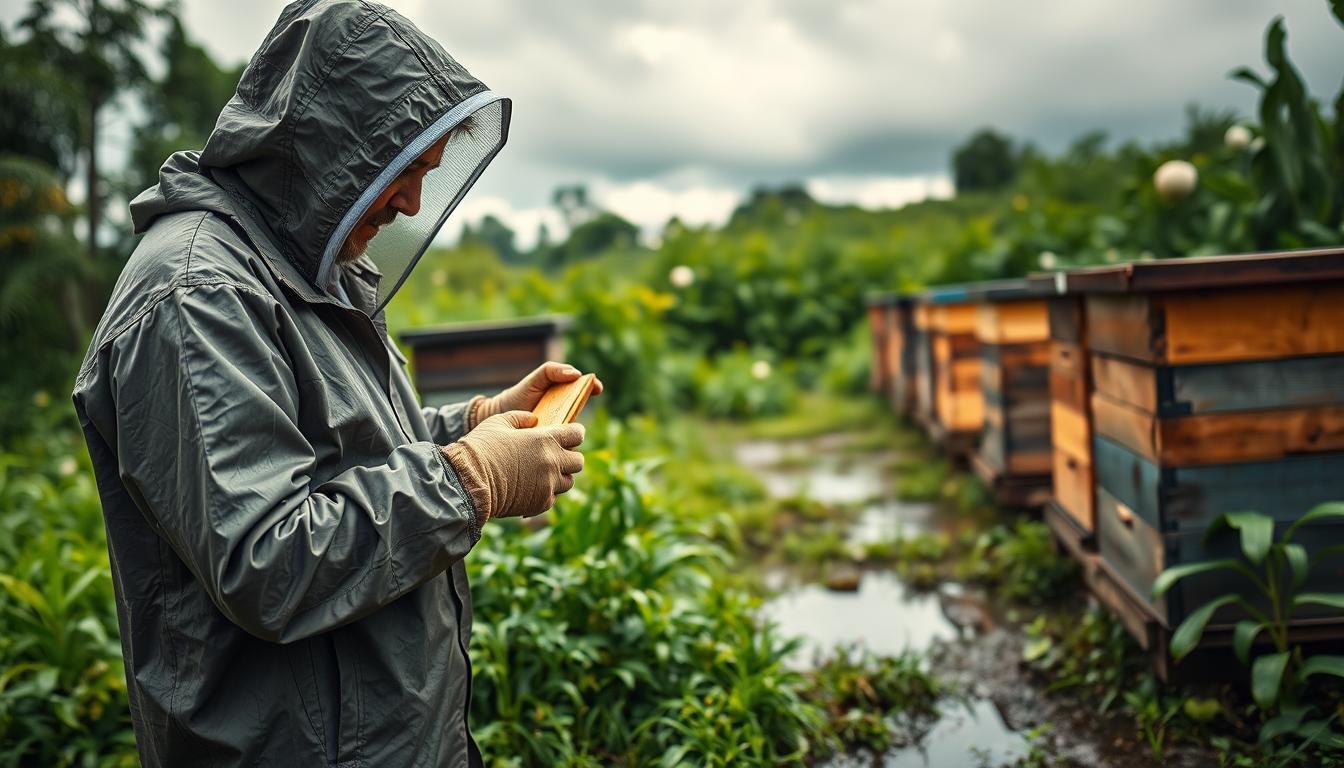
Choosing and Preparing a Prime Hive Location in Wet Weather
Pick a site after watching how air and water move on your land. Map low spots, puddles, and where cold air pools at night. A frost pocket is a shallow hollow where cool, moist air settles and raises condensation risk.
Avoid frost pockets and trapped cold air
Stand at dawn after a clear night and note the cold hollows. Look downwind of buildings or tall windbreaks where eddies form. If water sits after rain, that spot likely holds moisture and chill that can damage colonies.
Sun, wind protection, and elevating off the ground
Choose a slight south-facing slope for passive heat and faster drying. Use trees or a fence to block prevailing cold winds but avoid creating new low spots downwind.
Elevate each hive on sturdy wood stands or cinder blocks so boxes sit above saturated soil. Raising the bottom helps drainage and reduces upward dampness that can reach the cluster.
Entrance alignment, tilt, and seasonal checks
Point the bottom entrance away from prevailing winter wind and keep a clear vertical path for moist air to escape. A subtle forward tilt sends internal water toward the entrance instead of pooling under the cover.
Note that very wet weather can still produce some mold; use that as a cue to refine ventilation and top insulation rather than over-sealing the hive.
- Evaluate aerial drainage: watch where air pools and where it flows uphill.
- Fit boxes well: tight joints reduce random drafts while controlled top ventilation releases humid air.
- Reassess seasonally: winter wind patterns can change the best spot for a hive.
“Site choice reduces moisture risk but does not replace smart ventilation at the top of the hive.”
Managing hives in wet climates
Effective moisture control starts by routing humid air away from the cluster before it can condense on the lid. Release moist air at the top, absorb what remains, and block sideways drafts that chill the bees.

Stepwise approach:
- Provide a controlled top escape: add an upper entrance or inner cover notch for gentle ventilation.
- Place a quilt or moisture box with wood chips, burlap, or a moisture board to capture condensation.
- Insulate modestly at the top so the cover stays warm; avoid over-sealing that traps damp air.
Keep boxes fitted tight and plan vents deliberately. A slight forward tilt moves water to the entrance and prevents pooling under the lid. Keep the bottom entrance clear so drainage and airflow occur without creating drafts across the cluster.
“Complete honey provisioning before mid-fall; avoid late syrup that increases internal evaporation.”
| Action | Why it helps | Quick check |
|---|---|---|
| Upper entrance | Directs humid air out high, reducing lid condensation | Open slightly; verify with smoke-free inspection |
| Quilt or moisture box | Absorbs droplets before they fall on bees | Replace damp material as needed |
| Modest top insulation | Keeps lid warm so moisture condenses away from cluster | Check for mold or trapped dampness |
| Forward tilt & clear entrance | Prevents pooling and allows drainage | Verify after rains |
For deeper background on heat and humidity behavior inside a hive, see how bees manage temperature and moisture. Keep a winter checklist and a stethoscope for quiet checks that avoid opening boxes and forcing the colony to generate extra heat and moisture.
Ventilation, Insulation, and Hybrid Setups That Prevent Condensation
A targeted mix of small upper vents and absorbent top layers keeps moist air moving away from the cluster without chilling bees.
Upper entrance and inner cover notch
Upper entrance and inner cover notch for controlled moisture escape
A small, controlled upper entrance or inner cover notch lets rising humid air exit the hive while avoiding drafts across the cluster. Place the upper vent on the same side as the bottom opening to encourage straight upward flow.
Condensing tops: heavy top insulation, quilt boxes, and moisture boards
A condensing top uses generous insulation—foam board, wraps, or a quilt box with wood shavings or burlap—to keep the cover warm. That shifts condensation away from above the bees and captures droplets on an absorbent board.
Hybrid approach
Hybrid approach: ventilate high, insulate top, eliminate horizontal drafts
Many beekeepers use a hybrid setup: limited high ventilation plus an insulated, absorbent top. This redundancy reduces condensation risk while preserving heat and honey stores.
- Equipment options: quilt box, moisture board, shallow box with burlap or wood chips.
- Maintenance: swap damp material on mild days and re-fluff the quilt box.
- Decision aid: humid, mild climate → hybrid; very cold/dry → lighter top vents; windy sites → favor insulation.
Check covers after storms and deep freezes to confirm vents and insulation still function.
Step-by-Step Fall Setup for Moisture Management
Set up absorbent top layers and a gentle exhaust now to cut winter condensation risk.

Install a quilt or moisture box
Before the first frost, add a quilt or moisture box packed with wood chips and topped with burlap. Include a moisture board if the site stays humid.
These absorbent layers capture droplets and limit damp air reaching the top cover.
Fit an upper entrance and check covers
Provide a modest upper entrance or inner cover notch to let warm, moist air exit. Verify inner cover and outer cover alignment so rain stays out while exhaust remains unobstructed.
Tilt the hive and secure joints
Set the hive with a slight forward tilt so condensation drains toward the entrance. Confirm every box joint is snug to avoid sideways drafts; airflow should move vertical from entrance to top vent.
Choose bottom board strategy
Decide on a screened bottom board or a solid bottom insert by local conditions. In milder, drier areas, a screened bottom helps reduce moisture. In cold, windy zones, close the screened bottom with an insert to cut drafts.
- Pack quilt box with wood chips, burlap, and a moisture board as needed.
- Add a small upper entrance and test for mild upward airflow.
- Tip hive forward slightly; verify drainage after a rain.
- Set screened bottom board open, partial, or closed based on wind and temperature.
| Setup Item | Purpose | Quick Check |
|---|---|---|
| Quilt / moisture box | Absorbs condensation before it reaches bees | Swap damp material on mild day |
| Upper entrance / inner cover | Controlled exhaust of humid air | Feel subtle upward flow at vent |
| Forward tilt | Directs water to entrance | Observe drainage after rain |
| Screened vs solid bottom board | Balance moisture escape with draft control | Adjust insert with seasonal wind |
Quick test: on a cool day, place your hand near the upper entrance. A faint upward air movement without a breeze across frames shows proper vertical flow.
Document your fall choices—upper entrance size, bottom board setting, and box contents—and confirm honey stores now; avoid late syrup that raises internal evaporation.
Fall honey bee management guide
In-Winter Practices: Monitor, Adjust, and Minimize Disturbance
Listen and act lightly: low-impact winter checks preserve warmth and reduce moisture risk.
After mid-fall, avoid opening the hive unless an emergency demands it. Use a stethoscope or a gentle tap test to confirm activity. This keeps the cluster intact and prevents a drop in internal temperature that forces heater bees to burn more honey and create extra moisture.
Quick winter checks that protect the cluster
- Hear before you lift: a stethoscope reveals steady sound without breaking the cover.
- Clear blockages fast: carry a hooked wire to remove dead bees from the entrance and restore airflow.
- Spot excess moisture: look for frost under the cover or damp on the top and swap a saturated burlap or moisture board on a mild, calm day.
- Keep checks short: brief, targeted actions limit heat loss at the top and bottom of the hive.
Practical notes
Snow can hide partial blockages. Clear both snow and accumulated dead bees so the bottom and entrance stay open and air moves upward.
“Small, fast checks beat one long inspection for winter survival.”
Resist mid-winter syrup unless necessary; prefer low-moisture candy boards for emergency feeding. For more on monitoring techniques and noninvasive checks, see monitoring bee health, and consult a ventilation guide when updating top vents or a quilt box.
Feeding, Colony Strength, and Common Mistakes in Wet Climates
Strong late-summer colonies cut winter risk by holding heat and reducing internal moisture build-up. Aim to finish provisioning food and honey stores before mid-fall so bees do not need to evaporate fresh syrup when the air is humid.
Build clusters with local queens; avoid late syrup
Local queens and timely combines boost colony size. If stores are short, swap capped honey frames from stronger hives or use frozen frames to add food without raising moisture.
Common setup errors to avoid
Do not over-seal the hive. Impermeable tops or tight box misfits can trap damp air. Small, deliberate vents—an upper entrance or inner cover notch plus an absorbent top layer—help prevent condensation above the cluster.
Emergency feeding and bottom-board choices
Candy boards and the Mountain Camp method work in a pinch but watch them: dry sugar can liquefy and drench bees when humidity rises.
| Issue | Why it matters | Action |
|---|---|---|
| Low stores | Raises starvation and extra brood stress | Swap capped frames or use frozen frames |
| Over-sealed top | Traps moisture over the cluster | Add modest upper entrance or absorbent quilt box |
| Screened bottom choice | Wind and temp affect moisture loss | Use solid bottom in windy sites; partial screened in milder weather |
| Blocked entrance | Prevents airflow and raises humidity | Clear debris; check bottom boards after storms |
Readiness check: colonies that stayed dry use less food and reach spring strong.
For feeding specifics and methods, see feeding bees and regional advice on beekeeping in different climates.
Conclusion
When moist air has a clear path up and out, colonies use far less energy to stay warm. Simple ventilation and modest insulation stop condensation above the cluster. Remember the basic physics: warm, moist air rises and will condense on cold surfaces if you do not provide an escape.
Practical focus: fit a quilt or moisture board, add a small upper entrance, and seal side drafts so vertical flow carries moisture to the top. Choose screened bottom or adjust your bottom board as weather shifts and swap damp boards on mild days.
Dry bees burn less honey, hold steady heat, and reach spring stronger. Keep a short seasonal checklist and refine your setup each year. For timely tasks and reminders see seasonal beekeeping tasks.
FAQ
Why does moisture, not cold, often kill winter colonies?
Moist air holds water vapor that rises from the cluster. When warm, humid air hits a cold lid or outer cover, it condenses and drips back onto frames and bees. That wetting chills the cluster, reduces insulation value of stores and wood, and can lead to starvation or death even if outside temperatures are moderate.
How does an upper entrance help with moisture control?
An upper entrance gives moist air a controlled escape route above the cluster. This reduces condensation on the inner cover and keeps dripping away from comb. It also limits cold drafts across the cluster when combined with a proper inner cover notch and limited bottom openings.
Should I use a screened bottom board in cold, damp regions?
Screened bottom boards improve airflow but can increase drafts and heat loss if used alone. Many beekeepers in wet areas add a solid insert or partial cover in winter so moist air still moves up while the bottom reduces chilling. Decide based on colony size and local wind exposure.
What is a quilt box and how does it prevent condensation?
A quilt box sits under the outer cover and contains absorbent materials like wood chips or burlap. It traps moisture rising from the cluster, allowing it to evaporate slowly without condensing on the cold lid. This hybrid top provides insulation and a moisture buffer.
How should I set up the inner cover for winter ventilation?
Use an inner cover with a small notch or upper hole to guide moist air toward the top entrance. Ensure the inner cover and outer cover align so the opening leads upward, not directly over frames, to avoid drip-back onto the cluster.
Is heavy top insulation or a moisture board better?
Both work, but their roles differ. Heavy insulation keeps heat in and slows roof chill; moisture boards or absorbent layers capture water vapor before it condenses. Combining insulation with a quilt or moisture board gives the best protection against condensation.
How should I position hives to reduce moisture problems on a wet site?
Choose a well-drained spot, slightly elevated and out of frost pockets. Face hives south or southeast when possible, and tilt them slightly forward so any condensation can run to the entrance. Windbreaks help reduce cold drafts while leaving some airflow.
What fall steps prevent winter wet-related losses?
Install a quilt or moisture box, set an upper entrance, check inner and outer cover alignment, tilt the hive forward, and decide on screened versus solid bottom inserts. Ensure adequate stores and a strong cluster before sealing for winter.
How often should I check hives during winter, and what should I do?
Minimize disturbance; check visually at the entrance for activity and clear any dead bees blocking the hole. Replace saturated absorbent material if accessible without opening the cluster. Use a stethoscope or light knock to gauge cluster strength before more invasive checks.
When is a screened bottom board useful during cold, wet weather?
Use screened bottoms in fall or spring for varroa monitoring and improved summertime ventilation. In winter, add a solid insert or limit the screen opening so you still allow upward moist-air escape but avoid excessive horizontal drafts that chill the cluster.
What common mistakes increase moisture damage in colonies?
Over-sealing the hive so no escape route exists, using impermeable roof materials that chill quickly, poor fitting hive bodies that trap cold air, and failing to provide absorbent quilt material are common errors. Late fall syrup or weak colonies also worsen outcomes.
How do candy boards and the Mountain Camp method fit into moisture management?
Candy boards supply winter food without opening the hive often; place them to avoid direct contact with the cluster. The Mountain Camp method emphasizes top insulation and controlled ventilation—using quilt boxes and upper entrances—to keep moisture from condensing on bees.
What role does colony size and queen selection play in wet-season survival?
Large clusters generate more heat and better resist chilling. Using locally adapted queens helps maintain brood rhythms and stores. Strong colonies also manage moisture better by maintaining cluster temperature and movement to dry comb and stores.
How can I tell if condensation is a problem inside my hive?
Signs include frost or ice under the outer cover, wet or moldy frames, saturated insulation, and dead bees on the bottom near the entrance. A cold, wet inner cover surface is a clear indicator that moist air is condensing above the cluster.
Can tilting a hive forward really prevent drip-back?
Yes. A slight forward tilt encourages condensed water to run toward the entrance where bees can remove it instead of dripping back onto frames. Combine tilt with an upper entrance and absorbent material under the lid for best results.