This article helps new beekeepers spot small errors that grow into big problems if ignored. Small missteps can snowball, especially in the first year when a colony is fragile.
Timing matters. If you miss the right moment to feed or treat for mites, a once-healthy hive can decline fast. Learn how to act at the right time and how to let bees guide some choices.
Start with realistic expectations: honey is a bonus, not a guarantee. Keeping more than one colony gives options to share workers, brood, or frames in emergencies. Consistent checks beat last-minute fixes.
Use this guide as a seasonal reference. Each section in this article explains common problems, practical fixes, and steps new beekeepers can take to keep bees healthy and productive.
Key Takeaways
- Catch small issues early to protect your colony in the first year.
- Act on a seasonal calendar: feeding and mite control need timing.
- Prioritize hive health over quick honey harvests.
- Start with more than one colony when possible for resilience.
- Observe your bees and adapt practices to your local climate.
What This List Covers and How to Use It Today
A clear purpose for every visit makes your time at the hive count. Use this article as a concise checklist you can act on today. Prioritize items marked as time-sensitive so you don’t miss critical windows.
Follow a steady 2–4 week inspections cadence to see progress while avoiding stress from opening hive too often. Observation windows can satisfy curiosity between visits and reduce the urge to open frames.
Before any inspection, write a short note stating the goal of the visit. That single step keeps each inspection efficient and focused on essential things like queen status, brood pattern, food reserves, and space for expansion.
- Set calendar reminders so the right time to inspect or feed doesn’t slip by.
- Prepare supers, frames, and tools before nectar flow to avoid last-minute delays.
- Adopt a simple note template to track findings and improve decisions over time.
If you are a new beekeeper, consider a hive with an observation window. Keep this article handy in your notebook or app and consult specific sections before each inspection.
Beekeeping mistakes new keepers make before bees arrive
Good planning up front gives you options when a queen falters or nectar shows up fast. Prepare your site, gear, and a basic contingency plan before the first package or nuc arrives.
Starting with one colony limits resources and options
Starting one colony can leave you without eggs, open brood, or spare workers when trouble hits. Two colonies let you share frames or brood to save a failing queen.
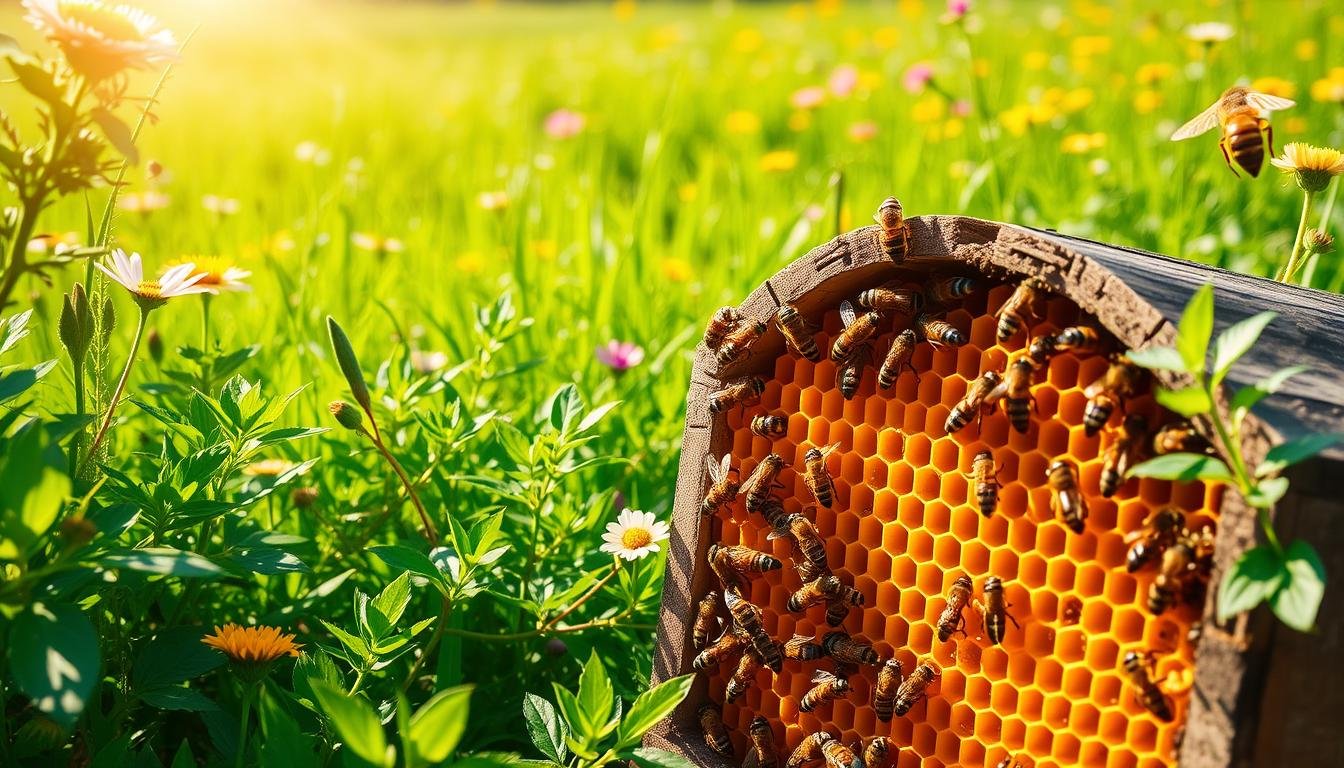
Placing hives: full sun vs partial shade
Choose a spot with morning sun and afternoon shade. Many bees prefer partial shade over full sun all day. Map wind and access so working the hive is safe and comfortable.
Gear, boxes and timing: spend smart and stage supplies
Don’t overspend expecting early honey to pay you back. Most beginners harvest little the first year.
Assemble extra supers and frames before nectar flow. New packages arrive with no stores and need feeding to draw comb and raise brood.
- Quick tip: Keep spare feeders, frames, and a plan for queen loss.
Hive inspections done the right way
Regular, purposeful checks protect the hive more than frequent curiosity-driven visits. Adopt a steady 2–4 week cadence for hive inspections to balance monitoring with minimal disruption to the colony’s internal climate.
Never open a hive without a plan. Before opening hive, list the goal: check stores, confirm queen activity, or assess brood health. Prepare tools and materials so the visit stays short and focused.

Gentle handling and correct smoke use
Move deliberately and keep motions slow. Handle boxes gently to avoid crushing bees and releasing alarm pheromone.
Use smoke sparingly. Produce cool, dense smoke, give a few puffs, close the hive, and wait a couple of minutes before proceeding. Too-hot smoke can harm wings; over-smoking makes bees irritable.
| Step | Timing | Purpose |
|---|---|---|
| Pre-check setup | Before opening | Tools ready, goals listed |
| Quick inspection | 2–4 week cadence | Assess brood, stores, queen signs |
| Smoke application | At lid first | Calm bees; wait 2–3 minutes |
| Close and note | End of visit | Reassemble tightly; record findings |
Keep concise notes to track trends and set the next inspection time. If signs of robbing or unusual agitation appear, close up and fit a robbing screen. Efficient inspections protect both the bees and the beekeeper.
For a practical checklist, see tips for conducting a hive inspection.
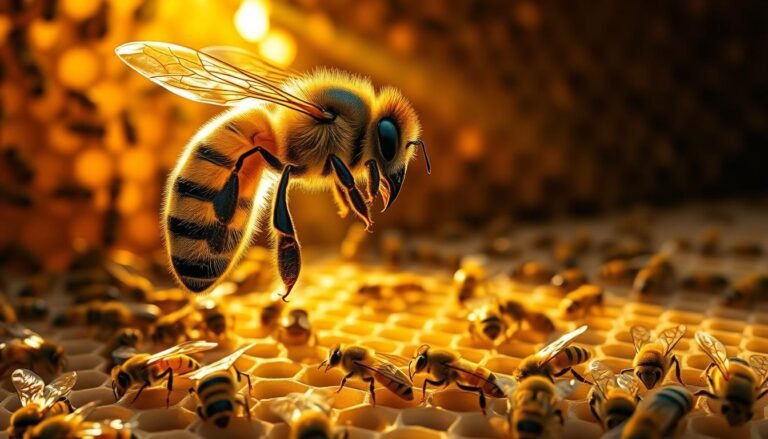
Queen status and brood health are easy to misread
A quiet hive can hide serious problems until it’s too late. Learn to confirm queen presence by checking for a steady brood pattern, fresh eggs, and proper larvae stages. Quick visual checks during your scheduled inspections save time and lives.
If cells look scattered or you find multiple eggs per cell, act fast. Verify queen status right away. Waiting lets laying workers or population collapse take hold.
Watch flight patterns, not just numbers
A sudden surge in entrance activity can be robbing, not vitality. Chaotic traffic and noisy returns often mean stores are being stolen. Keep a robbing screen handy and install it at the first sign of aggression.
Handle brood boxes with purpose
Do not rotate boxes or reshuffle frames without a clear reason. Unnecessary moves can chill brood and stall growth. Use inspections to note eggs and larvae distribution, then plan targeted actions.
- Confirm queen by consistent brood, fresh eggs, and correct larvae stages.
- Verify queenlessness immediately to prevent laying workers.
- Document queen lineage and temperament in your notes for future decisions.
- Coordinate brood assessments with your 2–4 week inspections schedule.
For practical timing and methods on brood and queen checks, see brood and queen checks.
Feeding, water, and nectar dearth management
A hungry package cannot focus on brood rearing or comb work—feed it promptly. New packages arrive without stores and rely on steady syrup to raise brood and draw comb. Provide a feeder and start a 1:1 sugar syrup during buildup so the colony can focus on growth.

Feed new packages and stage equipment
Feed new colonies right away so workers do not waste energy foraging when food is scarce. Stage frames and feeders before arrival to avoid long exposures when opening the hive.
Winter openings and low stores
In winter, a brief, planned opening to top off stores beats losing a whole hive. Keep the hive tightly closed during feedings and use thicker syrup if temps allow. Track amounts in your notes.
Recognize nectar dearths and supply water
Nectar dearths can occur in midsummer or winter even when flowers are visible. Use 2:1 syrup during dearths and keep clean water available so bees can regulate brood food and hive temperature.
- Quick actions: monitor stores at each inspection and adjust feeding to avoid crowding the brood with honey.
- Balance feed with space: ensure frames and room so syrup doesn’t become a storage issue.
- For a seasonal feeding schedule, consult this feeding calendar.
Varroa mite and disease timing errors that sink colonies
New colonies commonly arrive with hidden mite loads; act fast or losses follow. Treat varroa as a first year risk and build monitoring into your schedule from day one.
Create timed checks that match brood cycles. Missing the right window to monitor or treat lets mites reproduce inside capped brood where many controls are less effective.
Assume infestations exist in new starts
Plan for treatments and testing even if hives look healthy at first. Use inspections to watch brood, eggs, and queen signs so you can spot early virus symptoms.
Don’t miss on-time treatments
Record every treatment date and outcome. Calibrate your timeline to local nectar flows and dearth periods so treatments work when the colony physiology allows it.
- Before winter: reduce mite loads so declining populations enter the cold season stronger.
- During buildup: monitor more often; action here protects brood and queen performance.
“Timing drives success more than the specific product you choose.”
| Action | When | Why |
|---|---|---|
| First screening | Start of season | Detect existing loads |
| Follow-up check | After one brood cycle | Measure treatment effect |
| Pre-winter check | Late season | Lower mites before decline |
Records, growth decisions, and honey harvest discipline
A clear inspection log shows trends long before a problem becomes urgent.
Take structured notes after every inspection. Record brood pattern, queen signs, stores, and any treatments. These short entries reveal long-term patterns that guide decisions.
Poor records that hide colony patterns
Consistent notes show which queen lines thrive, which boxes suit your site, and which hives struggle over winter.
Scaling up too fast
Complete at least one full year before increasing your number of hives. Many beekeepers regret expanding without equipment, time, or tested routines.
Harvesting honey with restraint
Harvest only surplus honey. Leave enough for dearths and winter even if that means no honey for sale the first year.
- Stage boxes and extra frames before nectar flow so you never limit a growing colony.
- Use inspection logs to time supers and harvesting.
- Document queen lineage to link temperament and productivity to outcomes.
“Records convert anecdote into reproducible practice.”
For a full guide on keeping thorough records, see beekeeping records and keeping.
Small operational habits that prevent big problems
Prepare a clear workflow before lifting the lid so every action has a purpose. A short plan keeps the visit fast and reduces stress for you and the colony.
Planning equipment and steps before opening the hive
List the steps, tools, and any spare parts you might need. Review the list aloud so you avoid searching for things mid-inspection.
Standards matter: keep your smoker, fuel, and lighting method consistent so you get cool, reliable smoke every time.
Keeping spare boxes and frames ready during spring activity
Store spare boxes and frames near the apiary during spring activity. Bees can build comb quickly in a strong flow; extra frames and boxes prevent crowding and supersedure.
Stage robbing screens, feeders, and a tidy tool kit so you can act immediately. Move slowly and keep a consistent frame removal order to avoid crushing bees and losing control of the stack.
- Plan your workflow to minimize open-hive time.
- Keep spare boxes and frames on hand for quick expansion.
- Adopt a simple recording method to note findings before you leave.
“Small routines save hives; tidy gear and calm handling prevent big problems later.”
Conclusion
Simple choices made each week add up to reliable hive health across the year. Keep a clear purpose before opening hive and follow a steady 2–4 week inspections cadence to catch small problems early.
Start with more than one colony when possible so you have options for brood, frames, or a queen swap. New beekeepers should stage gear and plan visits so each inspection is quick and focused.
Feed new packages and top off stores before winter. Provide water, spare frames, and room for bees to build comb. Use cool smoke lightly, monitor varroa on schedule, and note brood, eggs, and larvae in your log to avoid common mistakes.
Prioritize the colony’s needs over honey and resist early harvests. Use this article as a compact checklist, apply the steps that fit your site, and keep improving—small habits make stronger honey bees and healthier hives over time.
FAQ
What are the most common errors new beekeepers make before their bees arrive?
New keepers often start with just one colony, which limits support during stress and makes swapping frames or taking splits risky. They may place hives in full sun when partial morning sun with afternoon shade is better, overspend on fancy gear expecting immediate honey income, and fail to stock extra supers, frames, and basic tools before nectar flow begins.
Why is starting with one colony risky?
One colony offers no internal backup for disease, queen loss, or poor stores. With only a single hive you can’t easily borrow brood or frames, and every setback hits your entire operation. Most experienced apiarists recommend two or more colonies to allow remedial moves without collapsing your apiary.
Do honey bees prefer full sun or partial shade?
Bees do well with morning sun and afternoon shade. Full sun can overheat hives in summer, stressing the colony and increasing water needs. Partial shade helps regulate temperature and reduces robbing and defensive behavior during peak heat.
Is expensive equipment necessary to get started?
No. Quality basics—a properly sized hive, frames with foundation or foundationless frames, a smoker, hive tool, and protective gear—are more important than premium extras. Spend sensibly and expect it will take time, not gear, to produce surplus honey.
How often should I inspect my hive?
Establish a regular 2–4 week cadence for routine checks during active months. Inspect too often and you stress the colony; wait too long and you miss brood problems, queen issues, or mite buildup. Time inspections for calm, warm weather and have a clear purpose each visit.
What should I prepare before opening a hive?
Plan each inspection: know what you’ll check (queen presence, brood pattern, stores, disease), have tools and spare frames ready, wear protection, and have a reason to disturb the colony. Avoid opening without a goal, since unnecessary disturbance raises defensive behavior and slows work.
How should I use smoke during inspections?
Apply cool, gentle puffs of smoke at the entrance and between boxes, then wait a minute. Too much smoke or hot smoke harms bees and provokes agitation. Controlled, light smoke calms bees by masking alarm pheromones without forcing them out of the comb.
How can I tell if a colony is queenless?
Look for spotty brood patterns, many drone or laying worker comb, and no eggs or very few young larvae. Scout for emergency cell construction. Don’t assume normal activity means a healthy queen—confirm by finding eggs or a laying queen during inspections.
Is a busy hive always healthy?
No. High activity at the entrance can indicate robbing, nectar flow, or defense. Check for torn bees, fighting behavior, and waning stores. Busy-looking foragers don’t guarantee brood quality, queen strength, or low mite levels.
What mistakes occur when manipulating brood boxes?
Moving brood without understanding colony dynamics can break brood continuity, separate nurse bees from larvae, or trigger queen supersedure. Avoid rearranging boxes or frames unless you have a clear purpose, like swarm control, requeening, or disease management.
When and how should new packages or nucs be fed?
New packages and nucs often need sugar syrup for the first weeks to build comb and raise brood, especially during nectar dearths. Provide a 1:1 sugar-water syrup in spring and monitor stores closely so the colony can develop a healthy population before honey flows.
Should I feed colonies in winter if stores look low?
Yes—don’t hesitate to feed in winter if frames show little honey. Use winter feed options like fondant or thick syrup as appropriate for your climate. Leaving colonies to starve risks collapse; timely winter feeding preserves brood and queen survival.
How do I recognize and respond to a nectar dearth?
Signs include many foragers returning empty, reduced brood rearing, and rapid consumption of stores. In a dearth, supplement with 1:1 syrup in spring or fondant in cooler periods. Monitor weight and frames to decide when to add feed or reduce colony stress.
Are Varroa mites a first-year concern?
Absolutely. Varroa can build quickly and devastate young colonies. Monitor with sugar shakes, alcohol washes, or sticky boards in year one, and treat within recommended windows if levels exceed thresholds. Early detection prevents long-term colony loss.
When should I treat for mites?
Treat based on monitoring results and local recommendations, not calendar dates alone. Apply interventions during treatment windows that won’t harm honey stores and follow label directions for timing relative to brood cycles and honey supers.
How important is record keeping?
Good records reveal trends in queen performance, mite load, honey yields, and disease events. Note inspection dates, findings, treatments, and weather. Accurate logs help you make informed decisions and avoid repeating harmful choices.
When is it wise to scale up to more colonies?
Wait until you complete a full seasonal cycle and feel confident in routine management, varroa control, and harvest discipline. Scaling too fast strains time and resources and increases the chance of preventable losses.
How much honey can I take without harming the colony?
Leave ample winter stores—local recommendations vary—but generally ensure 60–80 pounds (27–36 kg) per colony in cold climates or secure feed equivalents. Never harvest so much that the colony lacks reserves for brood rearing or overwinter survival.
What small habits prevent big problems during spring activity?
Plan each inspection, keep spare boxes and frames ready, monitor varroa, and avoid taking frames with brood during early build-up. These small steps reduce stress on the colony and make swarm control, feeding, and growth easier.
How should I prepare equipment before opening a hive in spring?
Lay out a clear sequence: smoker, hive tool, protective gear, spare frames, supers, and a feeder if needed. Make any moves quickly and deliberately. Being organized minimizes time spent with the hive open and lowers the chance of accidental harm.