This guide maps a clear, practical path for beekeepers who want to improve yield while keeping colonies healthy.
We cover bee biology, forage planning, hive sizing, supering, harvesting, storage, and basic budgeting. The focus is on methods that scale from a backyard hive to multi-hive yards in the United States.
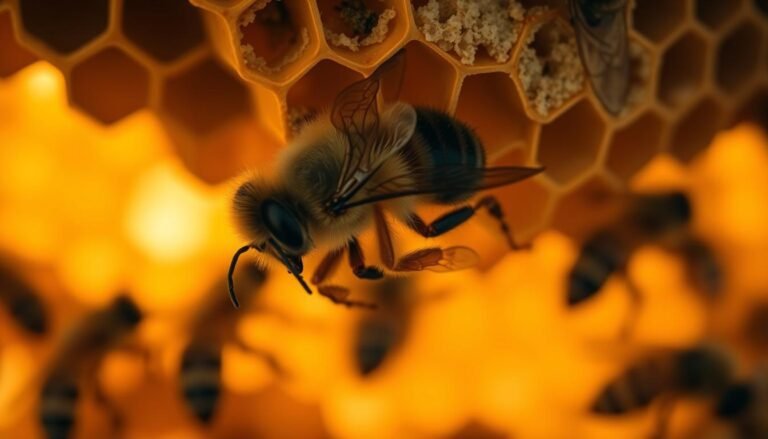
Bees turn nectar into sweet stores using enzymes and evaporation, and those stores serve as vital food during bad weather and winter.
Expect variation: yields change with available plants, colony strength, and management choices. For example, a missed supering window can cut the number of harvestable units in a year.
Throughout this guide you will find actionable checks — like watching for capped comb and using local bloom calendars — to help time additions and harvests for better results.
Maximizing honey production adds context on forage and yard sizing to support your planning.
Key Takeaways
- Align hive size and timing with local blooms to improve yields.
- Respect bee biology: stores power winter survival and swarming behavior.
- Use readiness checks (cappings, moisture) before harvesting.
- Forage availability and management both drive year-to-year results.
- Small actions, like timely supering, can change the final number of harvestable units.
- Techniques here apply to backyard and larger operations alike.
Understanding how honey bees make honey and why it matters for yield
When flower nectar reaches the hive, worker bees begin a chemical and behavioral process that turns a fragile syrup into stable stores. Foragers gather nectar from local plants and bring it to house bees, where enzymes in the honey stomach split sucrose into glucose and fructose.
Pollen complements that carbohydrate flow. Pollen supplies proteins, lipids, and micronutrients needed for brood rearing and colony growth. Strong brood rearing increases the workforce available to process nectar and raises overall yield.
Bees store honey to bridge dearths and winter months and to prevent fermentation that would occur if uncured nectar were saved. Water must be reduced during curing; otherwise, the uncured syrup risks spoilage. Harvest timing depends on capped comb and moisture checks discussed later.
“A single worker produces about 0.8 g in her life, and roughly 2 million flower visits make one pound of finished product.”
For example, a heavy bloom with abundant plants cuts the number of trips each forager needs, so strong colonies and rich blooms together raise the amount available in the hive.
Planning for higher yields: location, forage, and number of hives
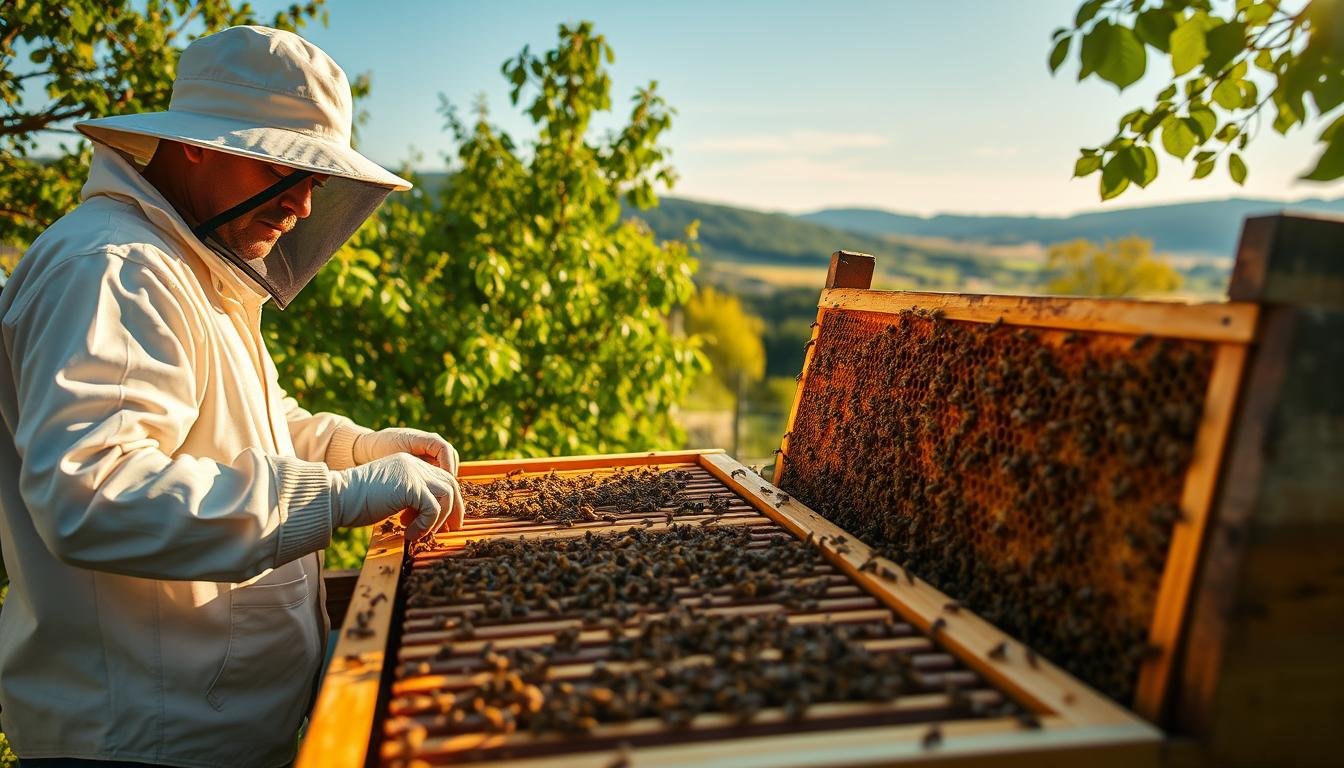
A well-placed apiary taps into repeating blooms and steady nectar flows, which lifts per-hive yields.

Evaluate a site by drawing a rough two-mile radius and estimating what percent of that area has flowering plants that provide nectar and pollen.
Use maps, county land layers, and a short field visit to mark wetlands, prairies, urban plantings, and roadsides. Avoid large conifer blocks that act as food deserts for bees.
Selecting apiary sites near abundant flows
Prefer locations with plant diversity that flower across the year. Diverse sites smooth supply and reduce bottlenecks during dearths caused by weather or short flows.
Scout bloom timing for major species so you can time adding supers or shifting colony management.
Right-sizing the bee yard
Match the number of hives to local resources. A practical method:
- Map the two-mile area and estimate percent forage.
- If 30–40% is major forage, plan 25–40 colonies; adjust up or down by observed yields.
- Track per-hive surplus yearly and cut numbers before yields fall sharply.
Example: In the same region, 25 colonies might average 90–100 lb per hive surplus, while 60 colonies can drop to ~30 lb each because forage is stretched thin.
Plan for pollen as well as nectar: good pollen sets up strong brood, more foragers, and higher totals later in the year. For more calendar-based checks and seasonal tasks, see seasonal beekeeping tasks.
Colony strength and management to prevent swarming
Strong colonies set the ceiling for seasonal gains. Young, well-mated queens drive spring build-up so a yard has the foragers needed during major bloom windows.
Requeening in autumn with vigorous queens improves pheromone signal and egg-laying rates. That lowers swarm impulse and keeps the workforce growing into the critical flow time.
Young queens and spring build-up
A single brood break is costly. When a swarm leaves, roughly 60% of workers can go and brood production pauses about three weeks while a new queen emerges, mates, and resumes laying. That gap cuts the number of foragers and reduces honey produced through the season.
Balancing splits and easing congestion
- Use timely splits to lower swarm pressure but keep enough bees to hit peak bloom—an example is removing 25–30% of bees rather than half.
- Rotate honey-bound combs from the brood chamber to empty combs so queens keep laying and the nest does not become crowded.
- Inspect routinely for congestion, queen performance, and brood pattern and act before many swarm cells appear.
Manage pollen access: steady pollen intake fuels brood rearing and stabilizes workforce numbers. Align these steps to local bloom calendars so changes occur before crowding peaks.
Supering strategy: timing, methods, and avoiding comb pests
Timing super additions to bloom pace lets colonies keep up without crowding or missed stores.
Two-thirds rule: Add a new super when about two-thirds of the combs in the current box are nearly full and cappings appear on multiple frames. Placing boxes ahead of peak bloom protects against congestion, swarm impulse, and lost harvest.

Top supering vs. bottom supering
Top supering reduces heavy lifting and speeds workflow across many units; many commercial yards prefer it for labor savings. Bottom supering can ease brood access but requires moving the brood chamber and more handling. No strong evidence shows one method consistently yields more honey.
Managing comb pests and adapting to flow
Too many empty boxes late in a flow expose comb to small hive beetle and greater wax moth when the colony shrinks. Avoid adding excess supers near the end of a flow.
“Delaying supering risks swarming and a multi-week brood break that cuts workforce and final yield.”
| Scenario | Recommended number of supers | Reason / Example |
|---|---|---|
| Weeks before peak bloom | 2–3 extra | Plants still building; multiple boxes capture extended flow |
| Near peak bloom | 1 extra | Single box often sufficient and limits exposed comb |
| After flow ends | Remove or consolidate | Colony shrinks; reduce unguarded comb to lower pest risk |
Practical checklist
- Inspect frames: count how many are two-thirds filled and capped.
- Assess colony size: do bees patrol outer combs well?
- Check local bloom and weather: is the flow accelerating or slowing?
- Decide number of boxes based on timing and forage—add ahead of peak when possible.
- Keep records on bloom dates, super additions, and colony response to refine decisions.
Honey production
Efficient conversion of nectar to capped stores depends on aligning colony size, timing, and available comb space.
Define the goal in practical terms: match a growing workforce to bloom pace and super capacity so colonies convert incoming nectar into capped honey during the main windows.
Drawn frames matter. Building ten medium combs from foundation can consume about 25 pounds of stores. Making wax uses pollen nutrients and sterols that otherwise support brood or surplus.
- Benefit: drawn comb speeds storage and increases the rate at which nectar becomes harvestable.
- Trade-off: forcing comb drawing during a weak flow can slow brood growth.
Most harvestable yield in many U.S. regions comes from April to June. Autumn blooms can add pounds but are often left as winter stores.
“Drawn comb accelerates storage and can raise total output during the same bloom period.”
Example: one unit with drawn comb fills and caps frames faster than a matched unit on foundation. The drawn unit typically turns the same flow into more ready-to-harvest pounds in the identical bloom window.
- Monitor frame cappings and moisture content to know when curing shifts to harvest-ready honey.
- Quantify pounds harvested per hive each season to test which methods deliver gains.
- Pace super additions ahead of peak bloom so the colony always has space to store incoming nectar.
Seasonal timing across the year: nectar flow, dearth, and winter prep
Early-season forage and supplemental feed set the tempo for colony growth and shape how much surplus you can expect later. Late winter inputs help colonies expand from ~20,000–25,000 to 35,000–60,000 bees in time for the primary spring flow.
Late winter to spring: building populations for the primary flow
Plants blooming before mid-March usually fuel build-up, not surplus. Adequate pollen and nectar then determine brood rearing and the forager pool that will capture April–June blooms.
Peak flow to summer: recognizing dearth and adjusting units
Signs of peak flow include heavy forager traffic and many capped frames. As plants fade, bees often back-fill the brood nest and extra supers may no longer be needed.
Autumn flow: choosing between surplus and winter stores
Decision time in autumn depends on colony condition, regional plants, and expected winter severity. Example decision framework:
- Strong colony + mild forecast → remove some surplus for market.
- Marginal colony or harsh winter expected → leave stores for winter months.
- If uncertain, consult local bloom calendars and adjust hives conservatively.
“Track local bloom timing and flow strength each year to refine supering, harvesting, and winter prep decisions.”
For seasonal checks and calendar-based tasks, see management through the seasons and regional guides on beekeeping in different climates.
Harvesting honey the right way: readiness, moisture, and methods
Good harvests begin with clear readiness checks, not the extractor. Confirming capped frames and proper moisture prevents fermenting and preserves flavor.
Readiness checks and moisture targets
Pull frames when about 80% of the comb is wax-capped. Verify water content with a refractometer; aim for ~17–21% to stop fermentation.
Use a quick shake test for uncured nectar: heavy drips or sloshing mean more drying is needed. Remove frames with smoke, brushes, or escape boards to minimize disruption to the colony and the bee workforce.
Extractor workflow: uncapping, spinning, straining, resting
Uncap with an electric or heated knife, then load frames into the extractor. Spin for about 10–12 minutes, flipping frames midway to empty both sides.
Strain solids into a bottling bucket and let the product rest so air bubbles rise. Process frames promptly to avoid contamination or added water from humid conditions.
Crush-and-strain for small batches
The crush-and-strain method uses two food-grade buckets and a fine strainer. Mash comb to release liquid, then let it drain. This low-cost method destroys drawn comb but is practical for small yields.
- Equipment: uncapping knife, extractor or buckets, strainers, refractometer, clean jars.
- Sanitation: wash and fully dry containers—glass jars may be oven-dried on low.
- Timing: schedule extraction the same day frames are removed when possible.
- Example: if one frame yields ~3 pounds honey, ten frames ≈ 30 pounds honey to plan bottling.
“Process frames quickly and keep water out of the workflow to protect quality.”
Post-harvest best practices: bottling, comb handling, and storage
Immediate post-harvest actions set the stage for clean storage and minimal losses. Extract combs promptly after removal; leaving boxes over 24 hours invites small hive beetle and wax moth egg development. Quick extraction protects frames and keeps comb in reusable condition.
Preventing robbing and short-term wet-comb handling
Move fast and keep stacks sealed. Transport supers in closed units and avoid leaving sticky equipment exposed. Robbing rises when strong colonies scent fresh stores, so work efficiently and in small batches.
When frames are still wet, return supers to the hive for 1–2 days so bees can lick combs dry. This method readies combs for long-term storage and reduces fermentation risk in removed units.
Freezing, stacking, and pest controls for long-term protection
Freeze dry combs for several days to kill eggs and larvae. After freezing, stack frames in sealed pallets and follow label directions if using para-dichlorobenzene crystals as a moth deterrent.
Air combs thoroughly before reuse. This step removes residual vapors and helps maintain wax quality across seasons.
Sanitizing containers, water content, and product quality
Sanitize bottles and equipment, then fully dry them before bottling. Measure water content of harvested product and target stable ranges to improve clarity and shelf life.
“Process frames fast, protect comb cycles, and record each step to keep quality consistent.”
- Extract frames immediately after removal; limit exposed time to under 24 hours.
- Return wet supers 24–48 hours for bees to finish drying comb.
- Freeze combs for several days to kill pests, then stack with repellents per label and air out before reuse.
- Sanitize and dry containers; monitor water content before bottling.
- Optionally stage harvests to separate color grades and floral sources for market preferences.
| Task | Action | Reason / Example |
|---|---|---|
| Immediate extraction | Remove frames same day | Limits SHB/wax moth risk; preserves comb for reuse |
| Wet comb handling | Return supers 1–2 days | Bees dry residual stores; prepares comb for storage |
| Freezing & stacking | Freeze frames several days; stack with crystals per label | Kills pest eggs; slows moths across storage season |
| Bottling | Sanitize/dry containers; check water content | Protects clarity, stability, and market quality |
Example timeline: Day 0 extract frames; Day 0–1 return wet supers 24–48 hours; Day 2 freeze combs for 72 hours; Day 6 stack with deterrent and label storage date. Keep simple records of comb cycles, units treated, and storage location to streamline future management.
Sizing, budgeting, and marketing your honey in the United States
Turn frame estimates into clear targets for surplus and winter stores. Use deep ≈6 pounds, medium ≈4 pounds, and shallow ≈3 pounds per frame to estimate pounds honey per harvest. Plan winter reserve: 60–70 lb for cold climates or 20–30 lb in warm regions.
Start small but practical: at least two hives helps a beekeeper compare units and smooth year-to-year variability. First-year surplus is often minimal; set conservative expectations for honey harvested.
Equipment, labor and unit planning
Match extractor capacity, uncapping tools, strainers, and bottling order to the number of units you run. Budget fixed costs (boxes, extractor), variable costs (jar labels, fuel), depreciation, and ~$300/yr for basic farmers’ market liability as an example.
Breakeven and labeling basics
Compute breakeven by dividing annual fixed plus variable costs by expected pounds harvested. Include labor and repairs per unit. Labeling must state product name, net weight, and beekeeper contact; local rules (for example, Oklahoma) add facility statements for small packers.
| Scenario | Number of hives | Frame mix (per unit) | Expected pounds/year (example) |
|---|---|---|---|
| Starter | 2–5 | mostly medium | 100–300 pounds |
| Hobby to market | 10–25 | mix deep & medium | 1,000–3,000 pounds |
| Small enterprise | 50+ | deep-heavy | 6,000+ pounds |
- Track pounds per frame, per hive, and per year to refine targets.
- Sync marketing to local flow and plant varietals; label single-source and seasonal blends clearly.
- Sanitize containers in a dishwasher and oven-dry glass jars before filling to protect quality.
“Pricing should cover depreciation, insurance, labor, and variable costs so your enterprise can scale.”
Conclusion
Strong, queens, timely supering, and careful comb handling form the backbone of consistent honey production.
Align colony size and care with local flowering plants and flow periods to convert nectar into marketable stores. Right-size your apiary and choose sites that give each hive room to work.
Harvest at proper capping and moisture, extract promptly, and store frames in order to deter pests. Track frames pulled and per-unit yields so management decisions improve each year.
Plan your next season now: map resources, schedule checks, and review marketing. For detailed guides and references, see our beekeeping resources.
FAQ
How do honey bees turn nectar into the final product and why does that process affect how much a colony yields?
Worker bees collect nectar and bring it to the hive, where enzymes break down sucrose into glucose and fructose. Repeated regurgitation, fanning, and evaporation reduce water content until the liquid reaches a stable state. Efficient foraging, strong colony population, and fast dehydration during peaks all increase the volume a hive can store during a flow. Poor weather, limited forage, or weak brood rearing reduce conversion rates and lower overall output.
What role do pollen and other food sources play in seasonal colony performance?
Pollen supplies protein and lipids needed for brood rearing and worker development. When pollen is abundant, colonies raise more nurses and foragers, which boosts collection during major blooms. Supplemental feed such as sugar syrup or pollen patties helps maintain colony strength during dearths and supports build-up for spring flows.
Why do bees store surplus for the winter months and how should beekeepers plan around that?
Bees store carbohydrate reserves to survive winter and short forage periods. Beekeepers must ensure colonies have adequate stores or provide supplemental feeding in late summer and fall. Planning includes leaving enough sealed stores, reducing hive entrances, and avoiding over-harvesting so colonies enter winter with sufficient resources.
How should I choose an apiary site to maximize yields?
Select locations near diverse, abundant flowering plants and reliable nectar flows. Consider water sources, minimal pesticide exposure, and staggered bloom times to extend collection windows. Proximity to crops like clover, wildflower meadows, and orchard blossoms improves average returns per hive.
How many hives should I place in a yard relative to local forage availability?
Match colony numbers to forage carrying capacity. Start with a small number of hives and monitor for resource competition. Overcrowding reduces per-hive gains and increases disease risk. A rule of thumb is to increase units only when colonies consistently fill supers and stores during major flows.
What colony management practices reduce swarming and protect yields?
Maintain young, well-mated queens and promote spring build-up without overcrowding. Regular inspections, timely splits, and ensuring adequate brood nest space prevent congestion that triggers swarming. Manage drone levels and remove queen cells when appropriate to retain workforce for production.
When should I add supers and how do I tell if it’s the right time?
Add supers during major bloom periods when frames in the current box are roughly two-thirds full of nectar or capped stores. This gives bees room to deposit surplus and prevents congestion. Local bloom timing and weather can shift ideal windows, so check frames frequently during flows.
What are the advantages and drawbacks of top supering versus bottom supering?
Top supering fits traditional workflows: bees move nectar upward naturally and it’s easier to add boxes without disturbing the brood. Bottom supering can place stores closer to cluster warmth in cool weather but requires stronger management to prevent brood displacement. Choose the method that matches your routine and extraction system.
How do I manage threats like small hive beetle and greater wax moth when supering?
Keep supers ventilated, avoid leaving honey supers on hives too long, and inspect stored comb frequently. Use traps for beetles, maintain strong colonies to deter pests, and store comb in cool, sealed conditions or freeze for short periods to kill larvae. Sanitation and rapid processing reduce infestations.
How should I adapt the number of supers during variable weather and irregular nectar flows?
Monitor forage and frame fill rather than following a fixed schedule. In heavy flows add more supers quickly; in slow or cool spells pause adding boxes to avoid stressing the colony. Flexibility and frequent checks prevent both under- and over-supering.
When during the year should I expect major flows, dearths, and the need for winter preparation?
Late winter to spring is build-up for primary flows as trees and early wildflowers bloom. Peak flows often occur in late spring to early summer, followed by midsummer dearths in many regions. Autumn flows can provide late-season surplus or refill winter stores. Use local bloom calendars to time management and feeding.
How do I know frames are ready for harvest and what moisture target should I use?
Frames are generally ready when at least 80% of the cells are wax-capped. Aim for a moisture content near 18% or lower to prevent fermentation. Use a refractometer on extracted liquid to verify moisture before bottling or long-term storage.
What’s the typical extractor workflow for a medium-sized operation?
The common sequence is remove supers, uncap wax-capped cells, spin frames in a radial or tangential extractor, strain the liquid through fine filters, allow air bubbles to dissipate by resting, and then measure moisture and bottle. Sanitation at each step preserves product quality.
When is crush-and-strain appropriate and how does it differ from extraction?
Crush-and-strain suits small batches or comb honey where no extractor exists. It involves cutting comb from frames, crushing it into a sanitized container, and straining through mesh or cheesecloth. It yields some wax and pollen debris but requires less equipment and is faster for hobbyists.
How do I prevent robbing and handle wet combs after harvest?
Minimize open apiary time, work quickly, and return supers to colonies if frames are wet or not fully capped. Store exposed supers in a cool, dry area or process immediately. During harvest season, use entrance reducers and avoid sugary spills that attract other colonies and wasps.
What are best practices for long-term comb storage to deter pests?
For dry comb storage, freeze comb for 48–72 hours to kill larvae, then store in sealed, pest-proof containers with desiccants or natural repellents like paraffin-lined boxes. Keep long-term stores in cool, dry, low-humidity environments to prevent mold and moth development.
How should I manage post-extraction sanitation and ensure product quality?
Sanitize equipment with food-grade cleaners, rinse thoroughly, and dry. Store bottled product in airtight, food-safe containers away from direct sunlight. Regularly test moisture and appearance; discard any signs of fermentation to protect brand reputation.
How many pounds of yield can I expect per frame and how do I set surplus targets?
Typical medium-depth frames yield roughly 4 to 6 pounds each when fully capped, though regional bloom strength and management alter numbers. Set surplus targets conservatively: leave adequate winter stores, then aim to harvest only the excess above the colony’s needs.
What equipment and labor considerations should I plan for when scaling an operation in the United States?
Budget for extractors, uncapping tools, filters, bottling gear, and storage racks. Factor in seasonal labor for harvest, inspection, and marketing. Align the number of units with available resources; mechanized extractors lower labor per pound but require capital investment.
What labeling and sales channels are most effective for small beekeepers selling at farmers’ markets or direct to consumers?
Follow USDA and state labeling rules for net weight, ingredient listing, and origin. Use clear, attractive labels with lot numbers and contact information. Farmers’ markets, farm stands, and direct online sales build relationships and command premium prices when quality and traceability are emphasized.