This guide gives beekeepers clear steps to protect colony health and productivity.
From the outside, you can’t tell if the queen is laying or if pests are present. Regular checks turn observations into useful information on the day you open the box.
Most beekeepers plan a hive inspection every 10–14 days in spring and summer and ease off in autumn. In winter, open only briefly to check food and keep heat inside.
Start about a week after installing a new colony to make sure the queen is laying. Always suit up, light the smoker, and have a hive tool, brush, and notebook ready before you lift the top cover.
After each visit, write concise notes: date, queen sighting, brood stages, full honey frames, and any disease or unusual signs. Consistent records reduce stress on bees and help you act early.
Key Takeaways
- Regular checks catch queen problems, brood gaps, pests, and space needs early.
- Most checks occur every 10–14 days in active seasons; minimal winter openings.
- Prepare gear and notes before lifting the top to minimize disturbance.
- Start a follow-up visit about a week after installing a new colony to confirm laying.
- Record date, queen sighting, brood, honey frames, and any unusual signs each visit.
Why Hive Inspections Matter for Healthy Colonies
Timely visits give beekeepers the facts they need to keep colonies productive.
Inspections are regular checkups that turn observation into useful information. A focused check can catch early signs of queen trouble, pests, or disease before they weaken the colony.
Too much disturbance harms productivity. Aim for a balanced cadence—about every 10–14 days in spring and summer—to gather data without stressing the bees.
Look for priority signs: sudden drops in egg numbers, odd brood pattern, new queen cells, spikes in dead bees, or falling stores. Early action keeps brood continuity and supports steady laying.
The process is preventive care. Structured checks guide feeding, space management, and timely treatments so frames remain healthy and stores build through summer.
Document each visit: date, queen sighting, brood stages, stores, and any interventions. Good notes reveal trends and make future decisions easier.
| Focus | Why it matters | When to act |
|---|---|---|
| Queen status | Ensures steady egg laying | If eggs drop for 3 days |
| Brood pattern | Shows colony vigor | On irregular pattern |
| Stores | Fuel for growth and winter | If honey/pollen low |
| Warning signs | Early disease or pests | At first unusual findings |
Best Time and Weather for a Hive Inspection
Timing and conditions shape success: choose suitable weather and a sensible cadence so checks are quick and low-stress for your colony.
Seasonal cadence
When to check by season
In spring and summer plan visits every 10–14 days. These two active seasons need frequent checks to track queen status, brood, and stores.
Reduce visits in autumn as flows slow. In winter limit activity to one or two brief checks to confirm food and moisture control.
Pick the right day
Weather and daily timing
Pick a warm, clear midday with low wind so many foragers are out and light penetrates the frames. Avoid rainy or cold weather—opening during a front chills brood and stresses the bees.
Practical tips
| Season | Cadence | Best time |
|---|---|---|
| Spring | Every 10–14 days | Warm, calm midday |
| Summer | Every 10–14 days | Midday with low wind |
| Autumn | Taper visits | Choose calm, warm days |
| Winter | Once or twice total | Brief checks on mild days |
Gear Up: Tools and Protective Equipment You’ll Need
Before you open any boxes, assemble the essentials so work flows without delays. Staging gear reduces time with the top off and keeps the colony calm.
Prepare this kit before you lift the cover:
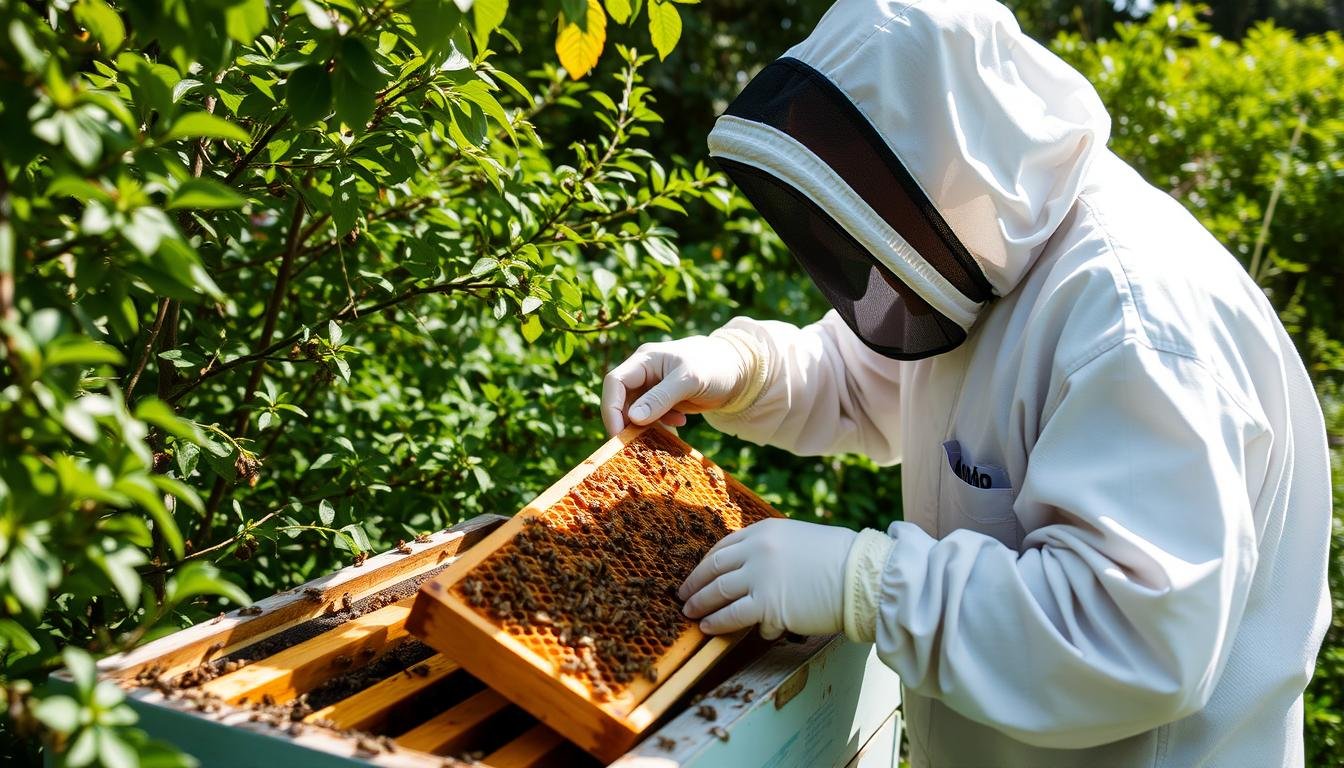
- Essential tools: a reliable smoker to calm bees, a sharp tool for prying propolized parts, a soft bee brush, and a notebook to record quick notes during the inspection.
- Protective wear: a ventilated bee suit or jacket with veil, gloves, and sturdy boots so the beekeeper stays safe and steady while handling frames.
- Staging tips: make sure the smoker is lit and kept handy. Use the upturned outer cover as a stable base to stack boxes and frames while you work.
Optional items can speed follow-up. A set of hive scales gives precise trends, but you can estimate stores by frame weight—about 5 lb per medium honey frame and ~10 lb per deep.
Small comforts matter: a bit more ventilation, comfortable gloves, spare fuel, and a tote to keep tools off the ground help keep inspections faster and calmer for both you and the hives.

Approach the Hive Calmly and Use Smoke the Right Way
A confident, measured approach at the stand keeps bees calmer and shortens the time you need. Move with steady hands and avoid sudden shifts. Quiet, predictable actions reduce defensive signs and help the visit go smoothly.
Entrance etiquette
Never block the entrance or stand in the flight path. Keep clear so foragers can return and leave without conflict.
Position yourself to the side and work from the upwind edge of the stand. This small bit of distance lowers guard activity and reduces interruptions during the inspection.
Smoke technique
Use the smoker sparingly. Deliver a couple of gentle puffs at the entrance, then a soft puff under the top and wait a moment for smoke to circulate.
Why it works: smoke masks alarm pheromones and encourages feeding, which calms many of the bees and gives you time to work.
Do not over-smoke. Too much smoke drives bees deep and can complicate handling. If guard activity rises, pause and give one light puff, then continue.
- Coach a calm approach: steady movements and confident handling.
- Stay out of the flight path at all times; protect returning foragers.
- Apply minimal smoke: entrance first, then under the top; wait before opening.
- Watch bee behavior and stop if agitation grows.
Open the Hive in the Right Order to Protect Bees and the Queen
Follow a steady order each time you open the hive. Consistency saves time and reduces stress on the colony. Begin by smoking the entrance, then crack the top carefully.
Lift the outer cover and give one soft puff under it. Set that outer cover upside down on the ground to use as a clean base for stacking boxes and frames.
Use your tool to pry off the inner cover if propolis holds it fast. Work from the top down: remove supers first, then the brood box. Stack each box on the upturned cover as you go.

Frame handling and workspace
Create working space by easing one frame from the brood area. Inspect one frame at a time and keep frames in the same order.
- Keep frames vertical and avoid rolling bees along comb.
- Return each frame to its original slot to protect brood frames and orientation.
- If traffic is heavy, give a light puff before lifting the bottom to calm activity.
Restacking the boxes
When replacing boxes, align an edge and slide each box into position slowly. This way you minimize crushing bees at seams and preserve the cluster.
If you need a pause, cover the brood box with a cloth or set a lid lightly to hold heat and limit drifting. Finish by squaring the stack, clearing burr comb, and confirming everything is returned in good order before the final lid goes on.
What to Look For During a Hive Inspection
Quick, systematic checks of frames reveal eggs, larvae, and early warning signs before problems escalate.
Queen assessment: If you don’t see the queen, use eggs as proof. Fresh, upright eggs mean the queen was present within about one to three days. Read egg angle: vertical day one, tilted day two, nearly horizontal by day three before hatching.
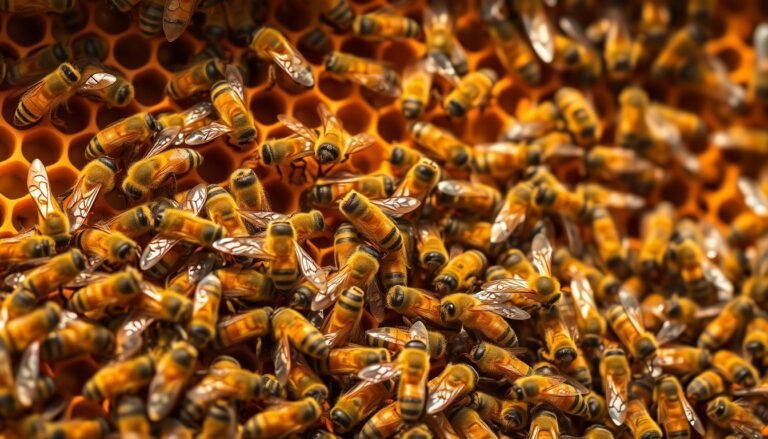
Brood quality: Look for eggs, young larvae, and capped brood in a tight pattern. A solid brood field across several brood frames signals vigor. Patchy or sunken cappings and dark cells are a sign to investigate further.
Population and temperament: Calm, steady bees usually mean a queenright colony. Sudden aggression, noisy buzzing, or drifting can indicate stress or queen problems. Note entrance traffic and compare with nearby hives.
Queen cells and stores: Cells along the bottom often mean swarming; center cells suggest supersedure. Capped swarm cells need quick action. Check supers: when 7–8 of 10 frames are capped honey, add another super. Ensure pollen near the brood nest.
Pests and disease: Scan for Varroa on bees, wax moth tunnels, small hive beetle slime (fermented odor), or the foul smell of American foulbrood. Record every finding so trends across inspections become clear.
| Focus | Quick sign | Action |
|---|---|---|
| Queen | Fresh eggs | Confirm laying |
| Brood | Solid pattern | Routine monitoring |
| Cells | Bottom or center | Split or requeen |
Managing Boxes, Frames, and Space
Treat boxes and frames as living tools: clean, rotate, and repair them regularly.
Brood box vs. honey super
Brood box checks and super checks
When you open the brood box, focus on the queen, brood continuity, and available space around the nest. These checks take longer because you look for eggs, larvae, and pollen near the brood.
Super checks are quicker. Look for capped honey progress and decide if you need to add a super when most frames show heavy stores.
Propolis, burr comb, and equipment condition
Remove burr comb and scrape excess propolis from frame ears and box rests so parts fit and bee space remains correct.
Retire deep brood frames on a rolling basis (about three years) to reduce residue and refresh comb quality in the brood box.
“Keep equipment serviceable: replace warped boxes and cracked joints promptly to protect the cluster and stores.”
- Cut away burr comb that blocks access or alters bee space.
- Monitor boxes for warps, rot, or loose joints and repair or replace as needed.
- Use weight cues: medium honey frames ≈ 5 lb, deep ≈ 10 lb to estimate stores before moving boxes.
- Collect clean propolis in a small container for sale or storage while preserving hardware.
| Task | Focus | Why it matters |
|---|---|---|
| Brood box review | Queen, brood, pollen | Maintains laying continuity and nutrition |
| Super check | Capped honey frames | Decide add/remove space |
| Frame maintenance | Scrape propolis, retire old frame | Reduces residues and disease risk |
| Box condition | Joints, warps, rot | Prevents drafts, moisture, and pests |
After reassembly, confirm frame spacing and alignment. Proper spacing preserves bee space and saves you time on future checks.
Seasonal Adjustments, Feeding, and Notes You Should Record
Small, targeted visits in cold weather protect heat and reveal true food needs.
Winter checks
Winter checks: quick food assessments with minimal disturbance
Limit cold-season visits to once or twice total to avoid heat loss. Open only enough to confirm stores and manage moisture.
Focus on internal food and dry conditions rather than a full box-by-box review. If bees look light or damp, plan a brief follow-up.
Estimating stores and hive weight: frames, boxes, and scales
Bees often consume about 40–60 lb of honey over winter. Count capped frames to estimate stores: medium ≈ 5 lb, deep ≈ 10 lb.
If you have scales, use them for continuous information. Without scales, lift from the back or tally frame weights to approximate totals.
Decide whether to keep or remove a super by ensuring the brood box stays well provisioned before cold snaps.
Inspection notes: date, weather, queen sighting, brood stages, signs, actions
Record concise notes every visit: date, time, weather, queen seen or inferred from eggs, brood stages, and capped brood counts.
Also note the number of queen cells, honey frames full, signs of disease, and exact actions taken so future visits show trends by weeks and colonies.
Learning curve: improve skills with experience and local beekeeping support
Track results and adjust timing across colonies. Join local beekeeping clubs or online forums to compare observations and timing.
Shared information shortens your learning curve and helps you match seasonal timing to local weather and forage patterns.
| Topic | Quick metric | Threshold |
|---|---|---|
| Winter checks | Visits | 1–2 total |
| Stores | Honey needed | 40–60 lb per colony |
| Frame estimate | Weight per frame | Medium ~5 lb / Deep ~10 lb |
| Notes | Key entries | Date, weather, eggs, brood, disease, actions |
Conclusion
A calm, repeatable routine turns each visit into clear, actionable steps. Approach the hive steadily, use smoke sparingly, open boxes in order, work one frame at a time, and slide boxes back to protect the queen and cluster.
What to verify every time: eggs and brood pattern, adequate frames of stores, and no signs of pests or disease. Read queen cells by position: bottom cells often mean swarming, center cells point to supersedure, and respond by stage and season.
Check the bottom bars and brood faces for fresh eggs if you do not see the queen. Record notes immediately so trends guide timely space decisions—add a super when 7–8 of 10 frames are capped.
Disciplined technique keeps bees healthier and beekeepers confident. For more on scaling your apiary and timing box additions see our beekeeping expansion guide.
FAQ
How often should I check my colony during spring and summer?
Check colonies every 10–14 days in spring and summer. This cadence helps you monitor brood development, honey stores, and detect pests like Varroa before problems escalate. Keep visits focused and efficient to limit disruption.
What weather and time of day are best for a visit?
Choose a clear, warm midday with low wind. Bees are least defensive when many foragers are out. Avoid cold, rainy, or very windy days to reduce stress and the chance of crushing bees during frame work.
What basic gear should I bring to the yard?
Bring a smoker, hive tool, brush, notebook, and optional hive scales. Wear a bee suit or veil, gloves, and sturdy boots. A notebook or digital logger helps track queen sightings, brood stages, and treatments.
How do I use smoke without causing harm?
Use gentle puffs at the entrance and a few under the top cover. Light, controlled smoke masks alarm pheromones and calms bees. Over-smoking can coat combs and obscure observations, so keep it moderate.
In what order should I open and reassemble boxes?
Remove covers and supers first, placing them on an upturned lid or clean box to keep frames in order. Work from the outer frames toward the center, maintaining frame orientation. Restack boxes aligned and slide them back together to minimize air gaps and disturbance.
How can I tell if the queen is present and healthy?
Look for eggs, young larvae, and a consistent brood pattern within three days of a possible queen issue. Presence of all brood stages usually indicates a laying queen. Marking queens or noting egg orientation and timing improves diagnosis.
What are signs of a good brood pattern versus problems?
A healthy pattern is solid with few empty cells amid capped brood. Spotty or scattered brood can signal disease, poor queen performance, or stress. Check for eggs in cells and uniform larval development as well.
How do I differentiate queen cells that indicate swarming from those for supersedure?
Swarm cells tend to appear on the bottom of frames along the edges and are often numerous. Supersedure cells form closer to the center and appear singly or in small numbers. Act quickly on swarm cells by providing space or splitting if you want to prevent a loss.
When should I add a honey box or super?
Add a super when brood boxes are about 70–80% full of bees and you see capped honey forming in upper frames. Providing space during a nectar flow prevents congestion and reduces swarming pressure.
What pests and diseases should I watch for during checks?
Look for Varroa mites on sticky boards or sampled bees, wax moth damage in weak colonies, foul odors or perforated capped brood from American foulbrood, and small hive beetles in traps and corners. Early detection lets you act before colonies decline.
How should I handle burr comb and propolis buildup?
Remove excess burr comb and scrape heavy propolis during inspections to keep frames manageable. Clean equipment in spring and replace badly damaged frames. Regular maintenance makes future visits quicker and safer.
What adjustments should I make in autumn and winter?
Taper inspections in autumn and focus on stores, ventilation, and entrance reducers. Perform quick winter checks only when warm enough to avoid chilling. Use insulated wraps or inner covers and ensure adequate honey or feed to sustain the colony.
How do I estimate stores and colony weight without scales?
Lift the outer edge of the bottom box to feel its weight; compare to known “full” and “light” reference lifts. Count frames with capped honey and note empty frames. For precision, install hive scales to track weight trends remotely.
What notes should I record each visit?
Log date, weather, queen sighting, brood stages, stores, population, temperament, pests or disease signs, actions taken, and follow-up dates. Clear notes build a seasonal record that improves management decisions.
How can I improve my skills as a beekeeper over time?
Practice regular, focused visits, join a local beekeepers association, and swap notes with experienced keepers. Attend workshops and review local extension guidance—regional knowledge helps you read colony behavior and respond appropriately.