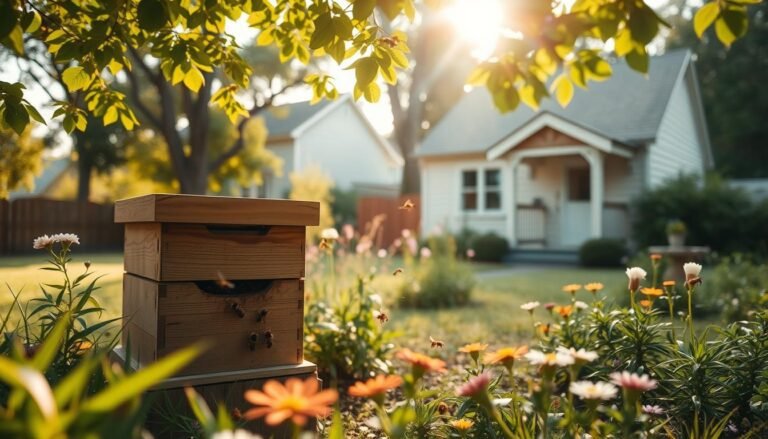
Provide a safe, simple water station that helps pollinators access clean water without drowning. This short guide shows an easy, low-cost approach using dishes, pebbles, or small reservoirs you likely have at home.
Why it matters: Bees use water to cool the hive, control humidity, dilute thick honey, and feed very young larvae. Without a reliable water source, they may visit pools or contaminated ditches, risking their health and your neighbors’ peace.
This article walks through safety principles, a clear materials list, step-by-step assembly, smart garden placement, and simple upkeep. You will learn to favor plain water only, avoid sweeteners, and include mosquito-smart tactics. For more ideas and an expanded station plan, see this bee watering station resource.
Goal: a durable station that blends into your garden, keeps bees safe, and lowers visits to risky water sources while helping local pollinators thrive.
Key Takeaways
- Bees need shallow, stable access to clean water for hive cooling and larval feeding.
- Use plain water only; avoid sweeteners to deter pests.
- Simple setups—shallow dish with pebbles or a small reservoir—work well.
- Place stations near the garden but away from hives and pools.
- Include floating or fixed perches to prevent drowning and reduce mosquito risk.
Why Bees Need a Safe Water Source
Bees rely on nearby clean water for tasks that keep a colony alive and thriving. Foraging workers gather water and spread a thin film inside the hive. Evaporation from that film cools brood frames and helps keep humidity steady around developing baby bees.
Nurse workers also mix water with pollen, nectar, and royal jelly to feed larvae. The first-day diet for new brood can be as much as 80% water, so reliable access directly affects growth and survival.
Bees use water when honey crystallizes or becomes too thick. Adding small amounts of water lets the colony dilute honey and maintain a steady, digestible energy supply.
When clean sources are scarce, bees visit chlorinated pools, roadside ditches, or standing puddles that may contain pesticides. Those risky sources can harm an entire hive.
- Evaporative cooling: stabilizes brood temperature and humidity.
- Larval feeding: nurse bees mix water into early diets for baby bees.
- Honey management: workers water dilute honey so it stays usable.
- Source choice: clean garden stations reduce visits to hazardous water.
Safety First: Shallow Containers, Rocks, and Mosquito-Smart Design
Simple safety steps keep pollinators alive and healthy. Choose design elements that cut drowning risk and limit pests while offering steady access to clean water.

Choose low depth and stable bowls
Use a shallow container or compact bird bath about 1–2 inches deep. A shallow dish keeps the water level low so insects can sip without falling in.
Create many landing zones
Place river rocks, pebbles, marbles, corks, or sticks so there are perches at varied heights and textures.
- Some perches sit above the surface; some sit partly submerged.
- This network helps different-sized bees reach the water safely.
Keep mosquitoes and other pests away
Refresh small features weekly, cover stored reserves with fine mesh, and add slight water movement when possible. For high mosquito pressure, use a covered reservoir that drips into a rough waterway and an overflowing basin that drains into soil.
“Make sure perches are stable and depths stay shallow.”
Note: Do not add sugar or honey. Sweet liquids attract pests and harm bees. Do a quick station check each visit to remove debris, confirm perches, and verify the water source remains safe.
What You’ll Need to Build a Bee Watering Station
Gathering the right supplies makes a reliable watering station simple and safe for pollinators.
Core supplies: a shallow container or dish about 1–2 inches deep, clean water, and a mix of pebbles and rocks for secure landing spots.
Choose durable materials. Ceramic or thick plastic containers hold up outdoors. Use smooth river stones or glass marbles for stable, non-toxic perches.
Include a small brush or sponge for periodic cleaning. Regular wiping removes algae and debris and keeps the station inviting for bees and other pollinators.
“Reserve every item for garden use only and avoid any pesticide or detergent residues.”
Optional upgrades: a gravity-fed pet bowl or poultry feeder fitted with rocks, a compact bird bath with added perches, or a DIY reservoir made from a clean gallon jug with a tiny pinhole for a slow drip.
Assemble materials before placing the station so you can fill and position it quickly. For more resources on pollinator care and reading, see this beekeeping resources guide.
How to Build a Bee Waterer: Step-by-Step
A safe station begins with clean materials and a stable base. Clean parts last longer and cut the risk of disease. Follow each step slowly and check stability before leaving the setup unattended.

Prep and clean your container and materials
Wash the dish, perches, and pebbles with mild soap. Rinse thoroughly to remove any residue that could harm bees.
Make sure nothing smells of chemicals before you place it outdoors.
Arrange pebbles at varied heights for safe access
Set the container on a flat, level surface so it won’t tip when insects land. Lay pebbles and rocks at different heights and leave channels for gentle water flow.
Fill with clean water — no sugar or honey
Fill water so some pebbles sit above the surface and some sit just below. Use plain water only; sweet liquids attract pests and spread disease.
Test depth and stability to avoid bee drownings
Gently rock the dish and press on perches to confirm nothing shifts. Adjust until the station stays steady and water remains shallow.
- Observe for days: top up during hot weather and clean every few days to limit algae and mosquitoes.
- If you add a reservoir, confirm a slow drip across a rough surface into the basin.
- Take a quick photo and notes of your layout so you can replicate the design elsewhere or improve it later. See this garden guide for more ideas.
Placement Tips to Help Bees Find and Use Water
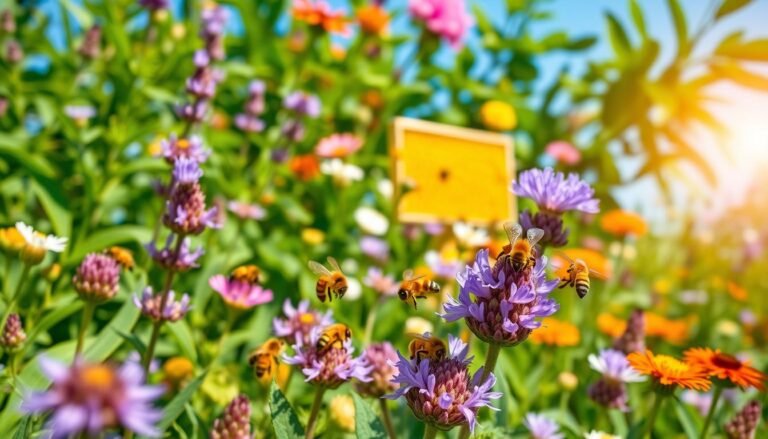
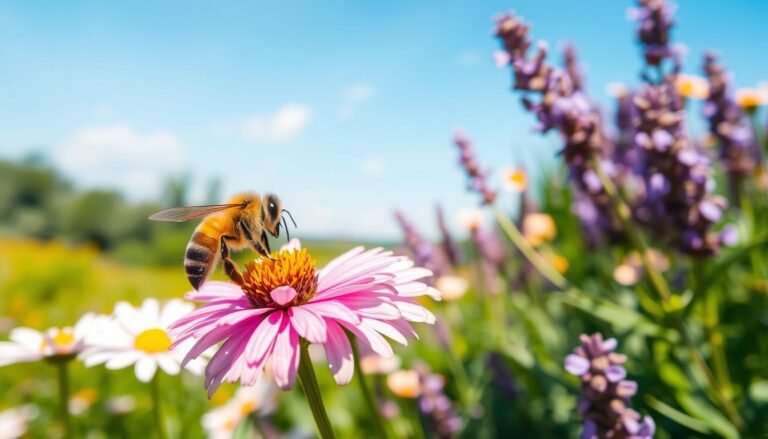
Choose a visible garden spot near flowers that foragers visit. When the station sits by blooms, workers often discover the water while collecting nectar and pollen.
Set near flowers, in morning sun and afternoon shade
Morning sun warms the surface and encourages early use. Afternoon shade keeps the water from overheating and evaporating too fast.
Distance from the hive and garden paths
Place the station several feet from hive entrances so flight paths do not clash. Avoid busy walkways and pet areas to reduce human–bee encounters.
Pick a wind-sheltered, level spot with good drainage. This helps perches stay stable, lowers splashing, and prevents puddles that attract mosquitoes.
- Keep the station close to active blooms so bees find it naturally.
- Choose ground that absorbs modest overflow without creating standing water.
- For bird bath-style setups, make it visible but not in high-traffic areas.
“If bees don’t locate the station within a few days, move it slightly nearer to frequently visited flowers.”
Subtle cues like mixed textures, wet stones that catch light, and small glints help attract bees as they navigate the garden. Gradual micro-relocations can improve discovery without stressing pollinators.
Daily Care and Seasonal Maintenance
A short maintenance routine ensures your station stays inviting and safe for pollinators. Set simple habits for hot spells and wet seasons so access to clean water never lapses.
Refill schedule during hot days and drought
Check levels each day when temperatures rise and top off as needed. During droughts, increase checks and note the time of day that evaporation peaks.
Cleaning cadence to manage algae and debris
Wipe perches and scrub the basin every few days to remove biofilm. Dump and refresh bird baths and pet dishes at least weekly.
Mosquito prevention: refresh frequency and overflow management
Keep overflow draining into soil and remove nearby standing pools. If mosquitoes are a problem, use a covered reservoir with a slow drip into the basin.
“Avoid adding sugar or honey — sweet liquids attract wasps and ants and harm the goal of hydration.”
- Accept light algae, but replace water if it smells or turns murky.
- Clear leaves and petals from the perimeter each day and record maintenance time for seasonal adjustments.
- For a long-term plan, consult this maintenance calendar.
Variations, Upgrades, and Troubleshooting
Combine a slow-drip reservoir, a rough waterway, and a shallow basin for steady access while cutting mosquito risk.
Reservoir → waterway → basin
Design tip: use a covered jug with a tiny pinhole for a low, steady drip into a textured path. The slow feed reduces standing pools and keeps the station consistent.
Guide the drip along a flat log, sloped stones, or a rough board. These textures create micro-landing spots as water moves toward the pool.
Alternate setups and simple upgrades
Use a shallow bird bath with added perches, a hummingbird feeder filled with plain water, or pet and poultry bowls lined with rocks.
Add pebbles or rocks so water sits at shallow margins and insects can step safely without slipping.
Attraction and placement tips
Place stations near frequent blooms so foragers find the source naturally. A faint scent cue, like a trace of lemongrass oil, helps initial discovery but remove it once bees begin regular visits.
Common mistakes and quick fixes
- Too deep water — add rocks or pebbles to shallow the profile.
- No perches or slick surfaces — roughen stones or add corks for grip.
- Adding sweet liquids — never use honey or sugar; they attract ants and wasps.
“A slow drip into a rough waterway gives steady supply without creating mosquito habitat.”
Watch usage over several days and tweak placement near high-traffic flower patches that bees prefer. For step-by-step inspiration, see this make a bee-friendly watering hole.
Conclusion
Conclusion: A simple shallow dish with stable perches and fresh, plain bee water gives pollinators a safe spot they can rely on through the season.
Start small: place the watering station near flowers, check it each day for debris, and top up in hot weather. Avoid adding sugar or honey; sweet liquids attract pests and harm natural foraging.
When refill time becomes frequent, consider upgrades like a covered reservoir or gravity-fed bowl to extend intervals. Small daily care—fast refills and quick cleaning—helps bees stay healthy and steers them away from risky pools. For guidance on expanding stations across your garden, see this watering station upgrades.
FAQ
Why do bees need a safe water source?
Bees use water to cool the hive, regulate humidity and dilute stored honey for young larvae. A reliable source near foraging areas reduces long flights and stress on the colony.
What kind of container works best for providing water?
Choose a shallow dish or bird bath with a flat rim. Depth should be very low so insects can land without drowning. Materials like ceramic, plastic, or metal all work if kept clean.
Should I add rocks or pebbles to the water?
Yes. Place pebbles, marbles, corks, or sticks so insects have secure landing and takeoff spots. Vary heights so bees can sip from safe, dry perches.
Is it OK to use sugar water or dilute honey in the station?
No. Do not add sugar or honey. These attract pests, ferment quickly and can harm bees. Offer only clean, fresh water at the station.
How do I keep mosquitoes from breeding in the water?
Prevent standing, stagnant pools by changing water every few days, using a small fountain pump or placing a tight mesh over the surface while still allowing bee access to perches.
How often should I refill and clean the station?
Refill daily in hot weather and at least every few days otherwise. Clean the container weekly or when algae, debris, or biofilm appear to keep water safe for pollinators.
Where should I place the watering station in my yard?
Set it near flowers and within sight of the hive if possible. Morning sun with afternoon shade is ideal. Keep it off garden paths to reduce disturbance and predators.
Can I use a bird bath or pet bowl as a bee watering station?
Yes. Bird baths and shallow pet dishes work well when fitted with perches like stones or floating corks. Ensure they remain shallow and clean to prevent drownings and disease.
What are common mistakes to avoid?
Avoid deep containers, lack of landing spots, adding sugar or honey, and infrequent cleaning. Also, placing the station too far from forage or in full, harsh sun can reduce bee visits.
Are there upgrades that make a more reliable water source?
Consider a gravity-fed reservoir, slow drip from a refillable bottle, or a small solar pump. These provide steady water while minimizing manual refills and reducing stagnation.
How do bees find the water station in my garden?
Bees locate water by visual cues and scent. Position the station near flowers, use contrasting rocks or light-reflective surfaces, and keep it consistent so bees learn the location.
What should I do during drought or extreme heat?
Increase refill frequency, place containers in shaded spots to slow evaporation, and add extra stations around the property so multiple colonies and other pollinators can access water.
Can other pollinators use the same station?
Yes. Butterflies, hoverflies and beneficial insects will also use shallow, well-appointed water sources. Providing varied perch sizes helps a wider range of species safely drink.