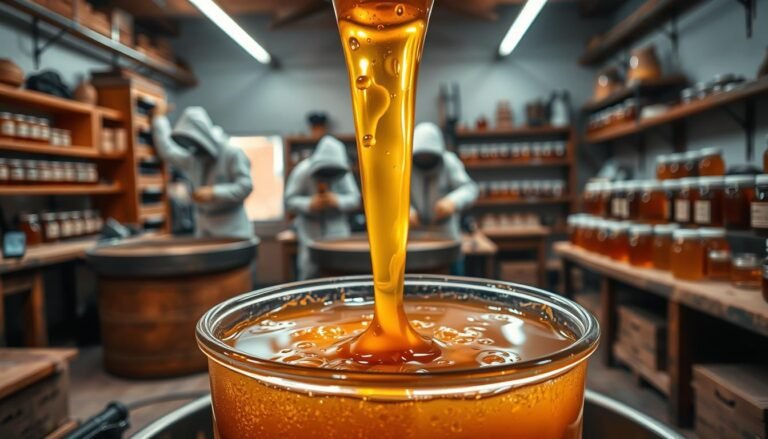
Learn how raw honey shifts from a stable pantry item into a lively kitchen starter. In its pure state, low moisture and acidity keep microbes inactive. Once diluted with water or mixed with fruits and vegetables, natural yeasts begin to ferment and transform sugars into tangy flavors and gentle effervescence.
The process is simple to try at home with clean jars, a basic weight, and a bit of patience. Raw honey brings probiotic cultures and enzymes that support complex taste and useful preservation without heavy salt. Expect sharp, savory notes as sugars are consumed; add sweetness at serving to balance the final jar.
Safety matters: avoid these ferments for infants under one year, pregnant people, and those with weakened immunity. The following sections will outline step-by-step methods, timing, and tools so you can ferment safely, use honey as a low-salt starter, and turn seasonal produce into bright condiments.
Key Takeaways
- Undiluted honey resists activity, but adding moisture lets natural yeasts ferment.
- Home ferments offer probiotic properties and bold, tangy flavors for fruits and vegetables.
- Keep equipment simple: jars, weights, and regular, short checks early on.
- Reintroduce sweetness at serving to balance tartness without restarting activity.
- Not safe for infants under 1 year, pregnant people, or immunocompromised individuals.
What Is Honey Fermentation and Why It Matters Today
Mixing raw honey with fresh produce creates the right conditions for wild yeasts to wake up and act. This is a simple culinary process where added water from fruit or vegetables raises overall moisture enough to start activity.
Typical honey holds about 17% water, too low for spontaneous activity. At roughly 19–20% moisture, natural fermentation can begin. Fruit and veg release water into the jar, triggering wild yeasts already present on both ingredients.
Compared with mead, which adds water and commercial yeast for higher alcohol, this method yields lower-alcohol, thicker, tang-forward condiments. The first few days are most active; over time the mix mellows and thickens.
“A quick stir or turn during the early period helps even out activity and prevents pockets of gas.”
Practical steps: pack produce, add honey, cap loosely, stir or turn for several days, then refrigerate to slow further alcohol and fix the taste. This way supports both fruit-forward and savory uses with minimal equipment and less salt.
The Science Behind Fermenting Honey
A change in water content wakes dormant microbes and starts a chain of chemical changes. When moisture increases, the dense matrix of raw honey thins and microbes can access sugars.
Moisture, natural yeasts, and microbiology
Moisture enables wild yeasts and friendly bacteria carried on bees and produce to begin active metabolism. In thick, dry honey these organisms stay inactive. Dilution unlocks sugar as fuel and starts CO2 and alcohol production.
Mead versus produce-based ferments
Mead typically uses commercial yeast, added sugar, and nutrients to reach predictable, wine-like alcohol levels. By contrast, honey-with-produce ferments rely on native yeasts and the fruit’s water. That yields tangy, vinegar-forward liquids and softened solids.
Alcohol, sugar levels, and flavor evolution
- Alcohol levels vary by initial sugar concentration in the combination of honey and fruit — roughly 0.5%–7% ABV in simple mixes.
- As sugar drops, sweetness gives way to acidity and umami, especially in savory mixes with garlic or ginger.
- The ferment’s liquid captures aromas and becomes a useful dressing or marinade base.
Safety, Equipment, and Jar Setup for Home Fermenting
Safe, tidy setup and the right jar choices make a successful home ferment far more predictable. Begin with clean surfaces, heat-safe tools, and a plan for headspace and venting before you add ingredients.

Sanitizing jars and tools to reduce contamination
Sanitize glass jars and lids by rinsing in boiling water or running them through a hot cycle. A quick boil for a few minutes reduces surface microbes.
Use only fresh, mold-free produce to lower the initial load of wild spores. Clean tongs and weights help keep the top layer tidy.
Mold risks and how to minimize them
Ferments using sugar-rich syrups carry higher mold risk than salt brines. Mold can spread through the mix, so check the top daily during the first week.
“Inspect the top surface often; early action prevents small issues from becoming full jars of spoilage.”
Choosing the right jar, headspace, and lids
Pick a well-sealing fermentation jar — gasketed Fido-style or an air-lock vessel works best. Avoid soft silicone caps or leak-prone pickle-pipes for active mixes.
- Leave generous headspace so foam and CO2 can rise without pushing liquid onto the lid.
- For a 3-cup jar, about ¼ cup of honey has been tested for longer storage.
- If crystallized, warm the jar gently in hot water to restore flow; do not microwave to protect cultures and properties.
Who should avoid these products
People with weakened immunity, infants under one year, and pregnant people should avoid raw honey and active ferments. Prioritize health considerations when sharing or storing jars.
When done carefully, some jars have stored safely for months, but refrigeration after the first week reduces risk and slows the process.
How to Ferment Honey at Home: Step-by-Step
Start with a simple, measured plan so the recipe stays consistent. Gather a clean quart jar, fresh produce, and small tools before you begin.
Ingredients and ratios
- Produce: about 3 cups, cut to bite-size pieces.
- Amount honey: roughly ¼ cup raw honey for a 1‑quart jar.
- Water: up to ½ cup only if needed; firmer fruit may need more.
Prepping fruit and vegetables
Pit, slice, or lightly crush to speed moisture release. Smaller pieces release liquid faster; very firm pieces benefit from a quick score or mash.
Packing the jar and headroom
Layer produce, pour honey slowly so it coats solids, then add water only to create a free-moving liquid phase. Leave generous headspace at the top for bubbles.
Managing weeks one and two
For the first week, stir daily with a clean nonreactive spoon or seal and flip the jar over a bowl to wet floating pieces. In week two, reduce agitation to every second or third day while watching bubbles and aroma.
When to refrigerate
Chill after two days for a sweeter finish. Keep jars at room temperature longer for a tangier profile and deeper complexity.
Simple signs of healthy activity: clearer liquid, steady bubbling, and produce that darkens and sinks. Taste as you go and adjust storage to suit the final flavor you want.
Honey fermentation
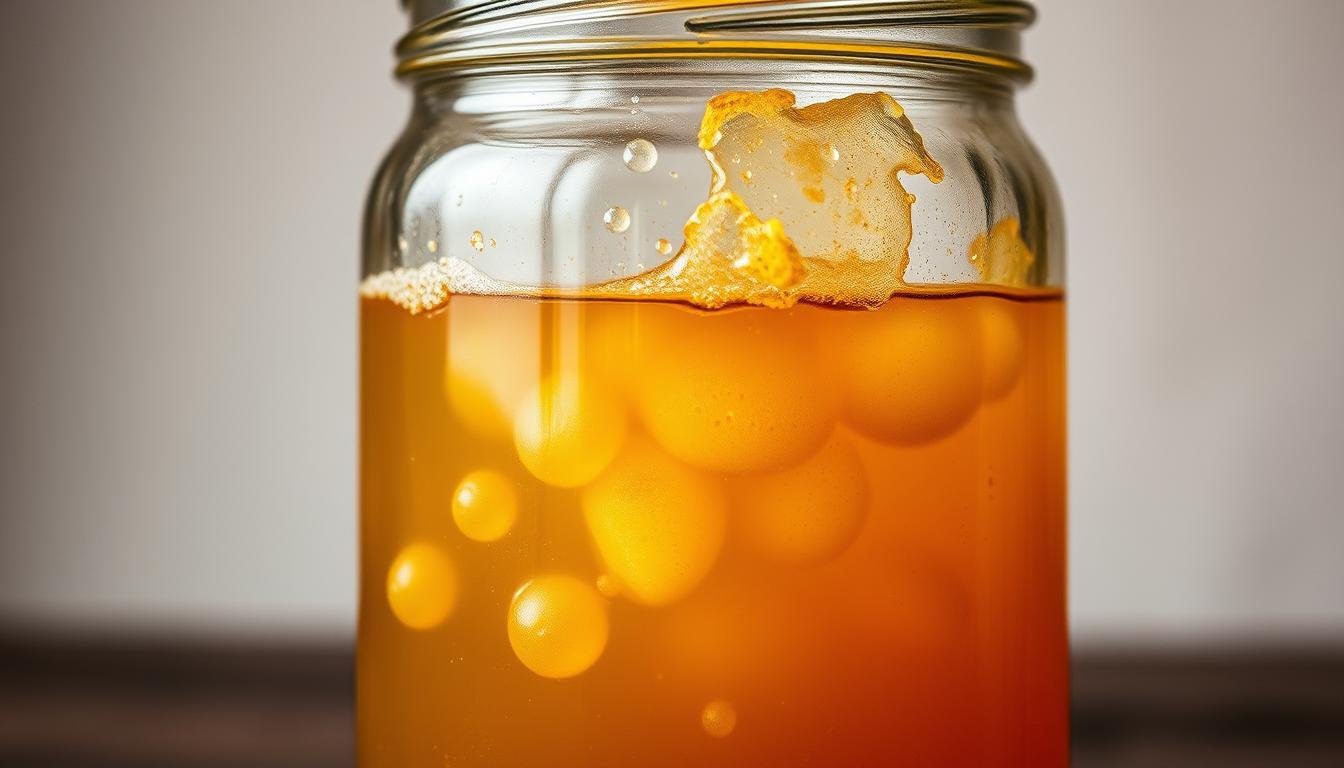
Expect the jar to change quickly at room temperature; visible signs tell you when to act.

Timeframe overview: bubbling is most vigorous in the first week and often stays noticeable into the second week before calming to a steady state.
Timeframes, visual cues, and expected bubbling activity
Look for fine bubbles streaming upward and a soft foam at the surface. Produce will darken and slowly sink as liquid soaks in.
Touch and smell confirm activity: the liquid thins, aromas shift toward tang, and you may hear a light hiss when opening the jar.
Reducing alcohol levels: low-sugar choices, shorter ferments
Alcohol in typical kitchen ferments ranges roughly 0.5%–7% ABV, driven by the mix of sugars from honey and fruits or vegetables.
To keep alcohol low, use the minimum honey needed, avoid added sugar, choose lower-sugar produce, and limit warm-room time to about 2–7 days before chilling.
| Stage | Signs | Action |
|---|---|---|
| Days 1–7 | Vigorous bubbling, foam, bright aroma | Stir or vent daily; taste to track progress |
| Days 8–14 | Bubbles slow, color deepens, produce sinks | Reduce agitation; decide when to refrigerate |
| After week 2 | Quieter activity, stable flavor | Chill for storage; use within months |
Quick plan for busy schedules: taste daily in week one and refrigerate the jar once you prefer its balance of sweetness and acidity.
Recipes, Variations, and Ways to Use Fermented Honey
Small-batch tests let you compare how different fruits and spices evolve over weeks. Start with a single, clear recipe and swap one ingredient at a time so you can judge changes in taste and texture.
Fruit-forward ideas
Try berries, peaches, or pomegranate with a sliver of ginger and a clove to brighten the top note. Use softer fruits whole and dice firmer produce like apples or pears so they release liquid faster.
For dried dates or figs, add about 3% water by weight to the mix so ferments start reliably. Expect bright fruit early, then a richer, tangier arc as sugars shift.
Savory staples and spice strategies
Make a garlic blend with sliced cloves, turmeric, or jalapeño for deep umami. These projects can age for months and gain dark, complex color.
Swap warming spices for winter, or add citrus zest for brightness. Taste periodically and add sweetener only at the end if you want to soften acidity.
Serving and presentation
Whisk the liquid into dressings, glaze roasted vegetables or meats, spoon solids over yogurt, or stir a spoon into tea. Strain some liquid for cocktails and use the softened solids as a tangy garnish.
Tip: Work in multiple jars to compare variations, then scale your favorite recipe once you find the exact way you like to use honey ferments.
Raw Honey Benefits and Fermentation Properties
Raw honey preserves enzymes, pollen, and a native microbiome that can enrich the flavor and nutrient profile of small-batch kitchen ferments.
Probiotic cultures, enzymes, and how dilution changes activity
Raw honey carries live bacteria and yeasts from bees and flowers. These organisms sit dormant in thick syrup until water or produce liquid lowers osmotic pressure and allows growth.
As antimicrobial strength drops, native microbes begin to metabolize sugars. That activity increases acidity and layers flavor while creating a versatile liquid for dressings and drinks.
Microbes and functional effects
Bacteria and yeasts work together to produce mild acids, aromatic compounds, and a softer texture in the solids. This makes fermented honey-style condiments more complex and food-ready.
Keep claims modest: living cultures can add functional benefits, but taste and safety remain the top practical goals. For context and study data on probiotics in raw products, see the research on probiotic cultures.
Pairing, uses, and quick ideas
- Choose firm fruit to slow activity or soft berries to speed it up.
- Use the finished liquid as a glaze, dressing base, or low-salt preservative.
- Test small jars first to match varietal aroma with your chosen produce.
Conclusion
A short, regular check of your jar gives the best chance of a consistent, safe result. With the right moisture and a measured amount of water, a simple mix of produce and a little honey will reliably start activity in the first week.
Unlike mead, these kitchen batches focus on flavor and texture rather than alcohol level. Start small, taste across the week, and refrigerate when the profile suits you.
Keep jars sanitized, keep solids submerged, and watch for a clean top surface to store safely for months. Try one vegetable or a few berries at a time to see how ingredients change the liquid and overall taste.
Monitor sugar, moisture, and room time, then apply what you learn in dressings, glazes, teas, and marinades. Experiment thoughtfully and enjoy the complex results.
FAQ
What is the fermented honey process and why should I care?
Fermenting raw honey turns its natural sugars into tangy, complex flavors using wild yeasts or added strains. The result can enhance sauces, dressings, and beverages while creating probiotic-rich condiments. It’s a simple way to extend produce, extract fruit flavor, and craft mead-style liquids at home.
What ingredients and ratios do I need to start a basic ferment?
Use unpasteurized product, clean water, and fresh produce if adding fruit or spices. A common approach is a 1:1 to 1:3 ratio of product to water by volume, depending on desired sweetness and alcohol potential. Add chopped fruit or aromatics to boost moisture and flavor.
How do moisture and natural yeasts affect the outcome?
Water content activates native yeasts and bacteria present in raw product and on fruit. Higher moisture speeds activity and can produce alcohol and bubbling; lower moisture slows fermentation and favors lactic cultures, creating a tang without strong alcohol notes.
What’s the difference between making mead and creating a simple ferment jar?
Mead targets alcohol production with diluted sugars and wine yeast, often requiring controlled fermentation and specific gravity monitoring. Jar ferments focus on flavor extraction and mild tang, using less water, whole fruit, and often no specialized yeast.
How long should I expect bubbling and visible activity to last?
Active bubbling typically appears in the first few days to two weeks. Activity tapers as sugars are consumed; mild, steady bubbling can continue for weeks. Visual cues—foam, cloudiness, and aroma—help decide when to slow or stop the process.
Can fermentation produce alcohol, and how can I keep levels low?
Yes, alcohol can form if yeast fully ferments available sugars. To limit ethanol, use less added water, shorten fermentation time, refrigerate sooner, or choose low-sugar fruit additions. Alternatively, select lactic-focused starters rather than wine yeasts.
What jars and lids work best for home batches?
Wide-mouth glass jars with good headspace let gases escape during active stages. Use airlock lids for extended brews or loosely capped metal or plastic lids during initial activity to prevent pressure build-up. Always leave room for foaming and expansion.
How do I sanitize equipment without harming beneficial microbes?
Clean jars and tools with hot, soapy water and rinse well. For starters, avoid harsh sterilizers that eliminate native cultures if you rely on wild fermentation; instead, use boiling water or a mild unscented bleach rinse followed by thorough rinsing when needed.
What are common signs of spoilage or mold, and how do I prevent them?
Surface mold (fuzzy, colored growth) and rotten odors indicate spoilage. Prevent issues by keeping solids submerged, maintaining clean tools, using appropriate salt or acid levels when applicable, and monitoring humidity and temperature. Remove any mold promptly and discard heavily contaminated batches.
Who should avoid consuming fermented raw products?
Pregnant people, infants under one year, immunocompromised individuals, and anyone with severe allergies to bee products or certain fruits should avoid these products or consult a healthcare provider before trying them.
When should I refrigerate to slow activity and preserve flavor?
Move jars to cold storage once the flavor and aroma reach your target—often after one to six weeks depending on recipe. Refrigeration dramatically slows microbial action and helps preserve texture and taste for months.
What fruits and vegetables work best for flavor-forward batches?
Berries, peaches, apples, pomegranate, and stone fruits offer vibrant fruit notes. For savory profiles, use garlic, ginger, turmeric, peppers, and onions. Choose ripe produce for best moisture and pronounced aromas.
How can I use fermented product in cooking and drinks?
Use it in vinaigrettes, marinades, glazes, syrups for cocktails, herbal teas, or spooned over yogurt and desserts. It brightens sauces and pairs well with roasted vegetables, grilled meats, and cheese boards.
Are there probiotic benefits and does dilution change enzyme activity?
Raw product contains enzymes and microbes that can offer digestive benefits. Dilution activates those microbes, shifting activity toward fermentation. While some enzymes decrease with alcohol or heat, many beneficial compounds remain when handled gently.
How do I adjust sweetness and spice without restarting the batch?
Taste periodically and add small amounts of unpasteurized product for sweetness, or introduce spices and citrus peels to tweak flavor. Make adjustments during active stages for better integration, and allow a few days for the profile to settle.