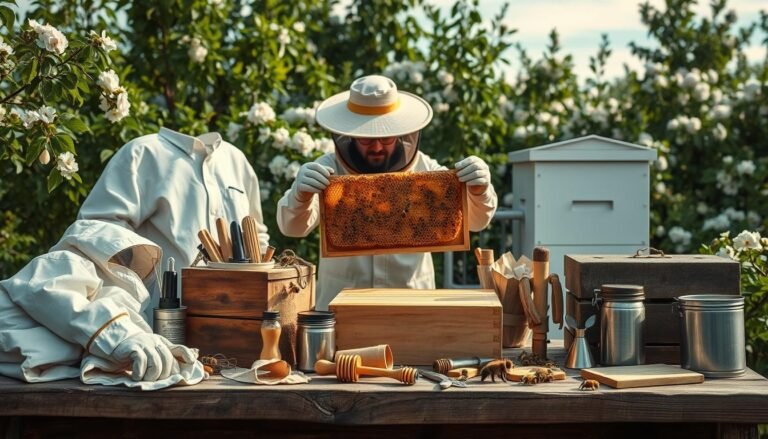
This introduction lays out clear, practical steps for keeping your hive stores safe during nectar shortages. Late summer and early fall often trigger raids across an apiary, but problems can occur any time the forage dries up.
Goal: help colonies survive dearths and build strength while minimizing risk by keeping food inside the box and controlling scent that draws scouts.
We explain why robbing matters to every beekeeper: it drains stores fast, spreads varroa and disease, and leaves wax debris on the bottom board as a telltale sign.
The guide previews actionable tactics at each hive level: reduce entrances, install robbing screens, choose internal feeders, time refills late in the day, and clean spills promptly.
Learn simple diagnostics—hefting and frame checks—to decide if feed is needed. Cold-weather options and emergency moves, like placing frames near the cluster or using fondant, are covered for low temps.
Key Takeaways
- Keep syrup and sweets inside the hive and control scent to reduce raids.
- Install entrance reducers and robbing screens before expected dearths.
- Heft and inspect frames to confirm real need before offering stores.
- Refill late afternoon or very early morning when fewer scouts fly.
- Use internal feeders or jar systems; have emergency honey or fondant for cold days.
Understand Robbing Pressure and When It Spikes
A sudden nectar gap can change calm foraging into chaotic conflict. A clear early sign is crowded, erratic traffic at the entrance rather than the smooth in-and-out of normal foragers.
At the landing board, frenzied flight, zig-zagging, and darting are common. You may see bees grappling or rolling and guards grappling with intruders. Normal foragers arrive steadily with pollen or nectar, not in clusters or fights.
When and why it happens
In the U.S., late summer into early fall often brings dearths that spark robbing. But any prolonged gap in your area can set it off—especially after heat waves that dry blooms or warm snaps followed by cold, rainy weather that halts forage.
Inside and outside signs include ripped honey cappings, wax crumbs on the bottom board, and stores dropping fast over days. At an apiary level, strong hives can overwhelm weaker hive entrances.
- Watch entrances closely during suspected dearths.
- Close down entrances and stop any outside syrup or open feeding immediately.
- Note local microclimates so you can act earlier next season.
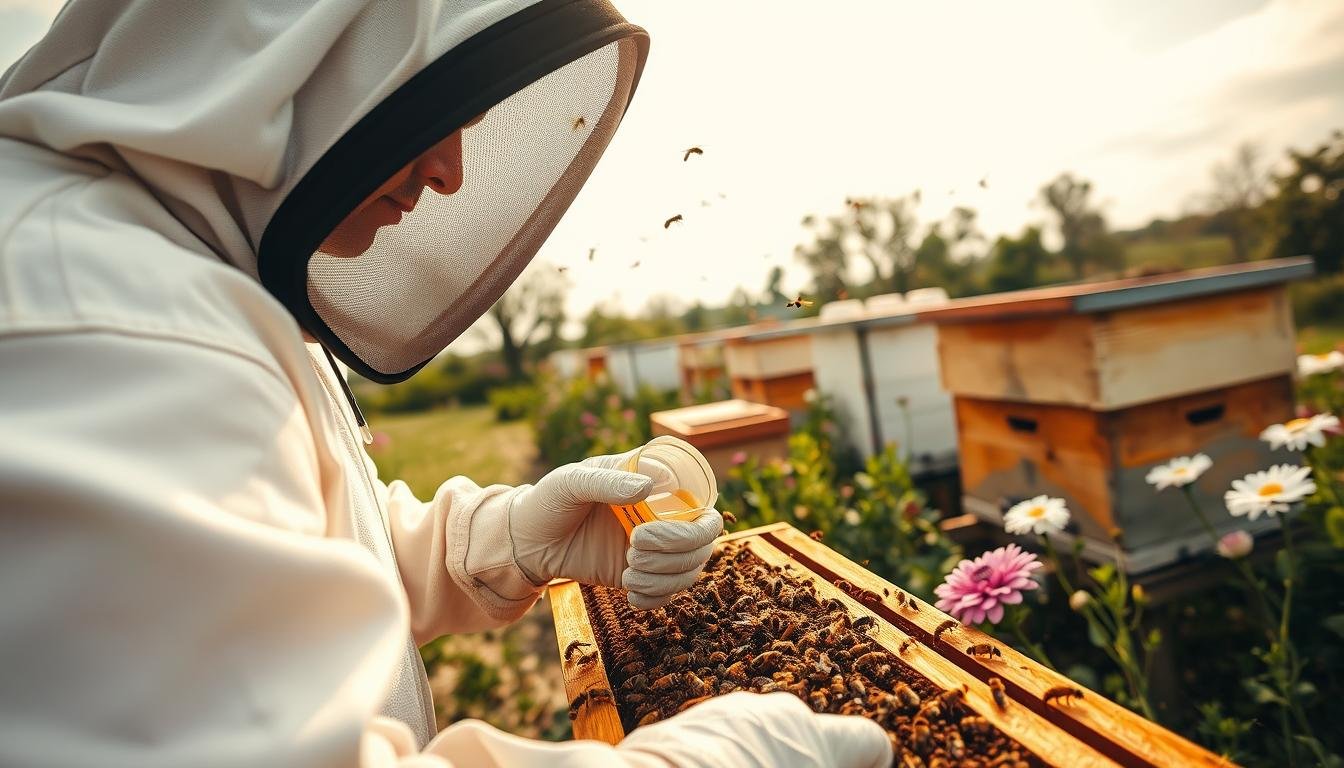
Diagnose Before You Feed: Do Your Colonies Truly Need Food?
A simple lift at the back of the box tells you more than a long inspection when forage is scarce. Hefting is a fast, low-disturbance way to check stores. A “dead heavy” hive usually means reserves are adequate. An easily tipped hive often signals a need to act.
Hefting and reading frames
Hefting the hive and reading stores on frames
Stand at the side or back, grasp the hive, and tip gently. Note weight and bounce; compare hives in the same apiary.
Open only if needed. Quick checks of outer frames for glistening nectar or capped arcs corroborate hefting without long exposure.

Regional reality check: northern vs. southern feeding windows
In northern areas, clusters stay tight and may not reach liquid feeders on cold days. Use full honey frames or solid sugar cakes placed near the cluster on a warm day.
In warmer southern and southwestern zones, hives often accept syrup through cool months, but scent control and timing still matter.
- Tip: Record each hive’s weight and stores pattern to refine your thresholds.
- Risk: Avoid unnecessary openings in cold weather; plan emergency feed that preserves the cluster.
- Goal: Accurate diagnosis reduces needless interventions that raise robbing pressure across the area.
Core Prevention First: Reduce Robbing Risk Before You Add Syrup
A small entrance and tidy equipment often stop problems long before syrup hits the box. Take preventive steps early—many beekeepers install entrance reducers or a screen from July through September to prepare for dearth. These changes give guards a chance to control traffic and repel intruders.
https://www.youtube.com/watch?v=WYlI0qvCWfI
Entrance reducers and detour screens
Reduce access early. Fit an entrance reducer so resident bees can defend the opening. Add a screen to force a short detour; it confuses robbers but still allows residents quick access.
Apiary layout and bottom management
Space hives to cut drift and avoid straight-line landing strips. Orient entrances differently to reduce scent confusion across the apiary. Monitor the bottom board for wax crumbs or ripped cappings—these are clear signs of stress.
Keep it clean: spills, frames, and covers
Never leave sticky frames, burr comb, or wax scraps outside. Wipe syrup drips from tools and the top cover immediately. Stage refills and inspections with lids and tools ready to limit scent plumes and exposure time.
“Tidy equipment and controlled access make colonies easier to defend.”
| Action | When | Benefit |
|---|---|---|
| Install reducer or screen | July–September | Improves guard control at the entrance |
| Space and orient hives | At setup | Reduces drift and scent competition |
| Clean bottom board and remove debris | Weekly during dearth | Alerts you to robbing and cuts attraction |
| Stage refills and avoid open feeding | During inspections | Limits odor plumes; keeps syrup in the box |
Some IPM treatments need fully open entrances. If treatments must run during dearth, choose products or timing that do not force large openings. For more detailed tactics, see preventing hive raids.
Feeding Bees Without Causing Robbing
Keep syrup inside the hive to limit scent and cut the chance of yard-wide raids.
Internal feeding confines odor, shortens travel for workers, and keeps stores out of sight. Top feeders, inner-cover jar feeders, and division-board options keep syrup inside the box where resident guards handle traffic.
Why in-hive feeding beats entrance or open feeding
Entrance and open feeders turn the yard into a public buffet. They broadcast scent and draw strangers to the landing board. That can escalate fights at the entrance and weaken colonies fast.
Best times of day to feed to avoid scouts
Refill late afternoon or early evening, or pre-dawn. These times cut exposure because fewer scouts fly and scent plumes settle before peak traffic.
Prep gear first. Stage jars, lids, and tools so refills take seconds. Fast, tidy work limits lid-off time and reduces spills that invite trouble.
- Use a top feeder or inner-cover jar to keep syrup in the hive.
- A division-board feeder works well if you prevent drowning.
- A robbing screen adds an extra buffer while you refill.
“Keep syrup inside the hive and refill when scouts are least active.”
| Action | Why | Best Time |
|---|---|---|
| Top or inner-cover feeder | Keeps scent inside, shortens worker travel | Late afternoon / pre-dawn |
| Division-board feeder | Internal placement; watch for drowning | Late afternoon / pre-dawn |
| Avoid entrance/open feeders | Attracts neighborhood and sparks conflict | N/A |
| Use robbing screen | Confuses intruders and aids guards | During dearth |

Choose the Right Feeder for the Job
Not all feeder styles serve the same goal. Pick a system that keeps syrup in the box, limits scent, and matches your hive layout and season.
Top feeders and inner-cover jar feeders
Top feeder systems hold large volumes and are easy to refill during checks. They keep syrup close to the cluster and under the cover so scent stays inside the hive.
Inner-cover jar feeders share the same benefit: low exposure and quick refills without full frame removal. Both options speed service and reduce yard attraction.
Division-board feeders: pros, cons, and drowning prevention
Division-board feeders fit inside and let you pour syrup into a protected cavity. Place them at the side wall for easy filling and to keep bees access-friendly.
Prevent drownings by adding floats, cork strips, or small ladders. In cool months, ensure bees can reach the reservoir; they need warm access to take syrup.
Boardman/entrance feeders and open feeders: when they backfire
Boardman or entrance-style feeders sit at the doorway and often draw neighborhood scouts. During dearth, they force hives to guard a sugary lure and can spark conflicts.
Avoid open syrup stations in backyard apiaries. They feed every hive nearby and increase pest and disease spread.
- Advantages: top feeder and inner cover systems — high capacity, easy refills, better scent containment.
- Division board tips: place at wall; use floats or ladders to stop drownings.
- Control flow: use tight lids, vacuum-seal methods, and nail-sized punch-holes to slow syrup release and stop leaks through screened bottoms.
“Manage flow and placement first; a well-sealed top or inner-cover feeder beats an open syrup tray every time.”
For a quick comparison of feeder options, use a system that keeps stores in the box and cut exposure during refills.
Syrup, Sugar, and Honey: What to Feed and When
What you offer—syrup, sugar, or comb honey—should match temperature and colony status. Use heavier stores for winter and lighter mixes only when you aim to stimulate spring build-up during warm, low-risk days.
Seasonal mixes
For fall and winter survival, a two-to-one sugar to water mix is standard. Mix two parts granulated sugar to one part water; exact precision is less important than calories. Heat just to dissolve the granules—do not scorch. Use 2:1 syrup to bulk up stores and switch to lighter blends only when you need quick stimulation.
Emergency options
Dry granulated sugar works in cold snaps; place it on newspaper above the inner cover. Commercial fondant or a homemade candy board is also effective. The best emergency resource is a full frame of capped honey—move a frame near the cluster on a warm day without breaking comb.
- Plan ahead: late-winter brood rearing raises consumption—check stores and replenish between warm windows.
- Health note: avoid unknown-source liquid honey due to disease risk; if known honey is used, dilute and offer only what bees can take overnight.
“Match form and ratio to season; sugar supplies calories, honey supplies everything else.”
For a detailed protocol, see the feeding guide and a comprehensive guide for recipes and emergency methods.
Placement, Flow Rate, and Scent Control
Place jar or pail feeders directly on the inner cover and enclose them under an extra box and outer cover to keep syrup scent inside the hive. This arrangement limits yard-wide attraction and gives guards a better chance to manage traffic at the entrance.
Use vacuum-sealed lids and tiny holes to regulate flow. A tight lid creates suction; a single frame-nail–diameter hole will drip slowly. That prevents gushes that can run out the front or through a screened bottom and trigger robbers.
Positioning and enclosure
Set the feeder centered on the inner cover, then add an extra brood box above it. The added box traps odor and keeps syrup near the cluster. It also reduces the chance of syrup dripping onto the landing board.
Controlling flow
Punch holes with a small nail; start with one or two. Too many or too large holes defeat the vacuum and flood the hive. After use, leave the empty feeder briefly so bees propolize unused holes, then open only the number needed next time.
Scent control and quick service
Refill fast and tidy. Stage lids, tools, and towels so lid-off time stays minimal. Wipe any drips from covers and the bottom immediately to cut odor plumes that attract robbers.
“A sealed top and precise holes turn a jar into a predictable feeder; keep refills short and cleanup immediate.”
| Action | Why | Practical tip |
|---|---|---|
| Place feeder on inner cover and enclose under extra box | Contains scent; keeps syrup in the hive | Center jar, add an outer cover |
| Use tight lids and small punch holes | Creates vacuum control; prevents gushes | Punch with a frame-nail; start with one hole |
| Leave empty feeder briefly after use | Bees propolize unused holes, improving control | Open fewer holes on next refill |
| Combine entrance reducer and screen | Helps guards repel intruders during refills | Install before refill and remove later if needed |
Strengthen Colonies So They Can Defend
Consolidating weak units early gives your apiary a better chance when nectar runs dry. Combining weak colonies into strong ones preserves stores and boosts guard numbers. Do this before the dearth begins so the merged colony can settle and reorient.
Assess brood and queen health first. Inspect brood patterns for steady, solid coverage. A failing queen means poor population maintenance and a fragile defense force.
Combining and queen management
Use established combining methods to protect the receiving queen. Mark or cage replacement queens and move frames carefully to keep brood warm and secure. Combined hives that keep consistent laying build guards faster.
Integrated pest management and treatment timing
Monitor varroa levels regularly. High mite loads weaken a colony’s ability to defend the entrance and manage stress.
Certain treatments require open entrances or warm windows. Plan treatments so they do not coincide with peak dearth or times when entrances should be reduced.
“A healthy colony with steady brood and low mite loads is the best defense against yard-wide raids.”
- Assess brood pattern and queen performance regularly.
- Combine weak hives with stronger units before dearth hits.
- Perform mite checks; treat when thresholds are met.
- Schedule treatments to avoid forced-open entrances during high risk.
- Keep records of combines, queen changes, and treatments to refine timing.
| Action | Why | Timing |
|---|---|---|
| Assess brood and queen | Identifies failing colonies early | Monthly in season; before dearth |
| Combine weak colony into strong hive | Consolidates stores and guard force | Weeks before predicted dearth |
| Regular varroa checks | Prevents immune and population collapse | Every 3–6 weeks; before combining |
| Plan treatments around entrances | Avoids forcing wide-open access during risk | Use warm windows; not during peak dearth |
For seasonal planning and a checklist of hive tasks, see seasonal tasks.
Cold Weather and Dearth: How to Feed Without Opening the Floodgates
Late winter often brings a sharp rise in consumption as brood rearing picks up and colonies burn more calories. Many hives starve in the last weeks before nectar returns if checks are delayed.
Fast action on a cold day can save a colony in minutes. Keep pre-made sugar cakes or commercial fondant ready and staged so you can work quickly.
Late winter reality: rising consumption
Monitor weight and cluster activity; consumption can climb fast over several days. Check at least every few days as brood ramps up, even if the weather looks marginal.
Fast cold-day method: sugar cake under the cover
Crack the outer quilt or inner cover only enough to slide a sugar cake directly above the cluster. Do this in one to two seconds to preserve heat and deliver calories immediately.
Use candy boards or fondant the same way. They provide accessible sugar that won’t flood the yard with scent or require a long lid-off time.
When to use frames of honey
Move full frames of honey on a mild day. Place frames adjacent to or just above the cluster so workers can reach stores without breaking their thermal envelope.
“Prepare cakes, frames, and covers in advance so the lid is off for seconds, not minutes.”
- Alert: late-winter consumption accelerates—check often.
- Fast method: slide sugar cake under quilt/inner cover over the cluster.
- Alternatives: candy boards or fondant work well for quick, low-scent supply.
- Frames of honey: relocate on a warm day to avoid chilling the cluster.
- Prep supplies and stage tools so service time is minimal.
For planning and reference on supplies and techniques, see our resources and books.
Troubleshooting: Signs of Robbing and What to Do Now
Quick detection and swift action are the difference between a saved colony and a yard-wide raid. Spotting trouble early lets you protect stores and give guards a fighting chance.
What to watch for:
- Chaotic flight and fights at the entrance—guard bees grappling with intruders.
- Wax flakes or cappings building up on the bottom board; torn comb is a clear sign.
- A sudden drop in honey stores over a few days when other hives remain steady.
Immediate responses that work right now
Narrow entrances to the smallest defensible opening and fit a robbing screen to force a detour and confuse attackers. This gives resident guards the edge.
Stop any entrance or open syrup feeding and clean spills at once. Remove sticky tools, trays, or exposed frames that act as beacons for robbing bees.
Secure food access and assess colony strength
Offer internal feed only, done late in the day or pre-dawn to reduce scouts. Keep lid-off time minimal and control flow to prevent drips that draw attention.
If a hive still struggles to hold its ground, reassess queen status and population. Consider combining weak hives into stronger units rather than letting stores be lost to persistent raids.
“Act fast: reduce openings, add a screen, stop all outside food, and feed inside at low-activity times.”
| Indicator | Immediate Action | Why it helps |
|---|---|---|
| Entrance fights / chaotic flight | Reduce entrance; install screen | Improves guard control; confuses intruders |
| Wax debris on bottom board | Clean debris; inspect frames quickly | Removes scent cues; reveals capping damage |
| Rapid loss of stores | Stop open feeding; provide in-hive feed late in the day | Keeps syrup inside; reduces yard attraction |
| Persistent weakness despite measures | Evaluate queen and combine hives | Consolidates stores and guard force |
Conclusion
Wrap up the season by prioritizing prevention, targeted in-hive feed, and steady colony health. Reduce entrances and fit a screen ahead of dearths. Use top or inner-cover feeders so syrup stays in the box and scent is limited.
Diagnose before you pour. Heft hives and check frames; act only when stores are low. Fast, late-day refills and spill-free service cut yard-wide attraction.
Keep queens strong and manage varroa so colonies can defend themselves. Track dearth dates, weather, and outcomes each year — records are the beekeeping way to get ahead.
FAQ
What are the key signs that a hive is being robbed rather than busy with normal foraging?
Look for fighting at the entrance, many bees dragging wax or body parts, torn wings, and an unusually high number of bees hovering and darting in front of the hive. Foragers arrive laden and leave quickly; robbers hover, probe, and often enter fights. Check the bottom board for wax scraps and dead bees — those are strong robbing indicators.
When does robbing pressure usually spike during the year and in what weather?
Robbing often peaks during nectar dearths — late summer and early fall in many U.S. regions — and after short warm spells following cold or rainy stretches. Hot, dry weather with little bloom and any sudden decline in local nectar sources raises pressure. Also watch for times when one apiary colony becomes weak or queenless; that invites robbers.
How can I tell if a colony truly needs supplemental syrup or stores?
Heft the hive to gauge weight and inspect frames for capped honey and pollen. A light hive with few capped frames and a small brood area likely needs food. Regional timing matters: northern colonies may need more late fall support; southern colonies can often forage later into the season. Always verify stores before adding syrup.
What prevention steps should I take before introducing syrup to reduce robbing risk?
Reduce the entrance with an entrance reducer or use a robbing screen, keep the area clean of spills and wax, and space hives to cut cross-colony scent trails. Close any damaged or orphaned hives and avoid leaving sticky tools or frames exposed. These measures lower attraction for robbers.
Why is in-hive feeding preferable to open or entrance feeders?
In-hive feeders hide scent and reduce visible nectar plumes that attract robbers. They let your colony access food internally, lowering traffic at the entrance and minimizing fights. Top or division board feeders inside the box protect syrup and help limit contact with non-colony foragers.
When is the best time of day to add syrup to minimize scout discovery?
Feed late evening or very early morning when forager traffic is low. Cooler times reduce scent spread and limit scout activity. Avoid feeding during peak foraging hours or bright midday periods when odd bees are more active at entrances.
Which feeder types work best to keep syrup inside the hive?
Top feeders (including inner-cover jar styles) and division board feeders with shields keep syrup within the box and reduce exposure. A screened inner cover with an inverted jar or purpose-built top feeder helps prevent drowning and limits scent escape. Choose a feeder that seals well and fits your hive layout.
Are Boardman/entrance feeders ever a good option?
Entrance or Boardman feeders can be convenient but increase robbing risk, especially in high-pressure areas. Use them only for quick, supervised fills or when colonies are strong and the apiary is isolated. If used, monitor closely and remove at first sign of robbing.
What syrup recipes are appropriate by season?
Use 2:1 sugar-to-water by weight in late summer and fall for winter stores; this thicker syrup mimics nectar concentration for long-term storage. For spring stimulation, use thinner 1:1 syrup to encourage brood rearing and foraging. In emergencies, use granulated sugar patties or fondant placed near the cluster.
What emergency food options work when syrup is risky to provide?
Granulated sugar cakes, fondant, and frames of capped honey are safer in high robbing conditions. Place them under the inner cover or directly above the cluster to limit scent and access by outside bees. These options reduce liquid scent plumes that attract robbers.
How should I position feeders and control flow rate to limit odor plumes?
Place feeders above the inner cover and, if possible, under an extra box to contain scent. Use feeders with small punch holes or a secure vacuum seal to slow syrup release. Keep refills quick and tidy and cover feeders with a board or screen to trap odors and reduce drifting trails.
What hive-strengthening measures help colonies defend themselves?
Combine weak colonies with stronger ones, replace failing queens, and maintain a healthy brood pattern. Regular varroa monitoring and timely treatments reduce stress and improve defensive behavior. Strong, populous colonies can better repel robbers and protect stores.
How do I feed safely in cold weather or late winter when opening the hive is risky?
Use sugar cakes, candy boards, or frames of honey placed near the cluster so you avoid wide openings. Put food under the inner cover or under a quilt box to keep warmth and limit disturbance. These methods support brood rearing without exposing the colony to robber bees or cold drafts.
What immediate actions should I take if I spot active robbing at a hive?
Close the entrance to a narrow reducer or add a robbing screen, stop all outside feeding, and clean any spilled syrup. Reduce hive openings to force defenders to concentrate. If the situation continues, consider temporarily moving the targeted hive or combining it with a stronger colony.
How can I prevent attracting robbers when handling frames or honey supers?
Work quickly and keep exposed frames covered when not being inspected. Clean spills immediately and store extracted honey in sealed containers away from the apiary. Wear minimal scented products and avoid placing sticky equipment near other hives to reduce scent trails.