Opening a hive at the right moment cuts stress for you and the colony. Good timing means fewer defensive bees are home, the view of frames is clearer, and your inspection runs smoothly.
This short guide sets a clear goal: a precise, professional inspection that protects the queen, preserves brood, and gives you quick, useful information. Most keepers check hives every two to four weeks in spring, summer, and autumn. In winter, openings are brief and focused on food and weight.
Timing often depends on local weather, season, and how calm your bees are. Calm, sunny periods with many foragers out make handling easier. A reliable method, proper smoker use, and a step-by-step approach reduce colony stress and lower the chance of damaging comb or injuring the queen.
Later sections give a practical checklist — gear, smoker use, reading brood patterns, and notes that help you turn observations into clear actions. For expansion planning and deeper context, see this beekeeping expansion guide.
Key Takeaways
- Choose calm, sunny conditions when many foragers are out.
- Inspect regularly in active seasons; limit openings in winter.
- Use a smoker and a methodical routine to protect the queen and brood.
- Follow a checklist for gear, hive reading, and safe handling.
- Turn notes into decisions: add space, treat issues, or track trends.
At-a-Glance: The Best Time of Day to Inspect a Hive
Quick practical answer: plan your visit when most foragers are out on flights. That often falls between mid-morning and mid-afternoon on a clear, still day.
Quick answer for most hives
When the sun is high, visibility on frames improves and fewer bees are inside. This reduces defensive behavior and makes it easier to find the queen and evaluate brood.
Why midday and calm, sunny conditions matter
Calm weather and bright light let you spot eggs, larvae, and capped brood faster. If conditions aren’t ideal, suit up, use the smoker, and keep the pass through brood frames brief.
- Late morning to mid-afternoon on still, sunny days is the usual window.
- Choose clear forecasts and bright sun to reduce handling errors.
- If you must work earlier or later, limit disturbance and protect the queen.
| Condition | Why it helps | Action |
|---|---|---|
| Clear, calm weather | Better light and fewer in-hive bees | Do a full brood check |
| Midday sun | Improves frame visibility | Inspect frames quickly |
| Spring flights | Foragers on routes | Enter a few hours after flight starts |
| Less-than-ideal conditions | Higher defensiveness | Use smoker; limit inspection |
For a deeper read on scheduling and practical tips, consult this hive inspections guide.
Best time of day to inspect a hive by season
Match your visit to the colony’s daily flow and seasonal needs for safer checks.
Spring window
Plan inspections a few hours after flights begin and an hour before evening flights end. This leaves foragers out and makes the brood nest easier to view.
Focus: confirm a laying queen by finding eggs and young brood. Keep checks short so brood does not cool in changeable spring weather.
Summer window
Work early morning or late afternoon and avoid the heat. When temperatures climb to 90°F or more, comb can soften and handling risk rises.
Tip: schedule visits in cooler periods if nectar flow stops and the colony becomes more defensive.
Fall and winter
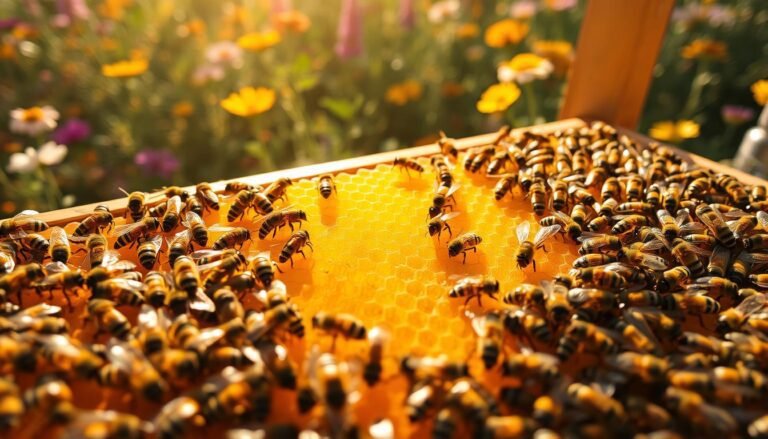
In fall, choose warm, calm mid-afternoons when pollen and nectar are available. Use this time to assess stores and decide if you need another super for honey.
In winter, limit openings to midday on sunny, mild days. Keep any peek brief and prefer lift tests for weight if conditions are freezing.

| Season | Ideal window | Main check | Action |
|---|---|---|---|
| Spring | Few hours after flight start / before evening | Eggs, young brood | Short brood check; confirm queen |
| Summer | Early morning / late afternoon | Brood area, frame integrity | Avoid >90°F; gentle handling |
| Fall / Winter | Warm mid-afternoon / sunny midday | Stores, cluster | Assess honey; keep openings brief |
Year-round: Let the season and sun guide your approach. For scheduling detail and practical routines, see this hive inspections guide.
Weather, temperature, and hive behavior that influence inspections
Local weather and colony behavior largely set whether a visit will be smooth or stressful. Before opening boxes, watch flights and feel the air. Clear, still conditions reduce defensive responses and make frames easier to read.
Choose clear, still days
Avoid windy, rainy, drizzly, or storm-approach conditions. Wind and rain spike defensiveness and raise the chance of chilling brood or injuring the queen. If forecasts shift, postpone or shorten the visit.
Temperature matters
Save deep inspections for days in the 70s°F when brood stays warm. Do not dig into the nest when mercury sits near or below 60°F. In extreme heat, move checks to early morning or late afternoon to prevent comb sag and stressed bees.
- Use the smoker sparingly—measured puffs at the entrance and under the top.
- Read hive behavior: calm movement suggests queen-right status; chaotic activity calls for a lighter pass.
- In winter, brief lift or weight checks under two minutes can be safer than full openings.
| Condition | Why it matters | Action |
|---|---|---|
| Calm, sunny | Fewer in-hive bees; better light on frames | Full brood check |
| Cool ≤60°F | Risk of chilling brood | Limit to quick checks |
| Hot ≥90°F | Soft wax; comb risk | Inspect early/late; avoid heavy handling |
For scheduling guidance and seasonal planning, see this timing guide and this beekeeping calendar.
How to inspect hives step by step without stressing your bees
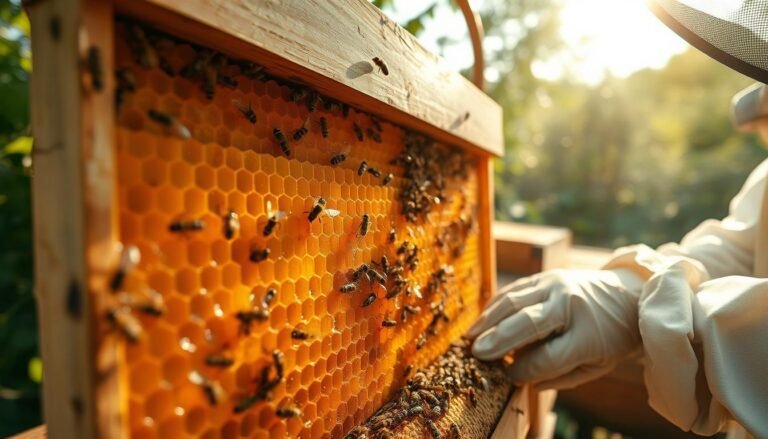
A calm, practiced routine lets you move through boxes and frames with minimal disturbance. Prepare before you open anything: put on full protective gear and set your smoker, hive tool, brush, and notebook where you can reach them quickly.
Use the smoker properly: give a couple measured puffs at the entrance and under the inner cover. Set the smoker down where you can reach it without placing it on the ground.

Open and work the hive
Approach the hive from the side or back. Remove the lid and inner cover and pause to read colony mood before lifting boxes.
If honey boxes are present, remove them first. Pry and separate any propolized box joints, then rest lifted boxes on a flipped cover or mat to protect the queen if she falls.
Frame-by-frame checks
Work one frame at a time. Inspect brood frames methodically and return each frame in order to keep the nest intact.
- Look for the queen or evidence she is laying: eggs, young larvae, and a solid brood pattern across multiple frames.
- Watch for parasites or odd signs of disease and note any unusual brood color or holes in comb.
- When most honey frames are 7–8 of 10 capped, add another super so the colony has space to store nectar without crowding the brood.
Finish and record
Reassemble by aligning corners and sliding boxes back from one edge to reduce bee crush. Replace the inner cover and outer lid.
“Record results immediately: queen sighting, brood health, honey levels, and any disease signs.”
Keep cadence tight: perform a hive inspection every 2–4 weeks during the active season, and do very brief checks in winter focused on feed and weight. For more on safe technique, see how to inspect a hive without harming the and beekeeping safety precautions.
| Step | Why | Action |
|---|---|---|
| Prep gear | Avoid delays | Suit, smoker, hive tool, notebook |
| Brood check | Confirm queen-right | Eggs, larvae, solid pattern |
| Super check | Prevent crowding | Add super at 7–8/10 capped |
Conclusion
Work when forager traffic is high and wind is low; that pairing gives the clearest read on frames. ,
Pair the right visit window with calm weather to reduce stress and confirm brood health, queen activity, and honey stores. Keep your inspection flow steady: handle frames and boxes gently and finish quickly so the colony regains heat.
Record results every visit. Note queen sightings, brood pattern, frames of honey, and any red flags. Use those notes to decide when to add space or treat issues through spring and the rest of the year.
Respect thresholds: avoid deep checks below ~60°F, aim for thorough reviews in the 70s°F, and in high heat move earlier or later. Small, consistent improvements make hives healthier and your beekeeping more confident.
FAQ
When is the best window for checking a hive on a calm, sunny day?
Aim for mid-morning to mid-afternoon when foragers are out. Pick a clear, wind-free period with steady sunshine so most bees are foraging and activity at the entrance is moderate. That reduces crowding inside and lowers stress during frame work.
How should seasonal timing change for inspections in spring?
In spring, inspect a few hours after bees begin their daily flights and avoid the evening return. Look for brood, eggs, and food stores. Spring checks focus on queen presence, swarm cells, and adding space as the colony grows.
What hours work best during summer without overheating bees?
Early morning or late afternoon is ideal in summer to dodge the hottest midday heat. When temperatures climb into the 90s°F, keep interventions minimal; avoid long openings and limit smoke to essential use.
When should fall inspections occur for preparing hives for winter?
Choose warm, calm mid-afternoons in fall when nectar and pollen are still coming in. Confirm adequate stores, reduce space if needed, and check for disease or queen problems while conditions remain mild.
Can I inspect colonies during winter, and when is it safest?
Perform very brief checks at midday on sunny, above-freezing days. Minimize exposure by opening only what’s necessary to check food stores and cluster location. Avoid prolonged inspections or moving frames in cold weather.
What weather should I avoid for hive checks?
Skip inspections in wind, rain, sleet, or when storms are forecast. Poor weather drives bees into the hive and raises defensiveness, making inspections risky for both you and the colony.
Are there temperature guidelines for full hive inspections?
For thorough checks, wait for temperatures in the 70s°F when bees are active and calm. Avoid full inspections below about 60°F; cold slows brood care and increases chilled brood risk when frames are exposed.
What essential gear should I prepare before opening a colony?
Bring protective clothing (suit and veil), gloves, smoker, hive tool, brush, and a notebook. Prepare the smoker with cool, steady smoke and stage tools within reach to speed the process and reduce time frames stay exposed.
How do I use a smoker correctly at the start of an inspection?
Deliver a few gentle puffs at the entrance and under the lid. Wait a short moment for the smoke to spread; avoid heavy, continuous smoking which can over-stress the bees and mask odors you need to detect.
What technique helps protect the queen and limit disruption when moving boxes?
Stand to the side or rear when opening, lift the lid gently, and separate boxes just enough to create working space. Move slowly, inspect one frame at a time, and watch for the queen to avoid accidental harm.
How do I inspect brood correctly to confirm a laying queen?
Look for eggs at the bottom of cells, continuous brood pattern, and varying stages—eggs, larvae, and capped brood. Spot checks across frames help assess queen health and brood consistency without exposing too many frames.
When should I add or remove honey supers during inspections?
Add supers when bees are filling existing space and brood nest shows congestion. Remove filled, capped supers when overall nectar flow slows, ensuring you leave enough stores for the colony’s needs.
How should I reassemble the hive after an inspection?
Replace frames in the order you removed them, rejoin boxes squarely, and close the inner cover and lid securely. Record detailed notes: queen status, brood, stores, pests, and actions taken to guide future checks.
What inspection frequency keeps colonies healthy without over-handling?
Inspect every 2–4 weeks during active seasons. Check more often if you suspect queen issues or disease. In winter, limit checks to essential, quick assessments to conserve heat and reduce stress.
How can I spot signs of disease, pests, or stress during a routine check?
Watch for spotty brood patterns, high mite counts, foul odors, dead bees, or unusual brood coloration. Check for varroa, wax moth damage, and small hive beetles. Early detection lets you act before problems escalate.